 by
by Creating a Crochet Flower Bouquet with Leaves is a wonderful way to craft an everlasting botanical arrangement that brings boutique elegance, texture, and warmth into any space. Unlike fresh flowers that fade in days, a handmade crochet bouquet is a permanent piece of textile art that requires zero maintenance.
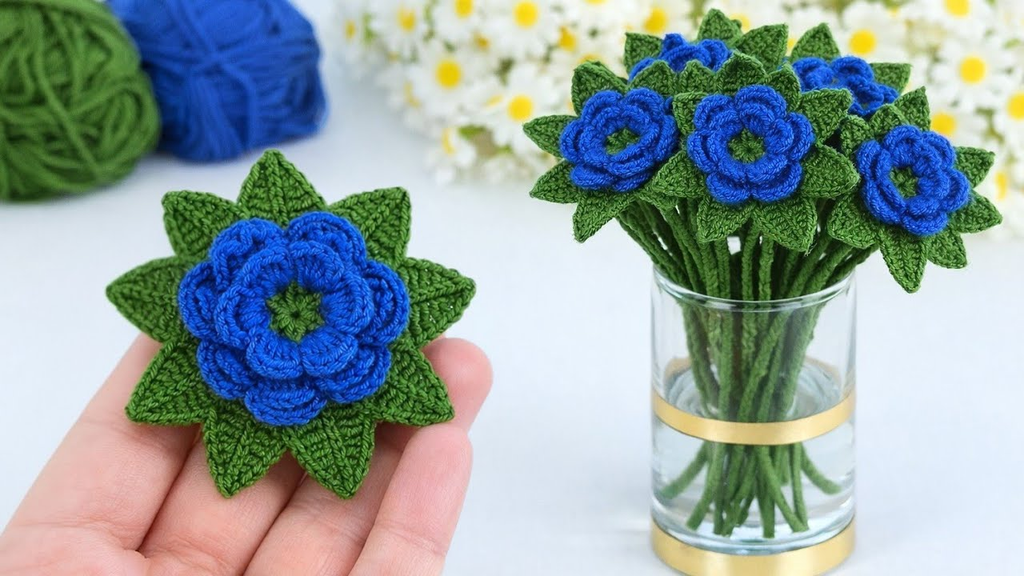
Here is your detailed, step-by-step masterclass on how to crochet, wire, and assemble a stunning professional-grade flower bouquet with lush leaves from scratch.
🧶 The Master Botanical Bouquet Toolkit
- Yarn:100% Mercerized Cotton Yarn (Sport weight or DK). Cotton is mandatory for botanical crochet because it has a subtle natural sheen, zero fuzz, and crisp stitch definition that keeps petals and leaf points looking sharp and structured.
- Palette: A cohesive floral color story (e.g., dusty rose, soft peach, cream, and buttery yellow), paired with rich botanical green for the leaves, calyxes, and stems.
- Hook: 3.0 mm or 3.5 mm. A snug hook size creates a tight, clean gauge, giving the petals architectural stability.
- Structural & Assembly Supplies:
- 18-gauge floral wire for the primary main stems.
- 28-gauge floral wire for shaping and wiring individual leaves and petals.
- Green floral tape for wrapping and binding.
- Hot glue gun (or fabric glue) for secure anchoring.
- Kraft paper, tissue paper, and ribbon for professional presentation wrapping.
🌸 Step 1: Crafting Your Bouquet Variety (The Flower Mix)
A stunning bouquet requires visual diversity. To create a balanced, professional arrangement, crochet a mix of focal blossoms and filler buds:
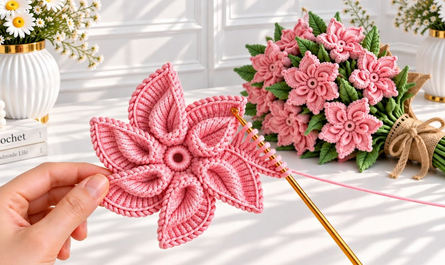
- The Focal Flower (e.g., A Multi-Layered 3D Rolled Rose):
- Foundation:
ch 50in your primary petal color. - Row 1: In the 4th chain from the hook, work
3 dc(double crochet). Skip 1 chain, work(1 sc, ch 2, 3 dc)in the next chain. Repeat down the entire chain to form a long, ruffled ribbon. Fasten off. - Assembly: Roll the strip tightly from one end into a spiral. The ruffles will naturally stagger into a lush, 3D garden rose. Whip-stitch the flat base securely.
- Foundation:
- The Secondary Blossom (e.g., A 3D Petal Flower):
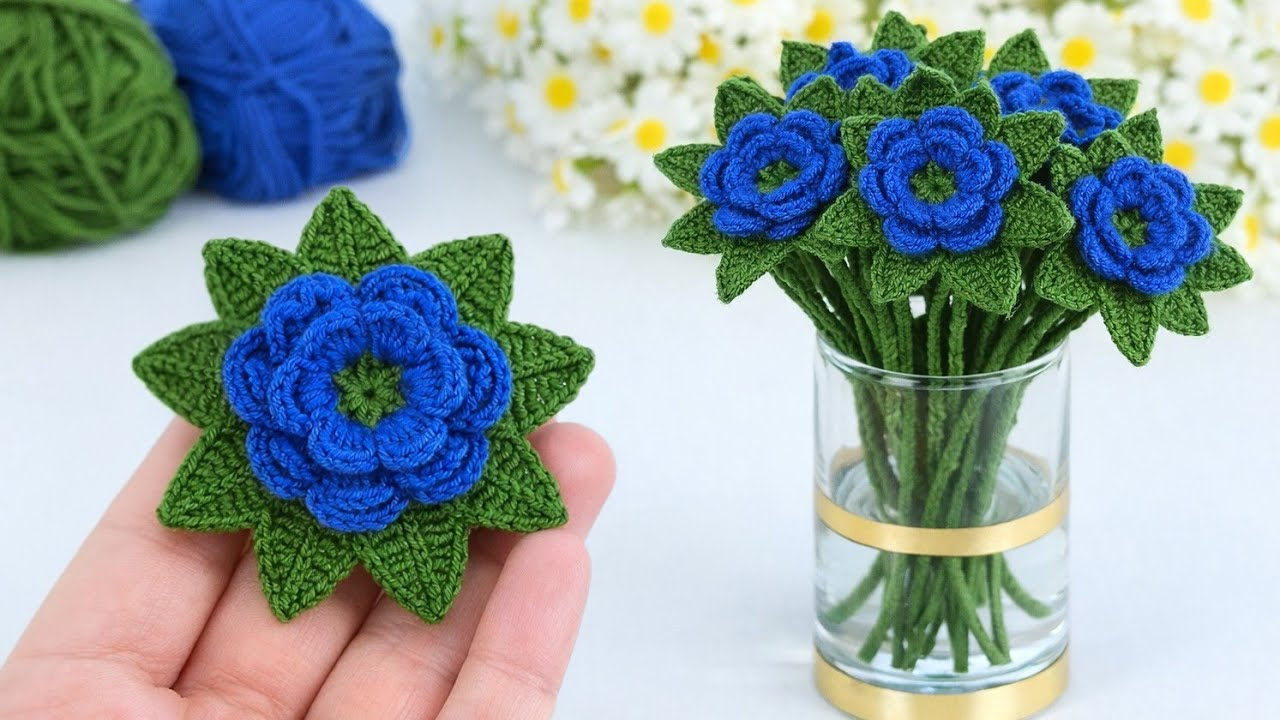
- Craft medium-sized blossoms using layered petals (working inner petals in back loops and outer 3D petals in front loops) for rich depth.
- The Filler Buds (e.g., Miniature Rolled Buds):
- Chain a shorter length (e.g.,
ch 25), work small cluster ruffles, and roll them tightly into compact, closed buds to add realistic depth and variety.
- Chain a shorter length (e.g.,

🍃 Step 2: Crafting Wire-Supported Leaves and Calyxes
To make your bouquet look high-end and lifelike, your leaves and flower bases must be wired so you can pose them dynamically.
- The Green Calyx (Base Cup):
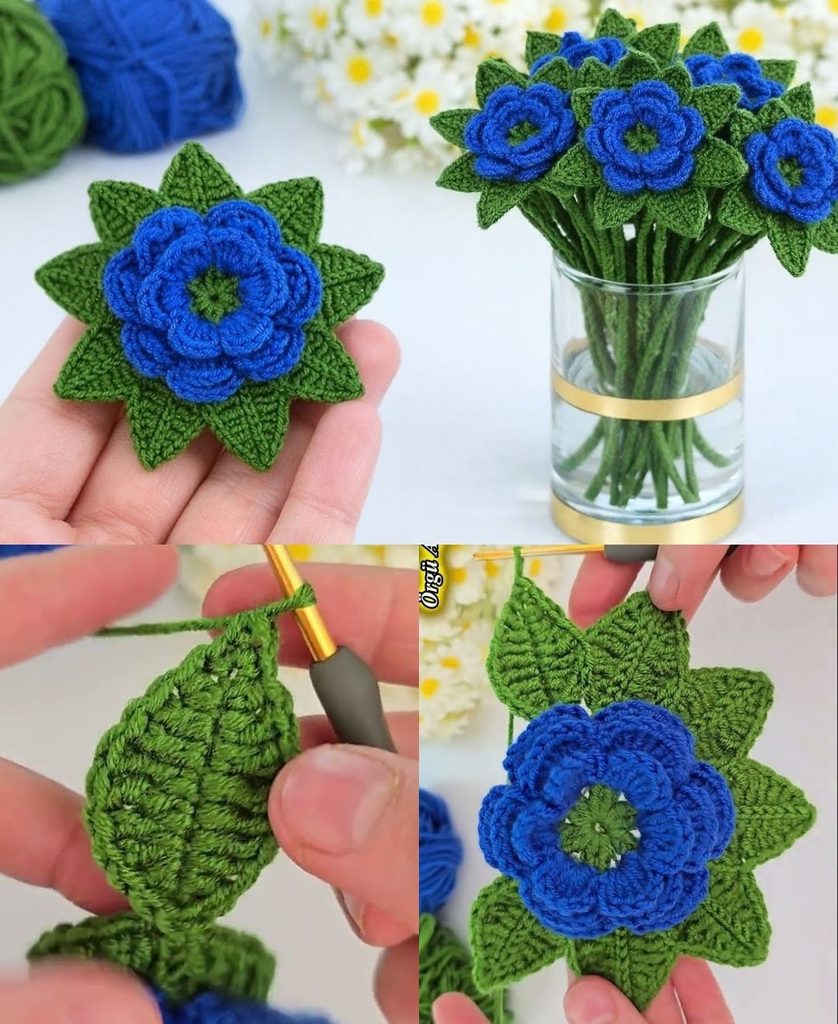
ch 4with green yarn, join to form a ring, and work a round of pointed sepals (ch 4, 1 tr, ch 2, 1 tr, ch 4, sl strepeated 4 times) to create a star-shaped cup that hugs the base of your flowers.
- The Wired Leaf:
ch 12with botanical green yarn. Lay a length of 28-gauge floral wire directly down the center of the chain.- Work
1 sc, 1 hdc, 1 dc in next 4 chains, 1 hdc, 1 sc, workch 1at the tip for a sharp point, and mirror down the opposite side. The wire is permanently trapped inside, allowing you to curve the leaf dynamically.

🌿 Step 3: Stem Mounting and Assembly
- Mounting to the Stem:
- Take an 18-gauge floral wire and bend a tiny $1/4$-inch safety loop at the top tip using pliers.
- Apply a generous drop of hot glue to the looped wire and push it firmly into the center base of your completed flower (anchoring it through the green calyx).
- Tape Wrapping:
- Anchor your green floral tape directly underneath the calyx and wrap it firmly and evenly down the length of the wire stem at a $45^\circ$ angle.
- As you travel down the stem, incorporate 1 or 2 wired leaves into the tape wrap, smoothing everything down for a clean, professional finish.

🎁 Step 4: Arranging and Wrapping Your Bouquet
The secret to a breathtaking presentation lies in how you arrange and package your finished stems:
- Structuring the Arrangement:
- Hold your tallest focal flower in the center.
- Gradually fan out your secondary blossoms, miniature buds, and leafy stems around it in a domed, balanced shape, staggering the heights so every flower is visible.
- Securing the Bundle:
- Wrap a piece of twine or a rubber band tightly around the stems about 4 inches below the flower heads to lock your arrangement into place. Trim the bottom wire stems evenly with wire cutters.
- Professional Florist Wrapping:
- Layer a sheet of crisp tissue paper and a contrasting sheet of kraft paper or matte floral wrapping film behind the bouquet.
- Fold the paper snugly around the stems, secure with clear tape, and tie a luxurious satin or velvet ribbon around the middle in a neat bow.
✨ Pro-Tips for Success
- Steam-Shape Before Assembly: Hold your finished crochet flowers over the steam of a kettle for a few seconds. Use your fingers to flare and curve the cotton petals open. Once cooled, the cotton and wire will lock into a permanent, professional bloom.
- Scent Infusion: Lightly mist the back of the cotton flowers with a drop of rose or lavender essential oil just before wrapping for an unforgettable sensory experience!