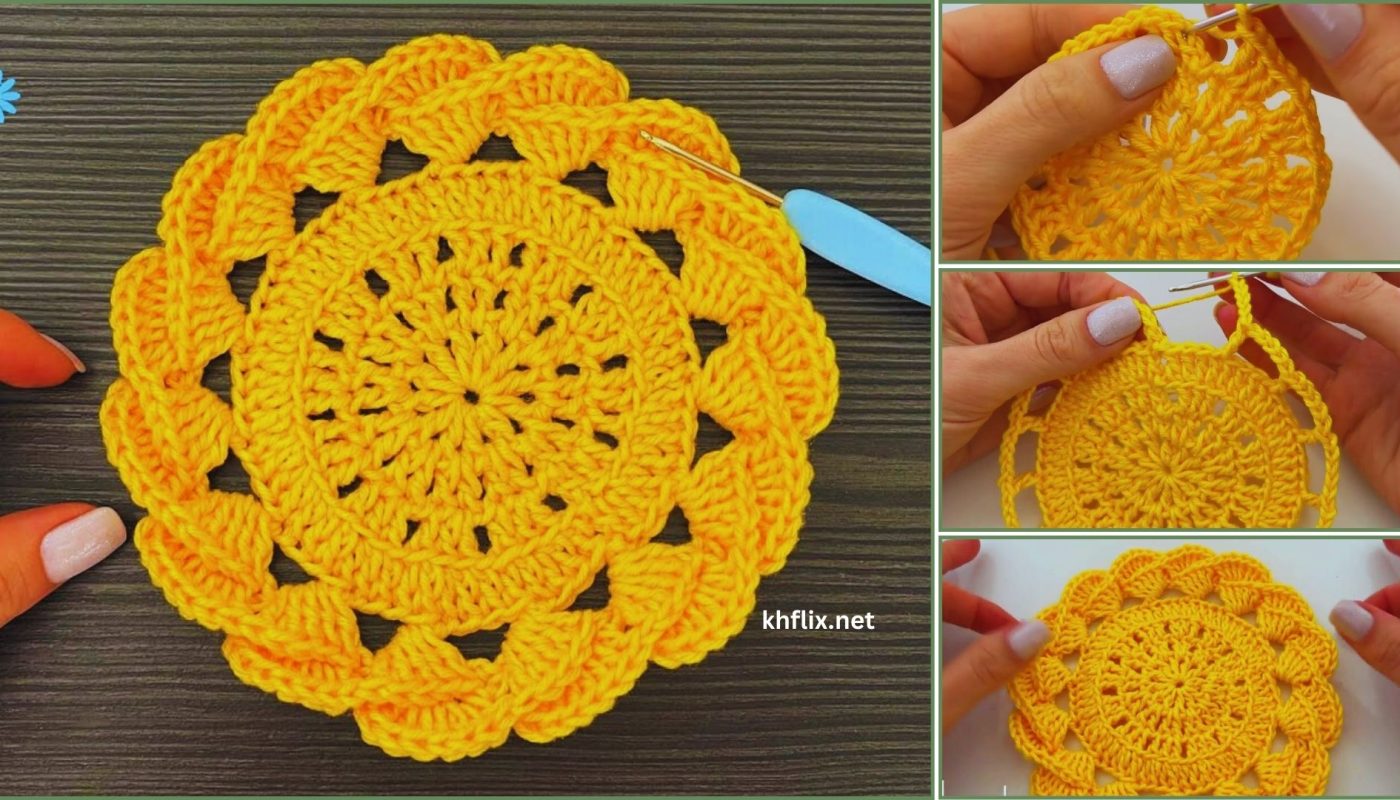
Let’s crochet a cheerful and practical cup holder in sunny yellow! This project is fantastic for keeping your drinks insulated, adding a pop of color to your daily routine, and it’s a great way to practice working in the round and creating a sturdy fabric. It’s a quick and satisfying make, perfect for gifting or for yourself!
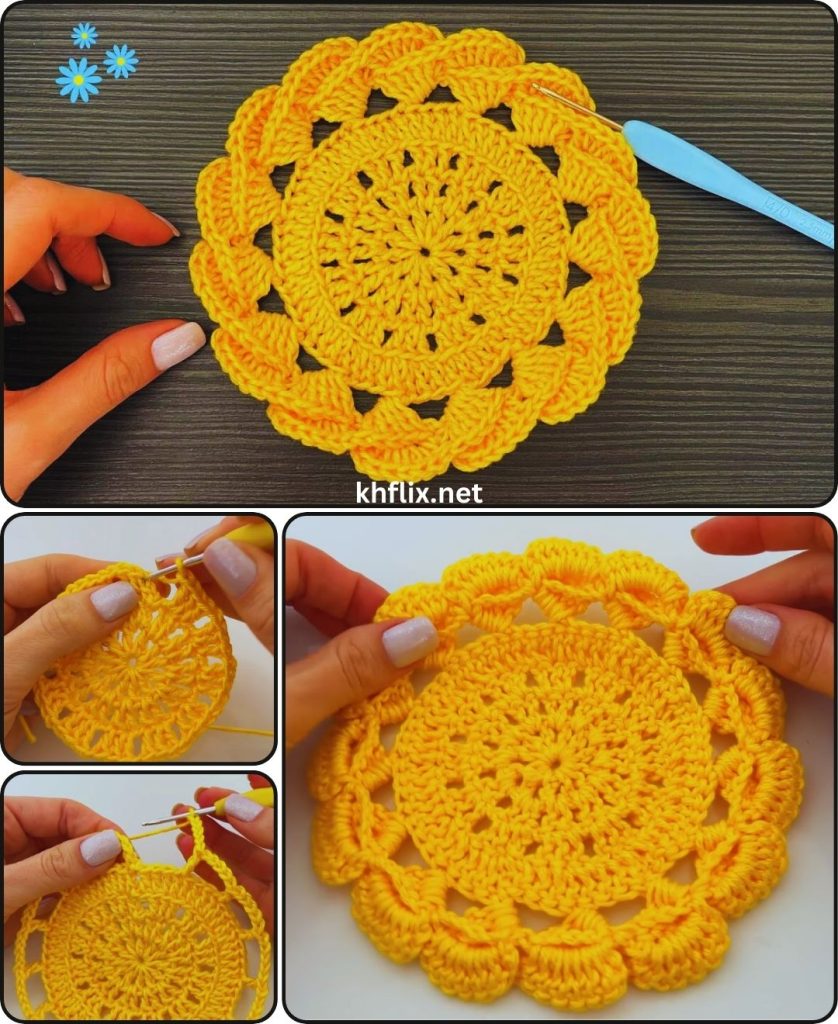
How to Make a Crochet Cup Holder in Yellow
This detailed guide will walk you through creating a simple yet effective crochet cup holder. We’ll focus on a dense stitch for good insulation and a neat finish, all in a bright yellow hue.
Skill Level: Beginner
This project is perfectly suited for you if you’re comfortable with (or ready to learn!):
- Holding your hook and yarn: The fundamental grip.
- Making a slip knot: The starting point.
- Chain (ch): The basic stitch, forming your foundation.
- Slip Stitch (sl st): For joining rounds and neatening.
- Single Crochet (sc): A dense stitch, great for sturdy cup holders.
- Working in rounds: Crocheting in a continuous or joined circular manner.
- Increasing (inc): Making more stitches to expand your work.
- Working into specific stitches or chain spaces.
- Weaving in ends: The essential finishing touch.
Finished Cup Holder Dimensions (Approximate):
Using worsted weight yarn and the suggested hook, your finished cup holder will typically fit a standard 12-16 oz (350-470 ml) takeaway coffee cup or a similar-sized reusable cup. It will measure approximately 4 inches (10 cm) in diameter at the base and 4-5 inches (10-12.5 cm) in height. The exact size might vary slightly based on your personal tension (how tightly or loosely you crochet) and the specific cup you are making it for.
Materials You’ll Need:
Gathering your materials before you start makes the process smoother and more enjoyable.
- Yarn: Approximately 50-70 yards (45-64 meters) of Worsted Weight (Medium #4) Cotton or Cotton Blend Yarn in your chosen yellow color.
- Why Cotton? Cotton yarn is highly recommended for cup holders because it’s absorbent (good for condensation), durable, and heat-resistant. Acrylic yarn can stretch more and may not be as effective for insulation.
- Crochet Hook: Size H/5.0mm. This hook size works well with worsted weight cotton yarn to create a dense fabric, which is ideal for a sturdy and insulating cup holder.
- Yarn Needle (Tapestry Needle): This is essential for seamlessly weaving in all your loose yarn tails. It has a blunt tip and a large eye, making it easy to thread yarn through.
- Scissors: Any pair of sharp scissors will do for cutting your yarn.
- Stitch Marker (Optional but Recommended): Very helpful for marking the beginning of your rounds, especially when working in a spiral. A small safety pin, paperclip, or a scrap of contrasting yarn works perfectly.
- Your Chosen Cup: It’s helpful to have the cup you intend to use the holder for on hand, so you can periodically check the fit as you go.
Understanding the Cup Holder Construction: Bottom-Up Build
This cup holder is crocheted seamlessly, working from the bottom up. We’ll start with a flat circular base, then work straight up the sides to create the cozy sleeve.
- Circular Base: You’ll create a flat circle that will form the bottom of your cup holder.
- Side Walls: Once the base is the correct diameter, you’ll stop increasing and work even rounds to build up the height.
- Optional Handle (Not included in this basic pattern, but possible to add later): You could add a simple strap later if desired.
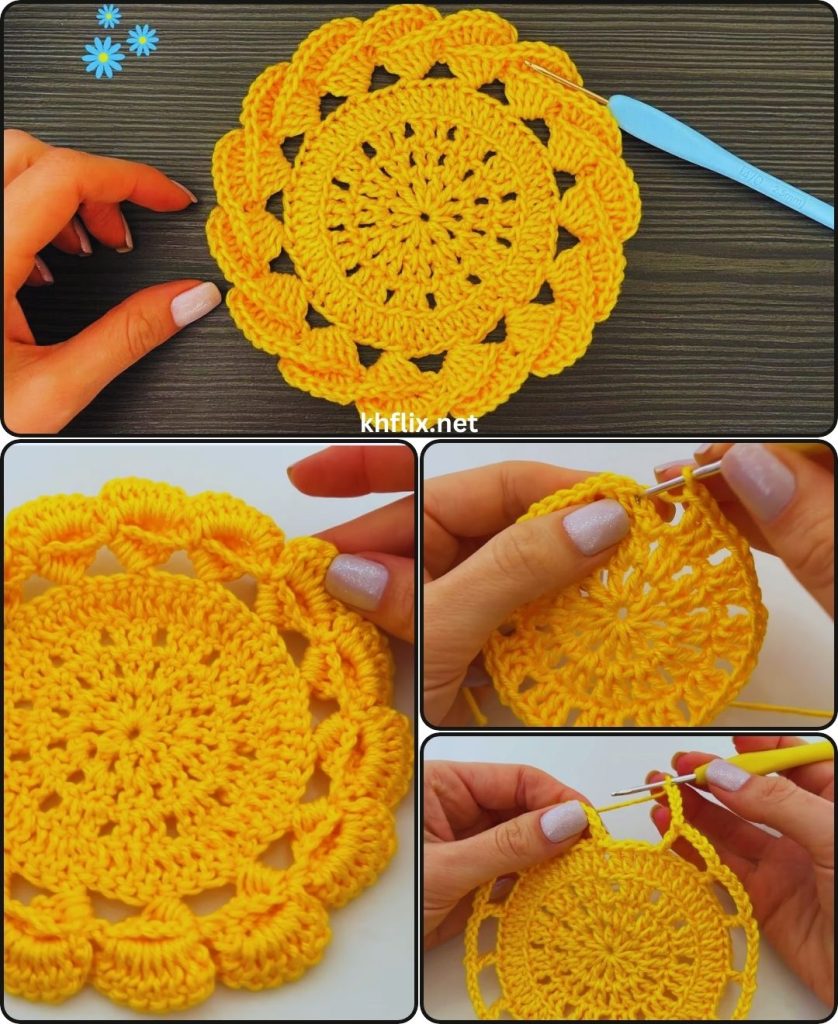
Let’s Crochet Your Yellow Cup Holder!
Follow these steps carefully. The key is to keep your stitches consistent for a smooth fabric and to check the fit frequently.
Part 1: Crocheting the Circular Base
This forms the sturdy bottom of your cup holder. We’ll use single crochet (sc) for a dense, flat fabric.
- Starting with a Magic Ring (MR):
- With your yellow yarn, create a Magic Ring (MR). This is an adjustable loop that allows you to pull the center tight for a neat, hole-free start, which is ideal for the base of a cup holder.
- How to make a Magic Ring: Loop the yarn around your fingers (usually pointer and middle) to form a ring, leaving a tail. Insert your hook into the center of this ring, yarn over, pull up a loop. Then, chain 1. Now you’re ready to work stitches into the ring.
- Alternative Start (if MR is tricky): If the Magic Ring is too challenging, you can chain 2, then work your stitches into the 2nd chain from your hook. This will leave a small hole in the center, but it’s often acceptable.
- With your yellow yarn, create a Magic Ring (MR). This is an adjustable loop that allows you to pull the center tight for a neat, hole-free start, which is ideal for the base of a cup holder.
- Round 1:
- Work 6 single crochet (sc) stitches into the Magic Ring (or into the 2nd chain from your hook).
- Slip stitch (sl st) into the first sc stitch of the round to join the circle.
- [Total: 6 sc]
- If you used a Magic Ring, gently pull the tail of the Magic Ring tightly to close the center hole.
- Round 2 (Increase Round):
- Chain 1 (does not count as a stitch).
- Work 2 single crochet (sc) into each stitch around. (This is an increase: you’re creating more stitches to expand your circle.)
- Sl st into the first sc of the round to join.
- [Total: 12 sc]
- Round 3 (Increase Round):
- Chain 1.
- Work 1 sc into the first stitch.
- Work 2 sc into the next stitch (this is your increase).
- Repeat the pattern: * 1 sc into the next stitch, 2 sc into the next stitch * around the entire round.
- Sl st into the first sc to join.
- [Total: 18 sc]
- Round 4 (Increase Round):
- Chain 1.
- Work 1 sc into the first stitch.
- Work 1 sc into the next stitch.
- Work 2 sc into the next stitch.
- Repeat the pattern: * 1 sc into each of the next 2 stitches, 2 sc into the next stitch * around the entire round.
- Sl st into the first sc to join.
- [Total: 24 sc]
- Round 5 (Increase Round):
- Chain 1.
- Work 1 sc into each of the first 3 stitches.
- Work 2 sc into the next stitch.
- Repeat the pattern: * 1 sc into each of the next 3 stitches, 2 sc into the next stitch * around the entire round.
- Sl st into the first sc to join.
- [Total: 30 sc]
- Base Check: At this point, place your cup holder base flat. It should be a flat circle and approximately the same diameter as the bottom of your cup. If it’s too small, add another increase round (e.g., Round 6: sc in 4, 2sc in next = 36 sc). If it’s ruffling, you may have too many increases, or your tension is too loose. If it’s bowing up, your tension might be too tight, or you need more increases. Adjust as needed.
Part 2: Building the Side Walls
Now we’ll stop increasing and work straight up to create the body of the cup holder. This will make your work start to curl upwards, forming the cup’s sleeve.
- Transition Round (Establishing Side Walls):
- Chain 1.
- Work 1 single crochet in the Back Loop Only (BLO) of each stitch around. (This creates a distinct ridge on the outside of your base, allowing the sides to stand upright neatly.)
- Sl st into the first sc to join.
- [Total: 30 sc] (The stitch count remains the same as the last base round.)
- Body Rounds (Continuous Single Crochet):
- Chain 1.
- Work 1 sc into each stitch around (now working through both loops as usual).
- Sl st into the first sc to join.
- Repeat this round (Ch 1, sc in each stitch around, sl st to join) for approximately 15-20 more rounds, or until your cup holder reaches the desired height for your cup (e.g., just below the rim).
- Periodically check the fit by slipping the cup holder onto your cup. It should be snug but not stretched open.
- Maintain consistent tension for an even fabric.
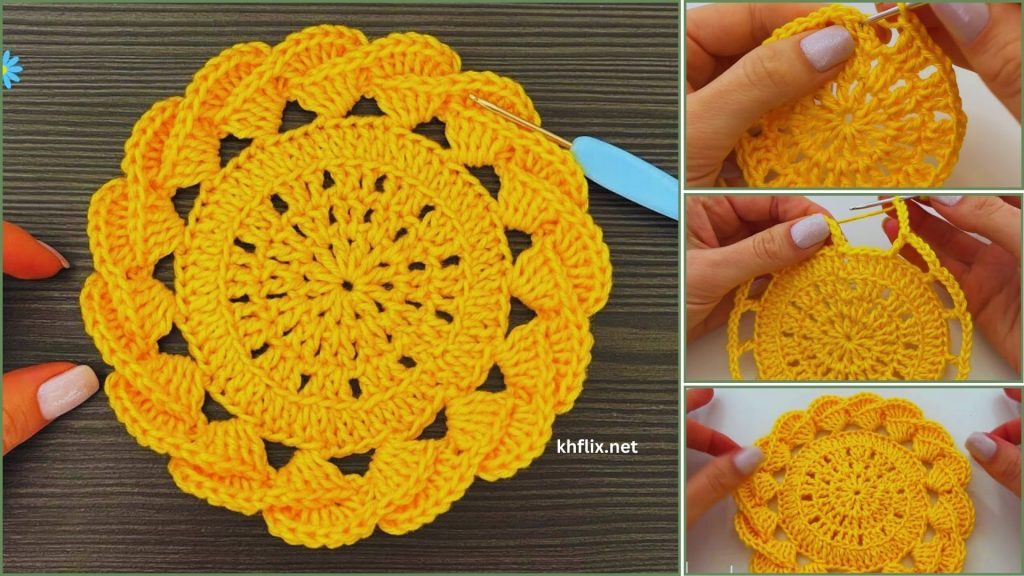
Part 3: Finishing Your Cup Holder
- Final Round (Optional – Neat Edge):
- For a very neat and sturdy top edge, you can add one final round of slip stitches or crab stitches (reverse single crochet).
- Simple Slip Stitch Edge: Sl st into each stitch around the top. This creates a very subtle, firm border.
- Fasten off after your last stitch, leaving a tail about 6 inches (15 cm) long.
- Fasten Off:
- Cut your yarn, leaving a tail about 6 inches (15 cm) long.
- Yarn over with your hook, pull the cut tail completely through the loop left on your hook, and gently tug to secure the knot. This is called “fastening off.”
- Weave in All Remaining Ends:
- This is crucial for a clean, neat, and durable cup holder. You’ll have tails from your starting Magic Ring (pull it tight if it loosened), and your final fasten-off.
- Use your yarn needle to meticulously weave in every single loose yarn tail.
- How to Weave Neatly: Thread the yarn tail onto your yarn needle. Weave the tail into the stitches of the same color as the tail (yellow, in this case). Go in one direction for at least 1.5-2 inches (4-5 cm). To truly secure it, subtly change direction (e.g., weave along a row, then turn and weave back through some of the same stitches diagonally) to “lock” the tail in place and prevent it from unraveling. Trim any excess yarn close to the fabric, being careful not to cut any of your actual stitches. Don’t rush this step!
Tips for Success and Customization:
- Customizing Size:
- For a wider base: Continue with more increase rounds in Part 1 (e.g., Round 6: *sc in 4, 2sc in next* = 36 stitches; Round 7: *sc in 5, 2sc in next* = 42 stitches, etc.). Always add
scs between increases. - For a narrower base: Stop at an earlier increase round.
- For different heights: Simply crochet more or fewer body rounds in Part 2 until you reach your desired height.
- For a wider base: Continue with more increase rounds in Part 1 (e.g., Round 6: *sc in 4, 2sc in next* = 36 stitches; Round 7: *sc in 5, 2sc in next* = 42 stitches, etc.). Always add
- Tension: Consistent tension is key for a neatly shaped cup holder. If your work starts to ripple, you might be crocheting too loosely. If it’s pulling in, you might be too tight.
- Stitch Markers: Absolutely use a stitch marker at the beginning of each round, especially when working in continuous spirals, to avoid losing your place.
- Yarn Choice: While cotton is recommended, you can experiment with other materials if you understand their properties (e.g., wool can be insulating but might felt if washed incorrectly).
- Adding Embellishments (Optional): Once finished, you can add a small crocheted flower, a simple embroidery design, or even a button to personalize your yellow cup holder further!
Congratulations! You’ve successfully crocheted a bright and functional yellow cup holder! This handmade accessory is perfect for adding a touch of cheer to your drinks and keeping them cozy. Enjoy using your cheerful new creation!

