 by
by The crochet bucket hat is a trendy, timeless accessory that blends fashion with functionality. Whether you’re shielding your face from the sun, adding a chic touch to your outfit, or simply showing off your handmade style, a crochet bucket hat is a must-have.
This tutorial will walk you through how to crochet an amazing bucket hat, covering everything from materials and stitches to sizing and customization.
🧶 Why You’ll Love This Crochet Bucket Hat
- ✅ Easy and quick to make — great weekend project
- ✅ Suitable for beginners
- ✅ Only basic stitches needed
- ✅ Customizable for any size or color
- ✅ Great stash buster
- ✅ Stylish, comfortable, and giftable
🧺 Materials You’ll Need
| Item | Description |
|---|---|
| Yarn | Worsted weight (Category 4) cotton or cotton-blend yarn – ~150–200 yards |
| Crochet Hook | 4.5mm or 5.0mm (G-7 or H-8) – adjust to your yarn weight |
| Tapestry Needle | For weaving in ends |
| Scissors | For cutting yarn |
| Measuring Tape | To check fit and dimensions |
| Stitch Marker | Optional, to mark beginning of rounds |
🧵 Yarn Tip: Cotton yarn works best for warm weather hats — it’s breathable and keeps its shape. Try mercerized cotton for extra durability.
🧵 Stitches Used (US Terms)
| Abbreviation | Stitch Name |
|---|---|
| ch | Chain |
| sl st | Slip Stitch |
| sc | Single Crochet |
| hdc | Half Double Crochet |
| dc | Double Crochet |
| inc | Increase (2 stitches in one stitch) |
📏 Sizing Info
You can customize this hat for kids, teens, or adults.
| Hat Size | Crown Diameter | Hat Height | Brim Width |
|---|---|---|---|
| Small (Teen) | 6–6.25” | 6.5–7” | 2.5–3” |
| Medium (Adult) | 6.5–7” | 7–7.5” | 2.5–3” |
| Large (Adult) | 7.25–7.5” | 7.5–8” | 3–3.5” |
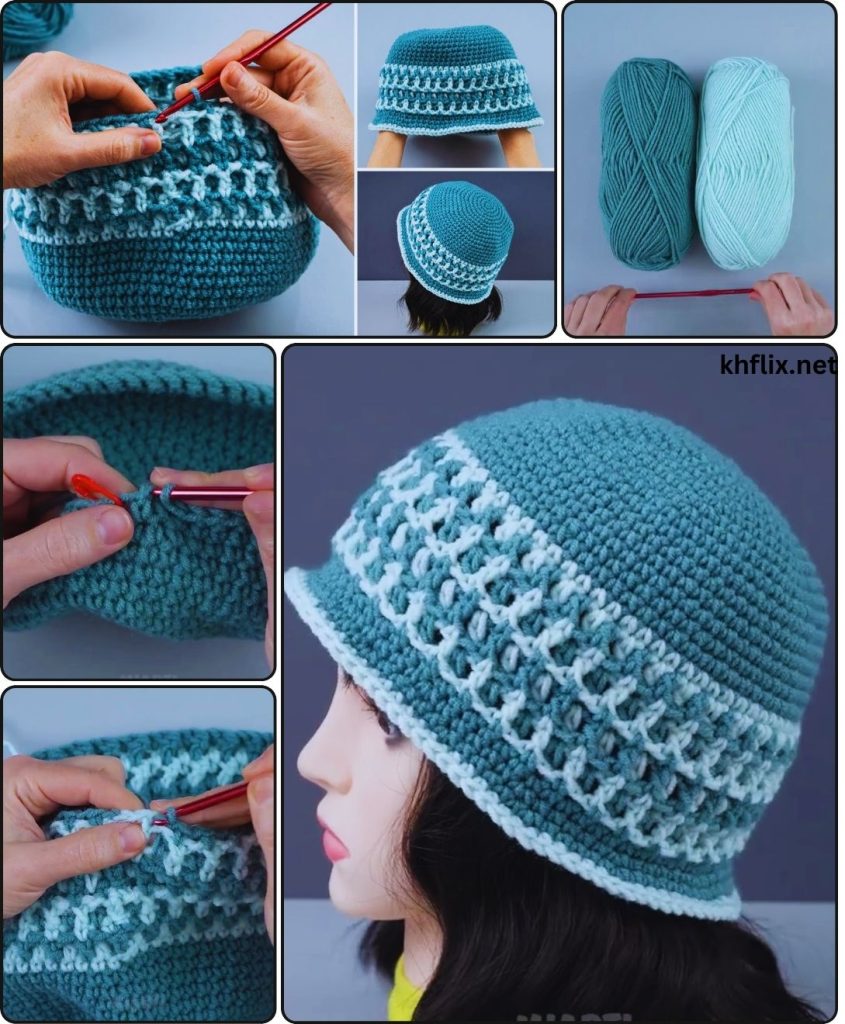
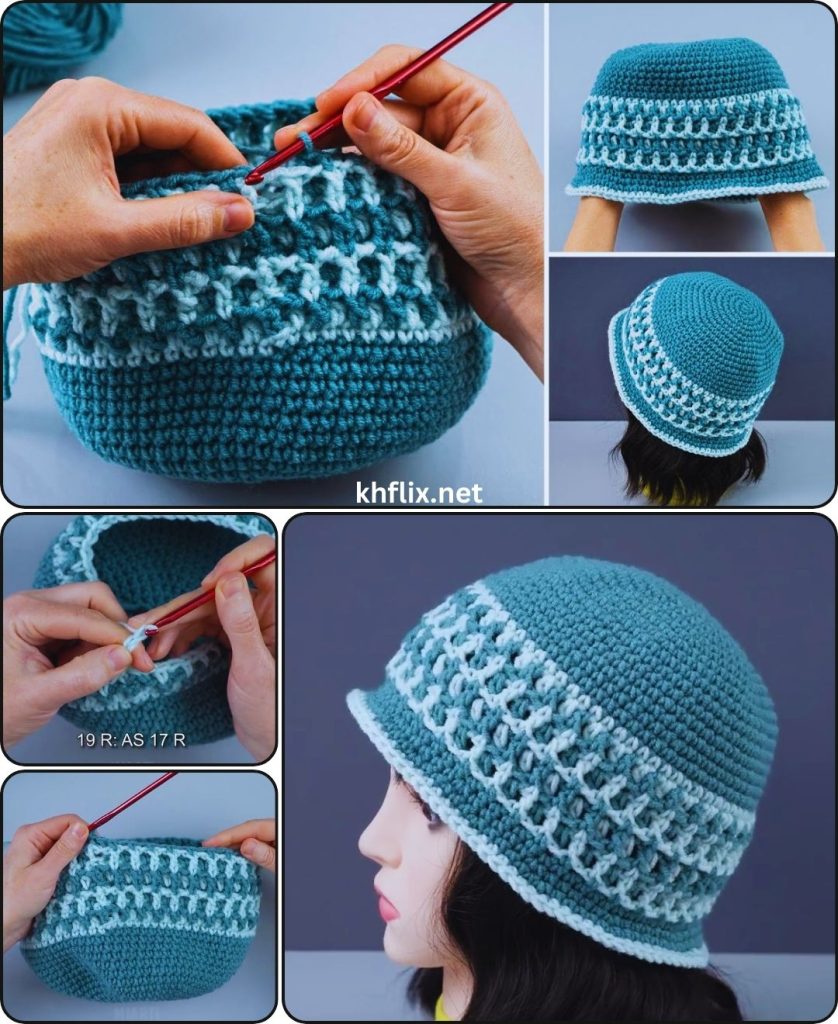
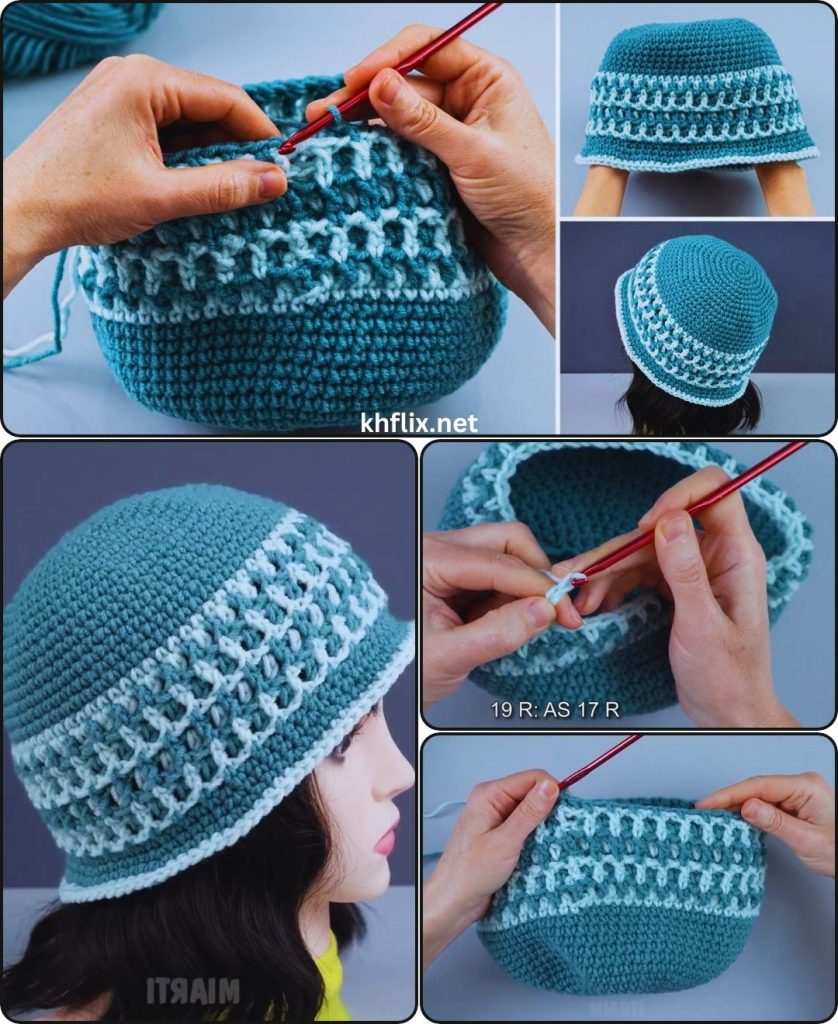
🧶 Crochet Bucket Hat Pattern – Step by Step
The hat is made in 3 main sections:
- Crown (top circle)
- Body (straight sides of the hat)
- Brim (slightly flared edge)
🎯 PART 1: Crochet the Crown (Top)
The crown is a flat circle that increases gradually.
Round 1:
- Make a magic ring, ch 2 (does NOT count as dc), work 12 dc into the ring.
- Pull tight and sl st to the first dc. (12 dc)
Round 2:
- Ch 2, 2 dc in each st around.
- Sl st to first dc. (24 dc)
Round 3:
- Ch 2, 1 dc, 2 dc in next st repeat around.
- Sl st to first dc. (36 dc)
Round 4:
- Ch 2, 1 dc in next 2 sts, 2 dc in next st repeat.
- Sl st to join. (48 dc)
Round 5:
- Ch 2, 1 dc in next 3 sts, 2 dc in next st repeat.
- Sl st to join. (60 dc)
Round 6:
- Ch 2, 1 dc in next 4 sts, 2 dc in next st repeat.
- Sl st to join. (72 dc)
🧠 TIP: Continue increasing using this method until your crown reaches the desired diameter (about 6.5–7” for adults).
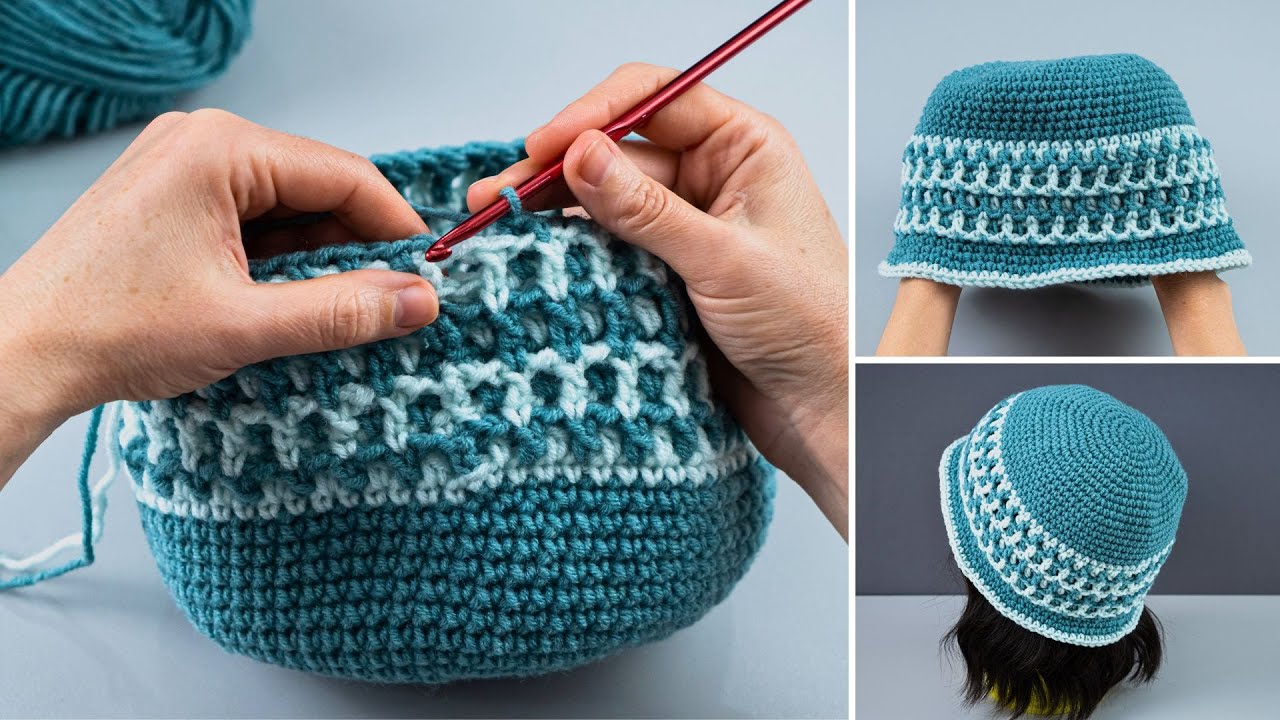
👒 PART 2: Crochet the Hat Body (Sides)
Now that your crown is wide enough, you’ll build up the sides of the hat without increasing.
Rounds 7–15 (or to desired height):
- Ch 2, dc in each stitch around.
- Sl st to join.
- Repeat for 8–10 rounds until the hat is about 7 inches tall (from the center top).
🧵 Optional Variation: Use half double crochet (hdc) or sc for a tighter, more structured look.
🎨 Add stripes or color blocks in these rounds for a modern touch!
🌊 PART 3: Crochet the Brim
The brim gives your hat its iconic bucket shape. You’ll slightly increase to make it flare out.
Round 16:
- Ch 1, 1 sc in next 5 sts, 2 sc in next st repeat.
- Sl st to join.
Round 17:
- Ch 1, 1 sc in next 6 sts, 2 sc in next st repeat.
- Sl st to join.
Round 18:
- Ch 1, 1 sc in next 7 sts, 2 sc in next st repeat.
- Sl st to join.
Round 19 (optional):
- Ch 1, sc in each stitch around (no increases)
- Fasten off and weave in ends.
👒 For a stiffer brim, you can use hdc or even add a row of crab stitch (reverse sc) as the final round.
🪡 Optional Finishing Touches
✅ Blocking the Hat:
- Wet the hat gently, shape it over a bowl or head-shaped object, and let it dry.
- Helps the brim stay flat and the crown hold its shape.
✅ Lining (Optional):
- Use light cotton fabric for the inner lining (optional, especially for summer wear).
- Cut and sew to fit the crown and body, hand-sew to the inside rim.
✅ Add Decorative Elements:
- 🌼 Crochet flowers or motifs
- 🧵 Embroidery stitches
- 🧷 Beads or buttons
- 🪢 Braided ties or chin straps
🎨 Customization Ideas
| Style | How to Make It |
|---|---|
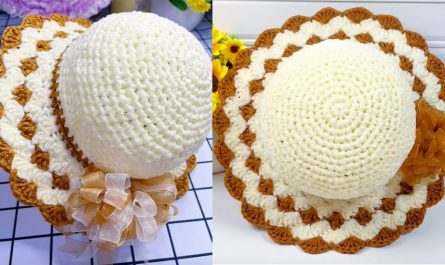
| 🌈 Color Block | Use different colors for the crown, body, and brim |
| 🐚 Beach Hat | Use white/beige cotton and a wider brim |
| 🎨 Artsy Hat | Add granny squares or tapestry crochet design |
| 🧶 Chunky Winter | Use bulky yarn and switch to sc/hdc for tighter fabric |
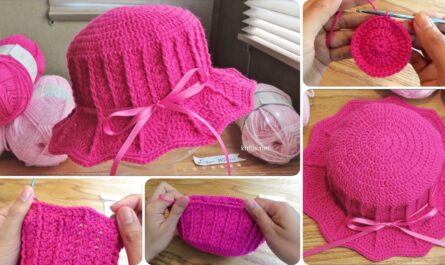
| 🎀 Feminine Touch | Add a ribbon or bow around the base of the crown |
🧼 Care Instructions
- Hand wash or gentle machine wash
- Lay flat to dry (reshape brim while drying)
- Do not bleach or wring
- Store in a cool, dry place away from heavy items
✅ Quick Pattern Recap
| Section | Description |
|---|---|
| Crown | Crochet flat circle with increases (up to 72–84 dc) |
| Body | No increases; dc in each stitch around (7–8 rounds) |
| Brim | Gradual increases in sc (3–4 rounds) |
| Finishing | Fasten off, weave in ends, block the hat |
🧵 Sample Yarn Ideas
| Yarn Name | Weight | Material |
|---|---|---|
| Lily Sugar’n Cream | Worsted | 100% Cotton |
| Paintbox Cotton Aran | Worsted | 100% Cotton |
| Lion Brand 24/7 Cotton | Worsted | Mercerized Cotton |
| Bernat Handicrafter | Worsted | Cotton Blend |
| Hobby Lobby I Love This Cotton | Worsted | Cotton |
🎉 Final Thoughts
Crocheting your own bucket hat is a fulfilling project that can be as simple or as stylish as you want it to be. From sunny summer days to cool festival nights, your handmade hat will stand out and showcase your creativity.
Once you’ve mastered the basic pattern, challenge yourself with:
- Granny square bucket hats
- Shell stitch or puff stitch textures
- Faux fur or fuzzy yarn hats
- Colorful flower appliqués