 by
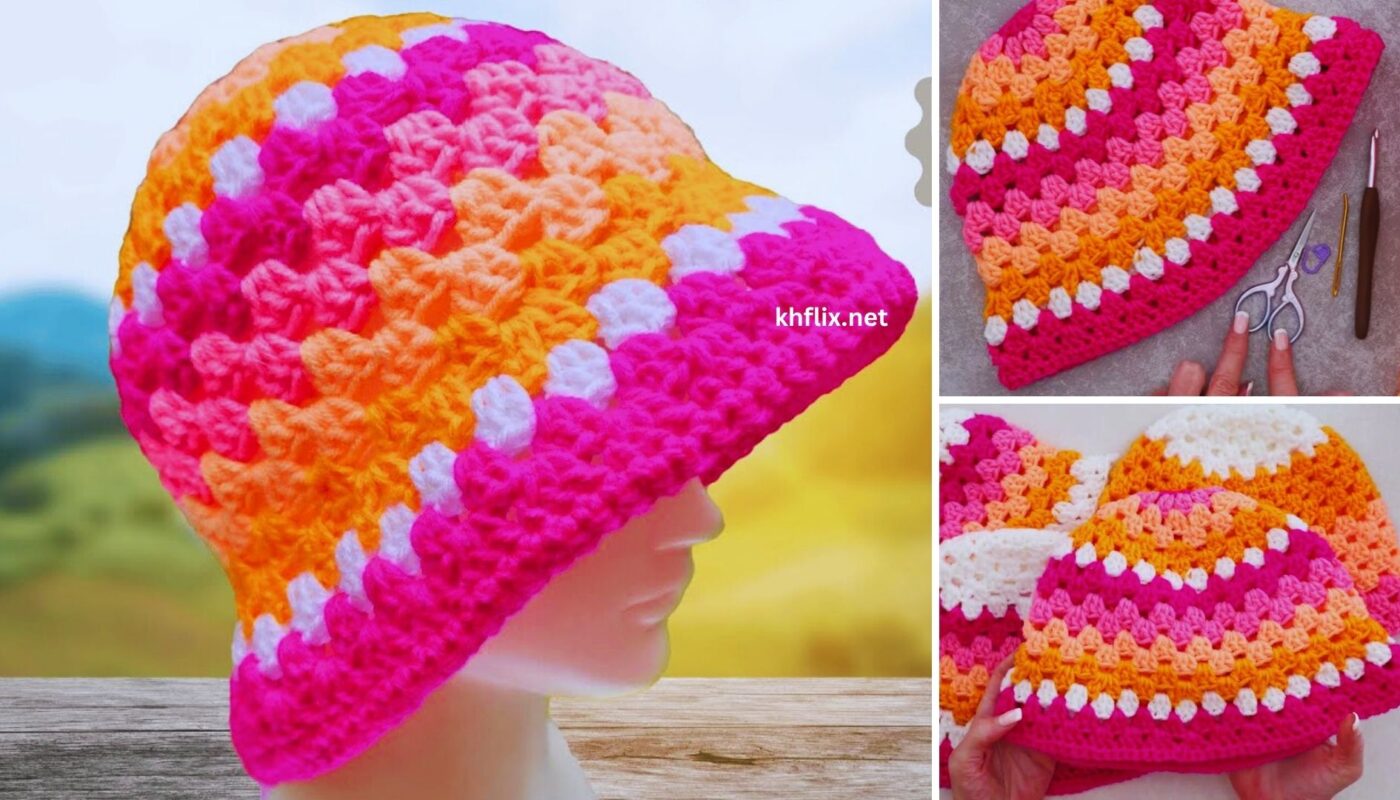
by Here’s a detailed tutorial on how to crochet a beautiful multicolor striped sun hat! This project focuses on creating a stylish, wide-brimmed hat that offers great sun protection, with vibrant stripes adding a lovely pop of color.

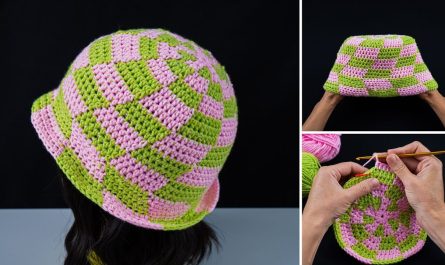
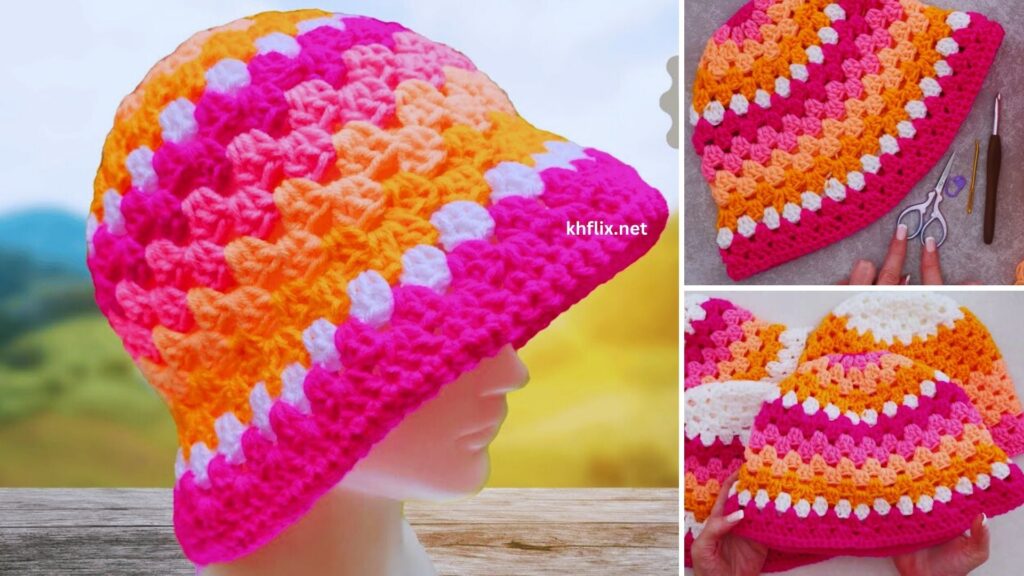
How to Make a Beautiful Crochet Sun Hat (Striped Style)
This tutorial guides you through crocheting a charming and functional sun hat. The “striped style” is achieved by regularly changing yarn colors as you work in rounds, creating eye-catching horizontal bands around the hat.
Skill Level: Intermediate
You’ll want to be comfortable with:
- Basic crochet stitches (chain, slip stitch, single crochet, half double crochet, double crochet).
- Working in joined rounds (slip stitching to join at the end of each round).
- Increasing stitches to shape a flat circle for the crown and a flared brim.
- Performing clean color changes to create crisp stripes.
- Working with a slightly tighter tension for a sturdy hat.
Finished Hat Dimensions (Approximate for Adult Medium):
- Head Circumference: 21-22 inches (53-56 cm)
- Crown Diameter: 7 inches (18 cm)
- Hat Height (excluding brim): 4 inches (10 cm)
- Brim Width: 4-5 inches (10-12.5 cm)
Materials You’ll Need:
- Yarn:
- Approximately 250-300 yards (230-275 meters) of Worsted Weight (Medium #4) Cotton or Cotton Blend Yarn. Cotton is highly recommended for sun hats due to its breathability, durability, and excellent stitch definition, which helps the hat hold its shape, especially the brim.
- Choose 3-5 contrasting or complementary colors for your stripes.
- Color A (Main Color/Base): Approx. 100-120 yards (for crown, side base, and brim base).
- Color B, C, D (Stripe Colors): Approx. 50-70 yards each.
- Crochet Hook:
- Size H/5.0mm: Or the hook size that helps you achieve a firm, dense fabric. A tighter gauge will result in a sturdier hat that maintains its shape better.
- Yarn Needle (Tapestry Needle): Essential for weaving in all your loose ends.
- Scissors
- Stitch Marker (Recommended): Helpful for marking the beginning of rounds, though we’ll be using joined rounds.
- Measuring Tape: To check your hat’s dimensions and ensure a good fit.
Gauge (Crucial for Hat Sizing!):
Achieving the correct gauge is very important to ensure your hat fits well and the brim has the right flare.
- For the Hat Crown (using dc): After Round 4 of the hat crown, your flat circle should measure approximately 4 inches (10 cm) in diameter.
- Adjust your hook size if necessary to meet this gauge. If your circle is too small, use a larger hook; if too large, use a smaller hook.
Abbreviations Used:
- ch: chain
- sl st: slip stitch
- sc: single crochet
- hdc: half double crochet
- dc: double crochet
- st(s): stitch(es)
- inc: increase (work 2 stitches into the same stitch)
- BLO: back loop only (optional, used to create a subtle ridge)
- MR: Magic Ring (also known as Magic Circle or Adjustable Ring)
- FO: fasten off
- (\ ): repeat instructions within parentheses a specified number of times.
- [ ]: indicates the total number of stitches at the end of a round.
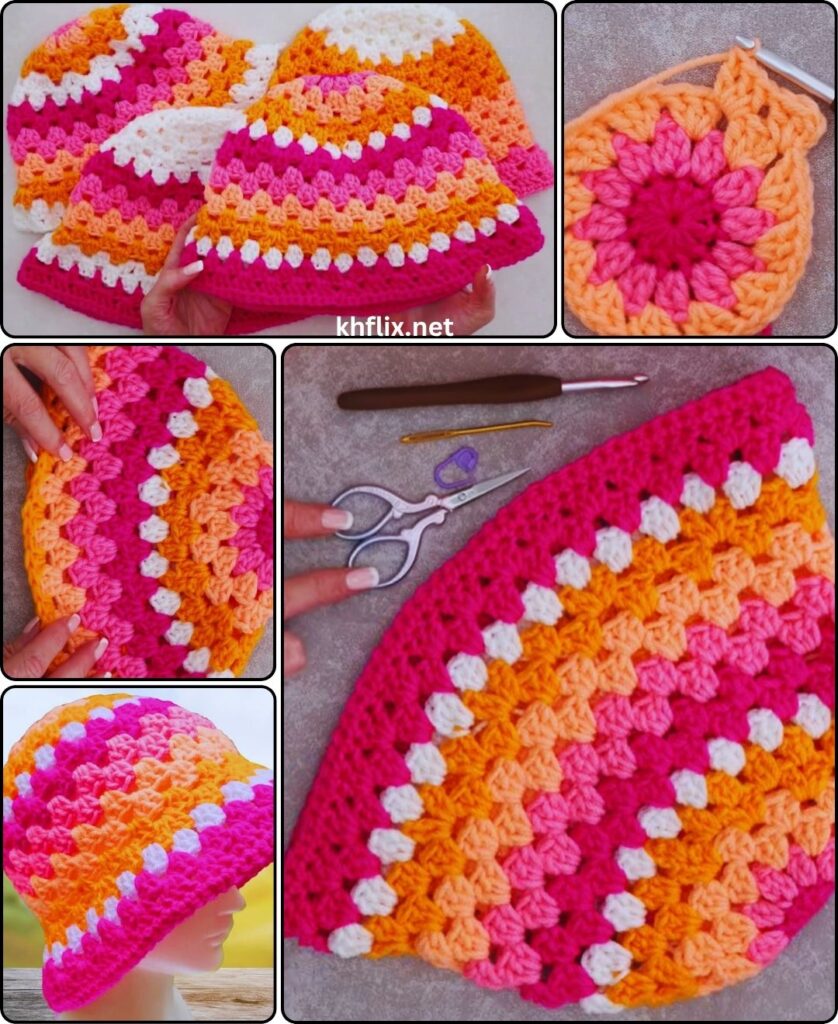
Understanding Sun Hat Construction & Striping:
This sun hat is built in three main sections:
- Hat Crown: This is the flat circular top that covers your head.
- Hat Sides: This forms the straight, upright portion of the hat that sits around your head.
- Hat Brim: This is the wide, flaring section designed to provide ample sun protection.
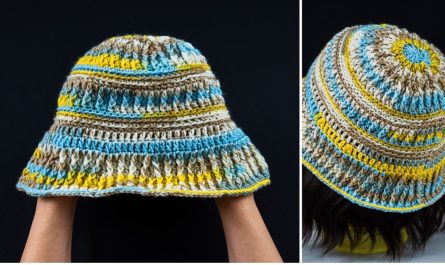
The “striped style” is achieved by changing yarn colors at the end of each round (or every two rounds, depending on your preference for stripe thickness) as you work the hat sides and brim.
How to Make a Clean Color Change in Joined Rounds:
This method is key to creating crisp, neat stripes.
- Work the last stitch of the current round with the current color as usual, but stop when you have two loops left on your hook.
- Drop the current color.
- Pick up your new color, yarn over with the new color, and pull it through the remaining two loops on your hook to complete the stitch.
- Now, using the new color, slip stitch into the first stitch of the round (or the turning chain, if applicable) to join.
- Always cut the old color yarn, leaving a 4-6 inch tail. These tails will be neatly woven in later. For a hat, it’s best not to carry yarn up the inside, as it can add bulk or show through lighter colored stitches.
Let’s Start Crocheting Your Multicolor Striped Sun Hat!
Part 1: Hat Crown (Top of the Hat)
We’ll start with Color A for the crown, using double crochet (dc) stitches for a quick build that results in a pliable, yet sturdy top.
- Start: Make a Magic Ring (MR).
- Round 1: Ch 2 (does NOT count as a stitch). Work 10 dc into the MR. Pull the tail tight to close the ring. Sl st to the top of the first dc to join. [10 dc]
- Round 2: Ch 2. Dc inc (2 dc in one stitch) in each stitch around. Sl st to the top of the first dc to join. [20 dc]
- Round 3: Ch 2. (Dc in next st, Dc inc in next st) repeat 10 times around. Sl st to the top of the first dc to join. [30 dc]
- Round 4: Ch 2. (Dc in next 2 sts, Dc inc in next st) repeat 10 times around. Sl st to the top of the first dc to join. [40 dc]
- Check your crown diameter: It should be approximately 4 inches (10 cm) at this point. If it’s significantly off, adjust your hook size.
- Round 5: Ch 2. (Dc in next 3 sts, Dc inc in next st) repeat 10 times around. Sl st to the top of the first dc to join. [50 dc]
- Round 6: Ch 2. (Dc in next 4 sts, Dc inc in next st) repeat 10 times around. Sl st to the top of the first dc to join. [60 dc]
- Round 7: Ch 2. (Dc in next 5 sts, Dc inc in next st) repeat 10 times around. Sl st to the top of the first dc to join. [70 dc]
- Your crown should now be about 7 inches (18 cm) in diameter. If your head circumference is larger (e.g., for a looser fit or a larger head), you can add one more increase round here: Ch 2. (Dc in next 6 sts, Dc inc in next st) repeat 10 times around. Sl st to join. [80 dc]
Part 2: Hat Sides (Straight Section – Striped)
Now we’ll work straight up to form the walls of the hat. We’ll use single crochet (sc) for density and introduce color changes for the stripes.
- Round 8 (Color A): Ch 1 (does NOT count as a stitch). Sc in the back loop only (BLO) of each stitch around. Sl st to the first sc to join. [70 (or 80, if you added an extra crown round) sc]
- This BLO round creates a subtly defined ridge where the top of the hat transitions to the sides, helping the brim stand out.
- Perform a clean color change to Color B. Cut Color A, leaving a 6-inch tail.
- Round 9 (Color B): Ch 1. Sc in the same stitch as join. Sc in each stitch around (working through both loops as normal). Sl st to the first sc to join. [70 (or 80) sc]
- Perform a clean color change to Color C. Cut Color B, leaving a 6-inch tail.
- Round 10 (Color C): Ch 1. Sc in the same stitch. Sc in each stitch around. Sl st to the first sc to join. [70 (or 80) sc]
- Perform a clean color change to Color D. Cut Color C, leaving a 6-inch tail.
- Round 11 (Color D): Ch 1. Sc in the same stitch. Sc in each stitch around. Sl st to the first sc to join. [70 (or 80) sc]
- Perform a clean color change to Color A. Cut Color D, leaving a 6-inch tail.
Continue Repeating Rounds (Customizing Height):
- Repeat Rounds 9-11 (alternating colors B, C, D, A, etc.) until the side of your hat measures approximately 4 inches (10 cm) from the BLO round (Round 8). This will typically be 10-12 more rounds, depending on your gauge.
- Try the hat on to check the depth. It should sit comfortably on your head just above your ears before the brim starts. End with Color A for the last round of the sides for a seamless transition to the brim.
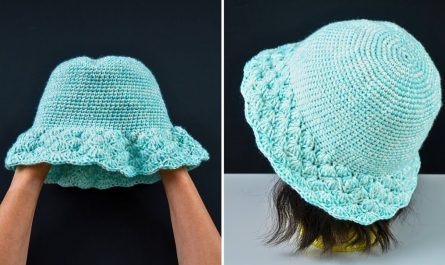
Part 3: Hat Brim (Flared Section – Striped)
Now, we’ll introduce increases again to create the wide, flaring brim. We’ll use half double crochet (hdc) for a good balance of drape and stiffness, continuing the color changes for the stripes.
- Round (Brim Start – Color A): Ch 1. Hdc in the same stitch. (Hdc in next 4 sts, Hdc inc in next st) repeat around to last few stitches, adjusting final stitches as needed to end on an increase or a regular stitch, maintaining even distribution. Sl st to first hdc to join. [Approx. 84-96 hdc, depending on your previous stitch count]
- Perform a clean color change to Color B. Cut Color A.
- Round (Brim Round 1 – Color B): Ch 1. Hdc in the same stitch. (Hdc in next 5 sts, Hdc inc in next st) repeat around. Sl st to first hdc to join. [Approx. 98-112 hdc]
- Perform a clean color change to Color C. Cut Color B.
- Round (Brim Round 2 – Color C): Ch 1. Hdc in the same stitch. (Hdc in next 6 sts, Hdc inc in next st) repeat around. Sl st to first hdc to join. [Approx. 112-128 hdc]
- Perform a clean color change to Color D. Cut Color C.
- Round (Brim Round 3 – Color D): Ch 1. Hdc in the same stitch. (Hdc in next 7 sts, Hdc inc in next st) repeat around. Sl st to first hdc to join. [Approx. 126-144 hdc]
- Perform a clean color change to Color A. Cut Color D.
- Round (Brim Round 4 – Color A): Ch 1. Hdc in the same stitch. (Hdc in next 8 sts, Hdc inc in next st) repeat around. Sl st to first hdc to join. [Approx. 140-160 hdc]
- Perform a clean color change to Color B. Cut Color A.
- Round (Brim Round 5 – Color B): Ch 1. Sc in the same stitch. Sc in each stitch around. Sl st to the first sc to join. [Same stitch count as previous round]
- This final single crochet round helps to firm up the brim’s edge, giving it more structure.
- FO Color B, leaving a 6-inch tail.
Part 4: Finishing Your Sun Hat
- Weave in All Ends: This is a crucial step for a neat, professional-looking, and durable hat, especially with all the color changes. Methodically thread each yarn tail onto your yarn needle. Carefully weave them through several stitches on the inside of the hat, making them secure and invisible from the outside. Take your time with this step to prevent unraveling.
- Blocking (Highly Recommended!):
- Gently wet your finished hat (either by misting it thoroughly with water or by submerging it briefly and gently squeezing out excess water – do not wring!).
- Lay the hat flat on a blocking mat or a clean, dry towel. Gently stretch and shape the crown to a perfect circle and flatten the brim, pinning it down to maintain its desired flat, wide shape. Ensure the brim is even all around.
- Allow it to air dry completely. This can take 24-48 hours depending on humidity. Blocking is essential for sun hats to help them hold their shape and for the brim to lie flat and wide, preventing it from flopping. For extra stiffness, you can use a spray starch before blocking, following the product’s instructions.
Your vibrant and stylish Beautiful Multicolor Striped Sun Hat is now complete! It’s perfect for sunny days and makes a fantastic handmade accessory. Enjoy wearing your beautiful creation!