 by
by Certainly! Here’s a comprehensive, tutorial on how to crochet a handbag. This easy step-by-step guide will walk you through every part of the process — from materials and stitches to shaping, assembly, and customization.
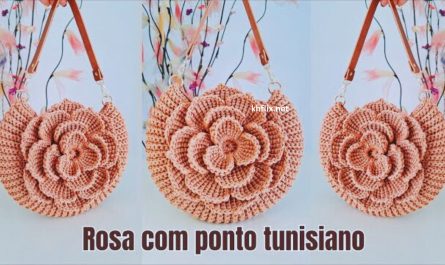
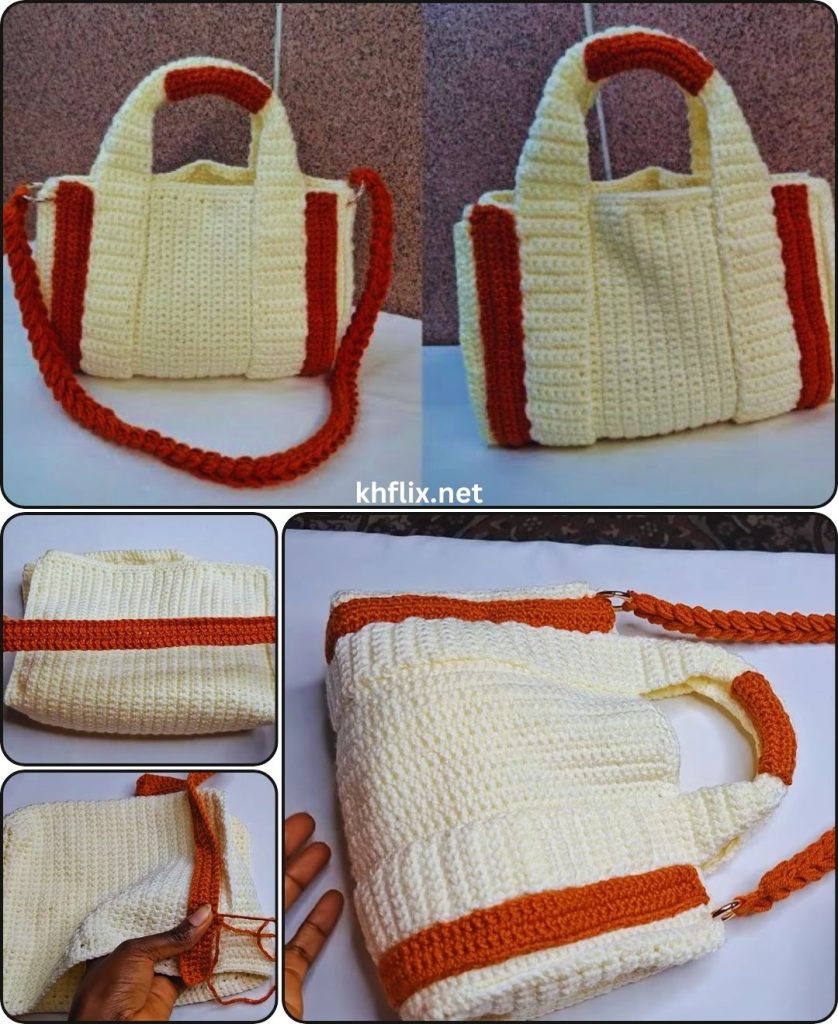
👜 How to Crochet a Handbag – Easy Crochet Handbag Tutorial (Step-by-Step)
Crocheting a handbag is one of the most rewarding projects for both beginners and seasoned crocheters. With just yarn, a hook, and a little creativity, you can craft a stylish, functional, and eco-friendly accessory that suits your personal style. Whether you want something minimalist or boho chic, this handbag tutorial will help you create a beautiful crochet bag from scratch.
✨ Why Crochet Your Own Handbag?
- ✅ Fun & beginner-friendly project
- ✅ Endless customization options
- ✅ Great for daily use, beach, market, or gifts
- ✅ Affordable and sustainable
- ✅ Quick weekend project
🧺 Materials You’ll Need
| Item | Description |
|---|---|
| Yarn | Worsted weight (Category 4) cotton or acrylic yarn – 200–300 yards |
| Crochet Hook | 5.0 mm (H-8) or size recommended for your yarn |
| Tapestry Needle | For sewing and weaving in ends |
| Scissors | For trimming yarn |
| Stitch Markers (optional) | For handle placement or rounds |
| Magnetic Snap or Button (optional) | For closure |
| Fabric Liner & Sewing Needle (optional) | For lining the bag |
| Handles (optional) | Leather, bamboo, or crocheted straps |
🧶 Yarn Tip: Cotton yarn gives structure and durability, making it perfect for handbags.
🧵 Stitches Used (US Terminology)
| Abbreviation | Stitch |
|---|---|
| ch | Chain |
| sc | Single Crochet |
| hdc | Half Double Crochet |
| dc | Double Crochet |
| sl st | Slip Stitch |
| st(s) | Stitch(es) |
📐 Finished Size (Adjustable)
- Width: Approx. 11–12 inches
- Height: Approx. 9 inches
- Strap Drop: 6–8 inches or adjustable
🪡 Construction Overview
This handbag is made in 4 parts:
- The main body (worked in the round or rows)
- The base (flat oval or rectangle)
- The handles/straps
- Optional lining and closures
This guide uses the bottom-up method, starting from the base and building upward.
🧶 Step-by-Step: Crochet Handbag Pattern
🧱 Step 1: Crochet the Base
We’ll create a flat oval base by crocheting in the round. This gives a modern and smooth foundation for the bag.
Base Pattern (Flat Oval)
Round 1:
- Ch 21
- In 2nd ch from hook, sc in each of the next 19 sts
- Make 3 sc in the last ch (turning to the underside)
- Sc across the opposite side of the chain (19 sc)
- Make 2 sc in the last st
- Join with sl st (total 44 sts)
Round 2:
- Ch 1, sc in each st around, increasing 1 sc in each of the 4 corners
- Join with sl st (total 48 sts)
Round 3–5:
- Repeat Round 2, evenly increasing at ends to maintain the oval shape
- You should end with approx. 60–64 stitches
✅ Adjust the number of starting chains for a longer or shorter bag base.
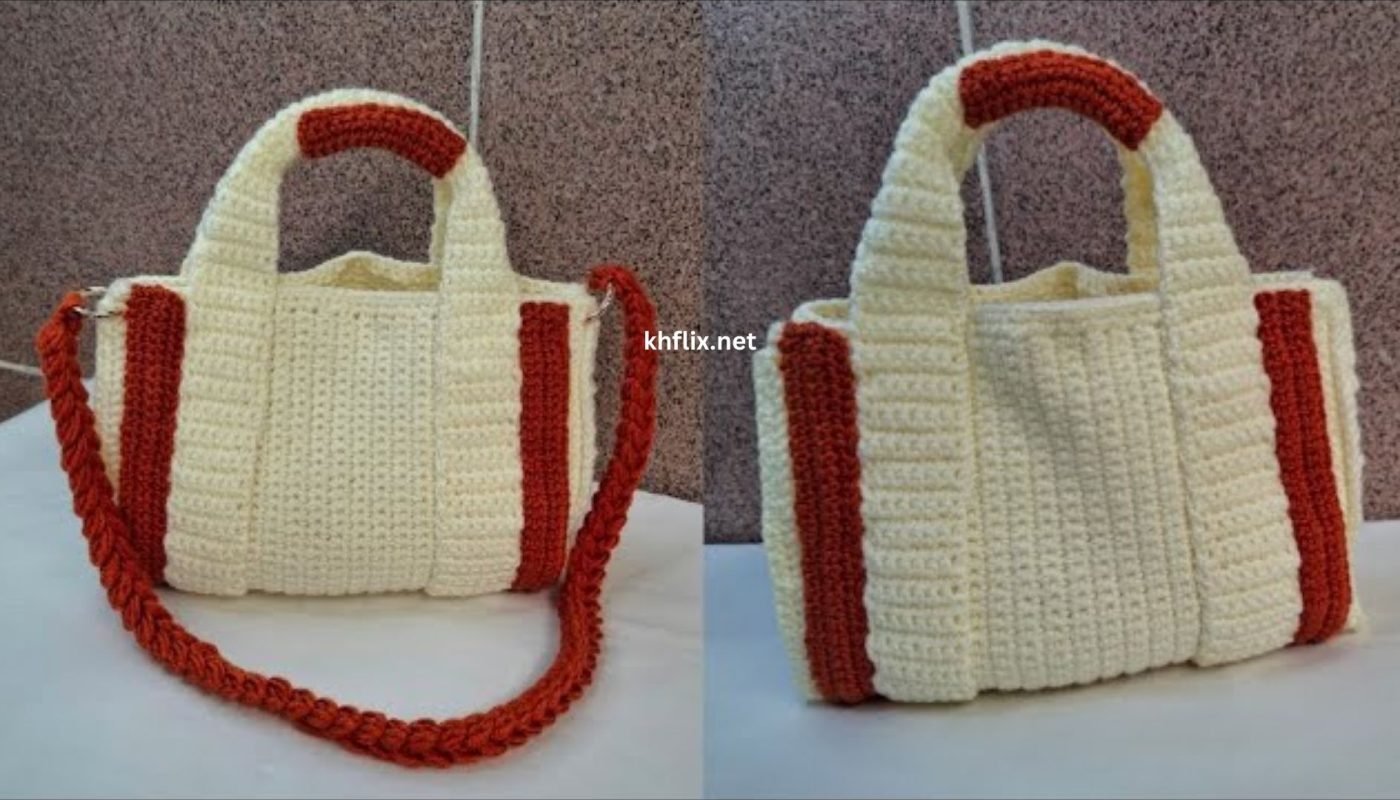
👜 Step 2: Build the Body of the Bag
Now that the base is complete, we’ll work upwards in rounds without increasing to form the sides of the bag.
Body Pattern:
Round 6:
- Ch 1, sc in each st around
- Join with sl st
Round 7–22 (or desired height):
- Ch 1, hdc in each stitch around
- Join with sl st at the end of each round
✨ You can alternate between hdc and dc for texture or create stripe patterns.
Optional: Add Texture
To make it more stylish:
- Work back loop only (BLO) for ribbing
- Try grit stitch: [sc, dc] in same st, skip 1, repeat
- Use bobble stitches in a few rows for a decorative flair
🧵 Step 3: Create the Top Edging
Once the bag reaches your desired height:
Final Round (Edging):
- Ch 1, sc in each st around
- Sl st to finish
- Fasten off and weave in ends
You now have a clean top edge for adding handles.
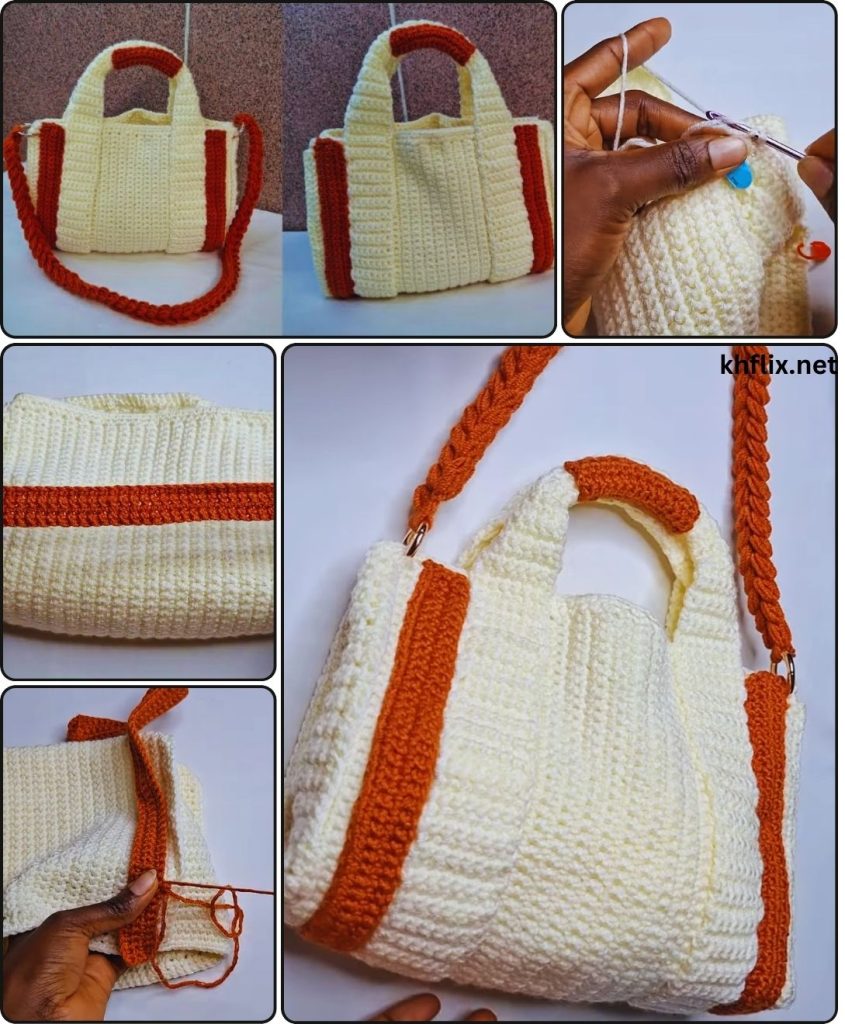
🪢 Step 4: Add the Handles
Option A: Crochet Handles
You can crochet handles directly into the bag:
Handle Pattern (Short Handles):
- Count 10 stitches from side seam and mark
- Skip next 20 stitches for handle opening
- Continue sc around to opposite side, repeat handle opening
- On next round:
- Sc until handle space
- Ch 20 (or desired length), skip 20 stitches, sc in next
- Repeat for other side
- Next round:
- Sc across the entire round, including over the chains
- Do 2–3 rounds more for stability
Option B: Attach Pre-Made Handles
- Use bamboo, wooden, or leather handles
- Sew or button them onto the bag using loops or tabs
- Reinforce handle joins with extra stitching
🧵 Step 5: (Optional) Add a Lining
A lining keeps your bag’s shape and prevents small items from slipping through.
Simple Lining Instructions:
- Cut fabric slightly larger than the bag’s size
- Fold and hem the top edges
- Sew the sides and bottom
- Place inside the bag and hand-stitch to the top edge
- Optional: Add interfacing for firmness
🔒 Step 6: Add Closure (Optional)
| Type | How to Add |
|---|---|
| Magnetic Snap | Sew into lining before attaching it |
| Zipper | Sew zipper into the fabric lining, or hand-sew along top edge |
| Button & Loop | Crochet a chain loop on one side and sew a button on the other |
🎨 Customization Ideas
| Idea | Description |
|---|---|
| 🌈 Color Blocking | Use 2–3 yarn colors in horizontal or vertical blocks |
| 🧶 Stripes | Alternate colors every few rows |
| 🌼 Appliqués | Add crochet flowers, leaves, or motifs |
| 🧵 Embroidery | Stitch initials, patterns, or textures onto the finished bag |
| 🎀 Tassels | Add to the side or zipper pull for flair |
| 🏷️ Tags | Sew on a leather or fabric label with your name or brand |
🧼 Care Instructions
- Hand wash with cold water and mild detergent
- Do not wring – press with a towel and lay flat to dry
- Store in a dry area away from sharp objects
- If lined, avoid machine drying
✅ Summary Table
| Section | What You Did |
|---|---|
| Base | Created flat oval (or rectangular) base |
| Body | Worked in the round using sc/hdc/dc |
| Handles | Crocheted or attached pre-made straps |
| Lining | (Optional) Sewed and inserted fabric lining |
| Closure | (Optional) Added button, zipper, or snap |
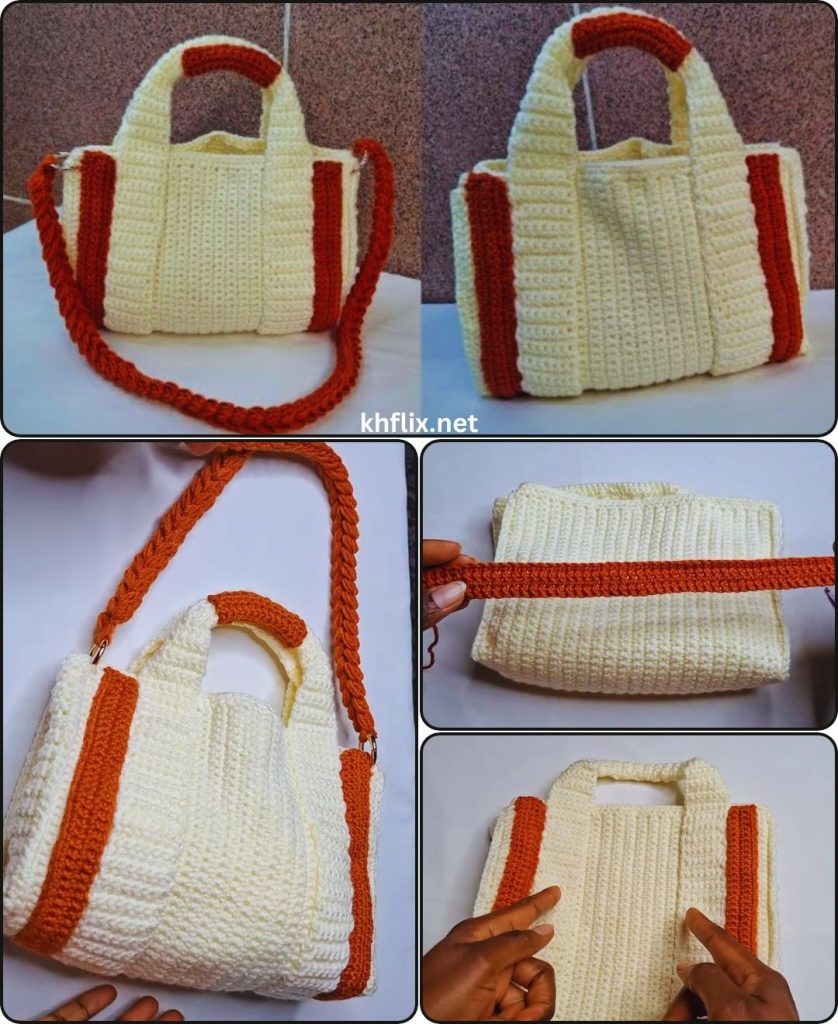
🎉 Final Thoughts
Crocheting a handbag is a fun and satisfying project that gives you a beautiful, handmade piece you can proudly use or gift. This easy crochet handbag tutorial shows you how to go from simple stitches to a functional fashion accessory — all while enjoying the meditative rhythm of crochet.
Once you’ve mastered this basic pattern, you can experiment with:
- 🌟 Granny square or motif bags
- 🧶 Bucket or drawstring-style handbags
- 👜 Market or beach totes
- 🎒 Crochet backpacks
- ✨ Intricate textures and tapestry crochet