 by
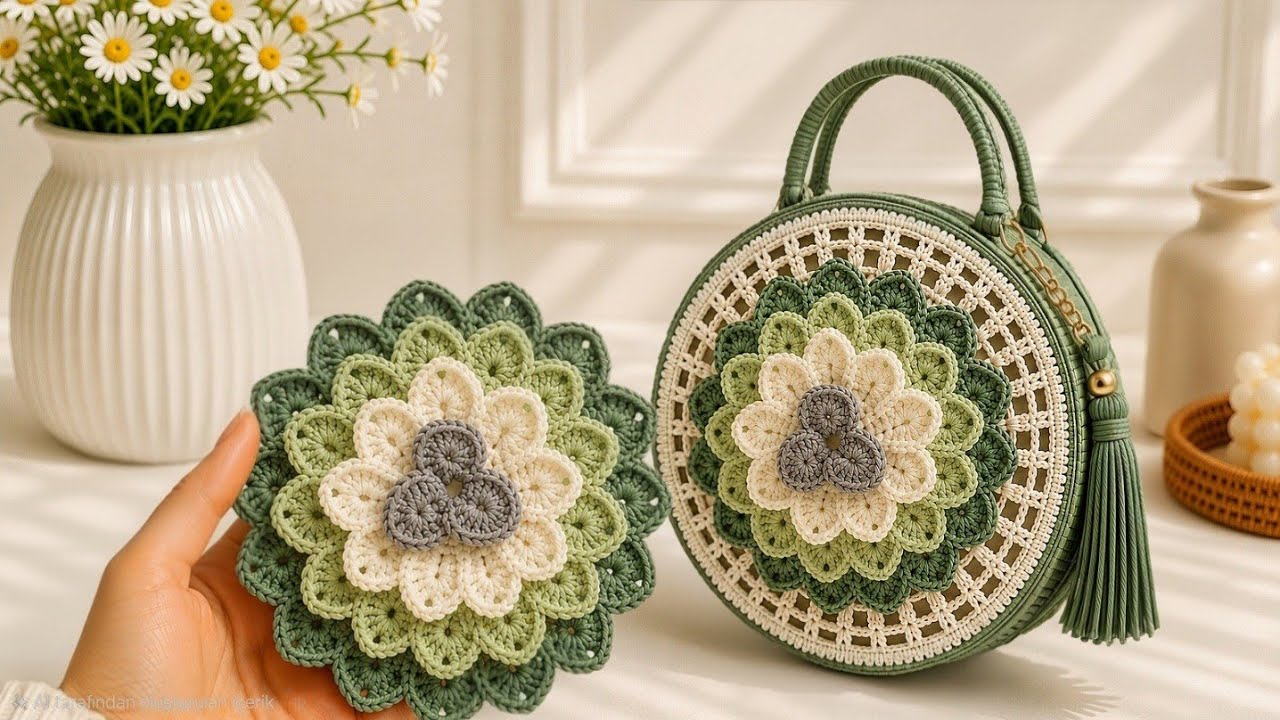
by A 3D Flower Round Bag (often styled as a circle bag or “pot de fleur” purse) is a breathtaking statement piece. By combining a structural circular base with a prominent, raised 3D floral motif right in the center of each panel, you get a handbag that looks like high-end boutique art.
Because round bags can easily sag or warp if not constructed properly, achieving a professional finish relies on precise geometric increases, structural density, and a hidden lining.
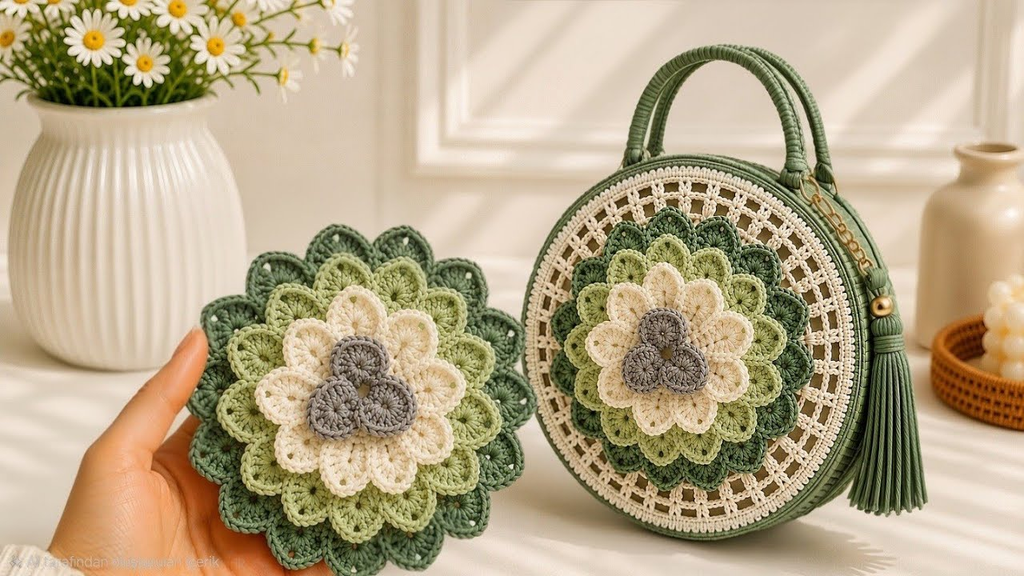
Here is your detailed masterclass on how to crochet a gorgeous 3D flower round bag from scratch.
🧶 The Professional Bag Toolkit
- Yarn: 100% Cotton (DK or Worsted weight). Avoid stretchy acrylic, as round bags bear a lot of weight and will distort. Choose a vibrant color for the central flower, a contrasting color for the background circle, and a neutral for the side gusset.
- Hook: 3.5 mm or 4.0 mm. You want a tighter gauge than the yarn label recommends to keep the fabric dense and sturdy.
- Extra Supplies:
- Two circular plastic canvas mesh pieces (cut to the size of your bag panels) or heavy-duty cardboard for internal structure.
- Matching cotton fabric for lining.
- A zipper or magnetic snap closure.
- A strap (leather, chain, or a sturdy crocheted strap).
🛠 Phase 1: The 3D Floral Center Panel (Front & Back)
You will need to make two identical circular panels (one for the front, one for the back).
Round 1: The Center Core
- With your flower color,
ch 4and join with asl stto form a ring. ch 3(counts as first dc), work 11 dc into the ring. Join withsl st. (12 stitches total). Fasten off.

Round 2: The 3D Popcorn Petals
- Join your petal color in any stitch.
ch 3, work 4 dc into the same stitch, remove your hook, insert it into the top of the firstch 3(or first dc), grab your working loop, and pull it through to create a Popcorn (PC) stitch.ch 2. Work a PC in the next stitch,ch 2.- Repeat around until you have 12 Popcorn petals. Join with
sl st. Fasten off. (You now have a brilliant, textured 3D flower blooming in the center!).
Round 3: Framing the Flower into a Circle
- Join your background/bag color in any
ch-2space behind the petals. - Work 3 dc into every
ch-2space around. Join withsl st. - Note: Do not worry if it looks slightly wavy; the next rounds will flatten it.

Rounds 4–7: Expanding the Circle (The Math of Flat Circles)
To keep your circle completely flat and prevent it from cupping or ruffling, follow the standard circle increase rule:
- Round 4:
*2 dc in first st, 1 dc in next 2 st*repeat around. - Round 5:
*2 dc in first st, 1 dc in next 3 st*repeat around. - Round 6:
*2 dc in first st, 1 dc in next 4 st*repeat around. - Round 7: Continue increasing evenly until your circle measures approximately 8 to 10 inches in diameter (depending on how large you want your bag). Fasten off. Make two identical panels.
🛠 Phase 2: Building the 3D Structure (The Gusset)
A round bag needs a continuous side strip (called a gusset) that wraps around the circumference of the circles to give the bag its depth (usually 3 to 4 inches wide).
- The Strip: Chain enough stitches to equal your desired bag width (e.g.,
ch 16for a 3-inch wide gusset). - The Stitch: Work in Single Crochet (sc) or Half Double Crochet (hdc) back and forth in rows. HDC provides a slightly thicker, squishier fabric that helps the bag hold a crisp cylindrical shape.
- The Length: Continue working rows until the strip is long enough to wrap around roughly 75% to 80% of the circle’s circumference (leaving the top opening for the zipper/access).

🌟 Phase 3: Assembly & “Boutique” Rigidity
1. The Internal Structure (Crucial for Round Bags!)
If you leave a round crochet bag unreinforced, the weight of your phone and wallet will cause it to cave in on the sides.
- Cut two circles out of plastic canvas mesh matching the exact diameter of your front and back panels.
- Sandwich the plastic canvas between your crochet panel and your fabric lining. This forces the bag to maintain a crisp, perfect circle no matter how empty or full it is.
2. Joining the Panels
- Pin your long gusset strip around the edge of the front circle, matching up the rows evenly.
- Use the Flat Slip Stitch Join or a tight Whip Stitch through the back loops only to attach the front panel to the gusset.
- Repeat the process to attach the back panel. Your cylindrical bag shape is now complete!
3. The Lining and Closure
- Sew your fabric lining into a 3D cylindrical shape that matches the interior of your bag.
- Slip the plastic canvas discs to the outsides of the fabric lining pouch, then slide the whole assembly into your crochet shell.
- Hand-stitch the top edge of the lining neatly around the inner opening of the bag. If adding a zipper, sew a fabric-zipper tape combo into the top gap before anchoring the lining.
✨ Pro-Tips for a High-End Finish
- The Piping Effect: To give the edge of your round panels a crisp, tailored designer look, work a round of Slip Stitch using a contrasting metallic or dark yarn right along the outermost edge before assembly. It acts as a faux “piping” frame.
- Strap Placement: Attach your D-rings or strap tabs securely to the sides of the gusset (at the 10 o’clock and 2 o’clock positions if looking at the face of the bag). This ensures the bag hangs straight and balanced when worn over the shoulder or crossbody.
- Steam Blocking: Before assembling, heavily steam-block your two flat flower panels on a flat surface. Perfectly flat circles make assembly significantly easier and prevent puckering along the seams.
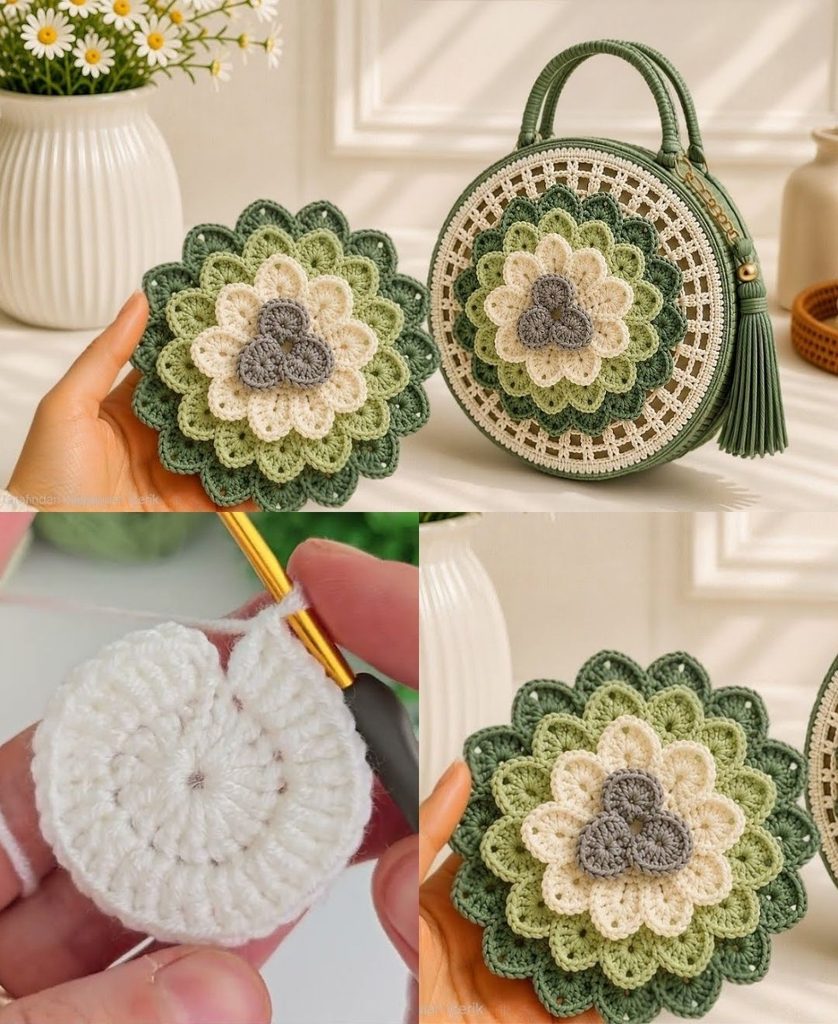
Would you like a guide on how to install a zipper into the top opening of this round bag, or would you prefer instructions for crafting a matching structural strap?
Video tutorial: