 by
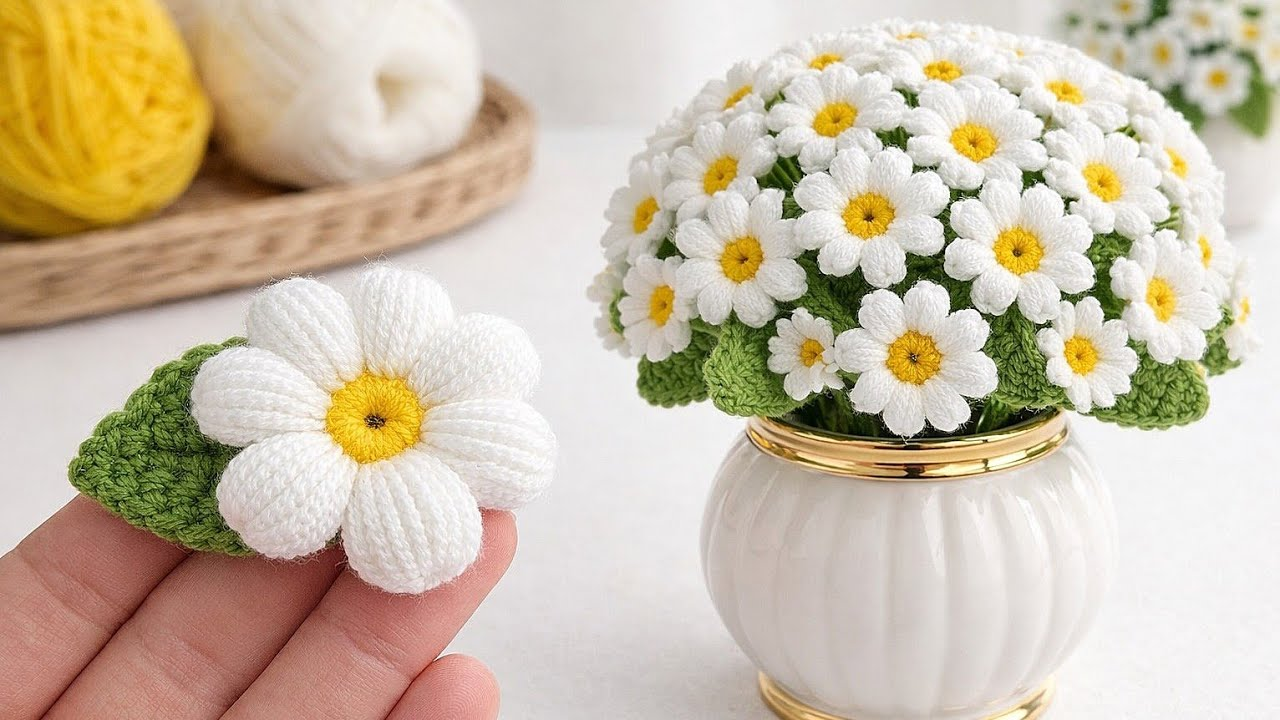
by A crochet bouquet (often referred to simply as “is crochet” or handmade floral arrangements) is a stunning, everlasting alternative to fresh flowers. Whether crafted for weddings, home decor, or sentimental gifts, a crochet bouquet brings together various botanical elements—ranging from classic roses and daisies to intricate 3D blooms—into a cohesive, hand-crafted arrangement.
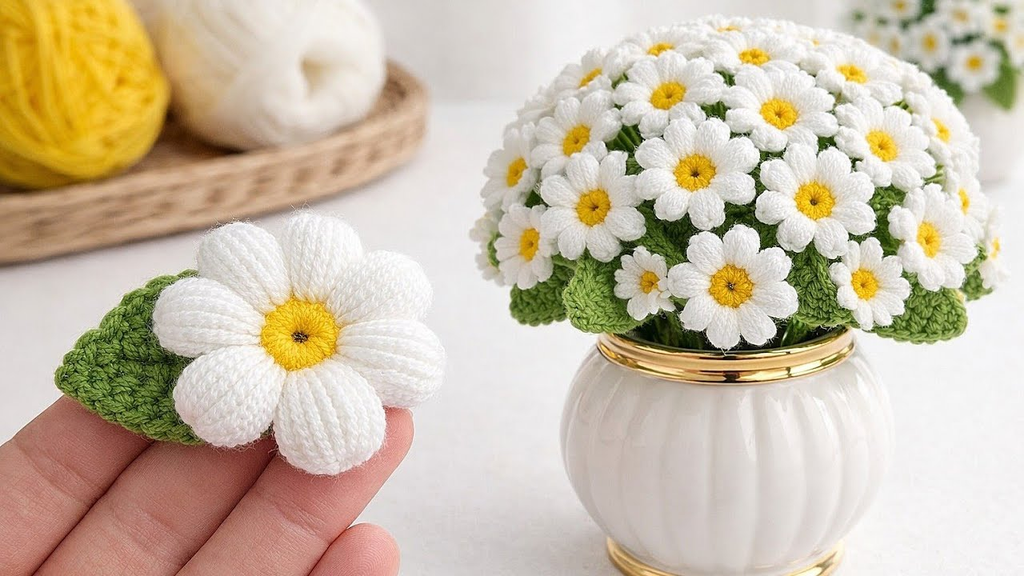
Here is your comprehensive masterclass on how to design, build, and assemble a breathtaking crochet flower bouquet from scratch.
🧶 The Essential Bouquet Toolkit
- Yarn:Sport weight or DK 100% cotton yarn. Cotton provides crisp definition for petals and leaves, ensuring they hold their shape without fuzziness or sagging.
- Palette: A mix of vibrant petal colors (e.g., dusty rose, ivory, yellow, and lavender) paired with rich botanical greens for stems and foliage.
- Hook: 2.5 mm to 3.5 mm. Using a hook smaller than the yarn weight recommends creates tight, compact stitches that give flowers structural integrity.
- Structural & Realism Supplies:
- 18-gauge floral wire for the primary stems.
- 28 or 30-gauge floral wire for wiring individual leaves and petals.
- Green floral tape for binding and wrapping.
- Hot glue gun or fabric glue for secure assembly.
- Fabric stiffener spray (optional, for holding crisp petal edges).
🌸 Step 1: Crafting Your Floral Mix
A professional-looking bouquet relies on visual variety. Instead of making every flower identical, combine different styles, textures, and sizes:
- The Statement Blooms (e.g., 3D Roses or Layered Blossoms):
- Craft multi-layered flowers using continuous spiral techniques or stacked petal rounds.
- Pro-Tip: Make some flowers fully bloomed (using large petal foundations) and others tight in bud form to mimic a real garden.
- The Accent Flowers (e.g., Daisies or Small Motifs):
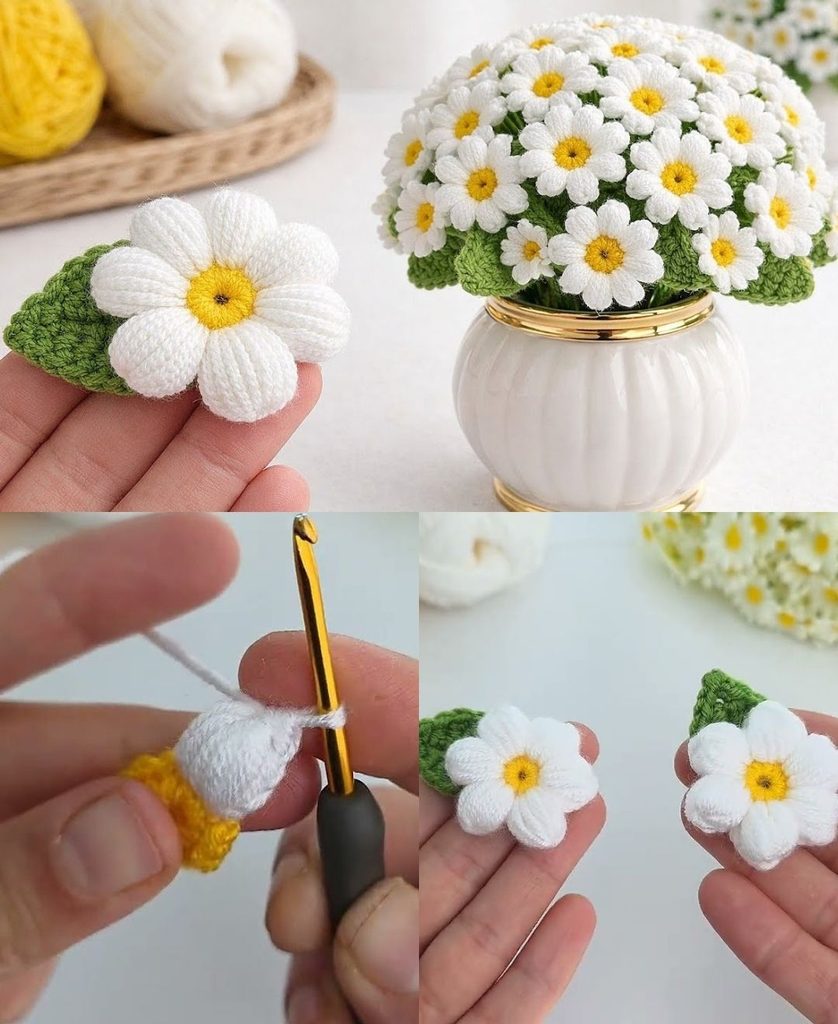
- Incorporate smaller, flat, or semi-3D flowers (like simple daisy motifs with contrasting yellow centers) to fill out the negative space between your larger statement roses.
- The Foliage (Wired Leaves):
- Crochet leaves over a thin piece of 28-gauge floral wire. Enclosing the wire directly inside the stitches allows you to bend and pose the leaves into realistic, windswept angles.

🌱 Step 2: Wiring and Stem Construction
To turn loose crochet flowers into a sturdy, arrangeable bouquet, proper wire support is non-negotiable.
- Preparing the Main Stem: Take a length of 18-gauge floral wire and bend a tiny $1/4$-inch loop at the top tip using pliers. This prevents the sharp wire end from poking through your crochet work.
- Mounting the Flower: Slide the looped wire up through the center opening at the back of your crocheted flower. Secure it with a dab of hot glue, and use a matching yarn tail to sew the flower base firmly around the wire loop.
- Adding the Calyx: Crochet a small green star-shaped calyx and glue it directly underneath the flower base to cleanly cover the transition into the stem.

💐 Step 3: Assembling and Wrapping the Bouquet
1. Stem Wrapping with Floral Tape
Do not leave your wire stems bare. Anchor your green floral tape right beneath the flower base and wrap it tightly downward at a $45^\circ$ angle, pulling slightly to activate the wax adhesive. As you travel down the stem, introduce your wired leaves into the wrap, binding them securely to the main stem.

2. Building the Arrangement
- Vary the Heights: Cut your floral wire stems to different lengths (ranging from 8 to 12 inches).
- The Dome Shape: Start with your tallest, most prominent flowers in the center, and layer shorter, framing flowers and filler greens around the perimeter to create a balanced, cascading dome.
- Securing: Bind the lower stems together tightly with a rubber band or twine so the arrangement stays locked in place.
3. The Boutique Presentation
Wrap the lower stems in rustic brown kraft paper, burlap, or delicate tissue paper, and tie it off with a wide satin or lace ribbon to complete your professional florist-style presentation.
✨ Pro-Tips for a High-End Finish
- Steam Fluffing: Hold your finished crochet blossoms over the steam of a kettle for a few seconds, then gently roll the outer petals outward with your fingers. The heat softens the cotton fibers, permanently setting your 3D petals into a wide, open bloom.
- The Scent Detail: Add a single drop of floral essential oil (such as rose or lavender) to the hidden underside of each flower base so your everlasting crochet bouquet carries a subtle, realistic garden fragrance!
Video tutorial: