 by
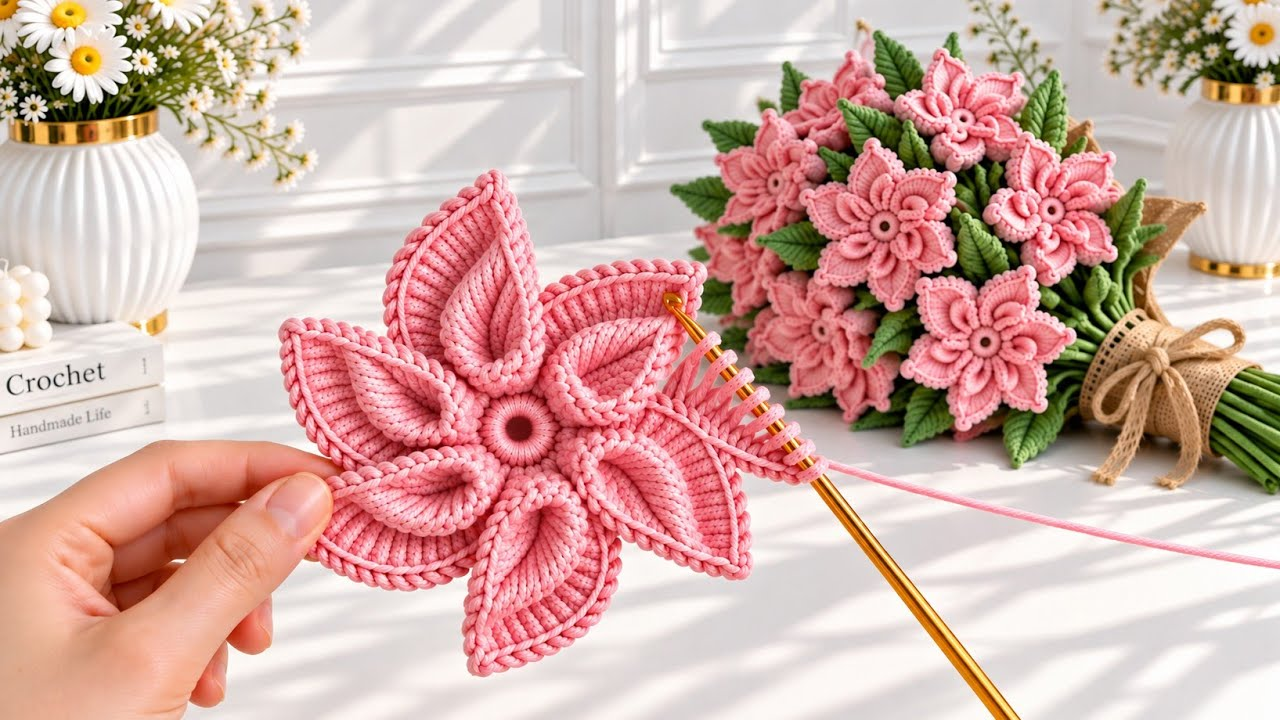
by Creating a stunning, easy 3D crochet flower bouquet is a delightful way to craft an everlasting floral arrangement that serves as both gorgeous home decor and a meaningful, handmade gift. By combining simple crochet techniques with proper structuring, you can achieve a vibrant, professional-grade bouquet that never fades.
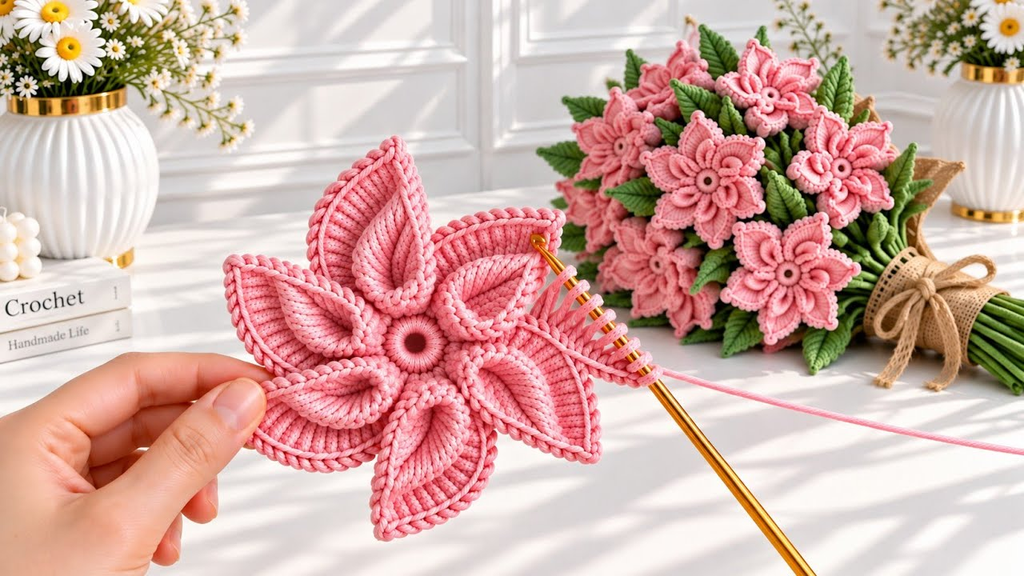
Here is your detailed, step-by-step masterclass on how to create an easy 3D crochet flower bouquet from scratch.
🧶 The Easy 3D Floral Bouquet Toolkit
- Yarn:Sport weight or DK 100% cotton yarn. Cotton provides crisp definition for the petals and prevents the flowers from drooping.
- Colors: A mix of vibrant petal hues (such as dusty rose, sunny yellow, lavender, or cream) and a rich botanical green for the stems and leaves.
- Hook: 3.0 mm or 3.5 mm. Using a slightly smaller hook ensures your stitches stay tight, giving the 3D petals structural integrity.
- Realism Supplies:
- 18-gauge floral wire for the main stems and 28-gauge floral wire for shaping leaves.
- Green floral tape for wrapping and binding.
- Hot glue gun (or fabric glue) for securing components.
🌸 Step 1: Crocheting the Easy 3D Blossom (The Layered Petal Method)
This beginner-friendly approach creates a lush, dimensional flower using a simple continuous round technique.
- The Center Core:
- With your center color (e.g., yellow),
ch 4and join with asl stto form a ring. ch 1, work 10 sc into the ring. Join with asl st. Fasten off yellow.
- With your center color (e.g., yellow),
- The Inner Petals:
- Attach your main petal color into any stitch.
ch 3, work2 dcinto the same stitch,ch 3,sl stinto the next stitch.- Repeat this around to form 5 small, rounded petals. Fasten off.
- The 3D Back Petals (Creating Depth):
- To make the flower truly 3D and voluminous, work a second, larger layer directly behind the first.
- Attach your yarn to the back loops of the center ring.
ch 4, work3 tr(treble crochet) into the same loop,ch 4,sl stinto the next back loop. Repeat around. This creates a larger, underlying halo of petals that pushes the inner petals forward for a gorgeous 3D blooming effect.

🌱 Step 2: Crafting the Stems and Leaves
1. Preparing the Main Stem
- Take a length of 18-gauge floral wire. Bend a tiny $1/4$-inch loop at the top tip using pliers so the sharp wire end never punctures your crochet work.
2. The Wire-Supported Leaf
ch 10with green yarn. Lay a 28-gauge floral wire directly along the length of the chain.- Work
1 sc, 1 hdc, 4 dc, 1 hdc, 1 scdirectly over the chain while trapping the wire underneath your stitches. - Why wire? Because the wire is locked into the center vein, you can bend and pose your leaves into realistic, windswept angles that will never sag.

💐 Step 3: Assembling Your Bouquet
- Mounting the Flower: Slide the looped end of your 18-gauge stem wire up through the center hole at the back of your 3D crochet flower. Secure it firmly with a dab of hot glue at the base, and use a matching yarn tail to sew the flower base securely around the wire loop.
- Adding the Calyx: Crochet a small 5-pointed star shape using green yarn and glue it directly underneath the flower base to cover the transition into the stem.
- Wrapping with Floral Tape: Take your green floral tape, anchor it right beneath the flower base, and wrap it tightly downward at a $45^\circ$ angle, pulling gently to activate the wax adhesive. As you move down the stem, incorporate your wired leaves into the wrap.
- Arranging the Bouquet: Make 5 to 7 flowers in varying sizes and heights. Bundle them together into a balanced dome shape, secure the lower stems with a rubber band, and wrap the handle in rustic burlap or satin ribbon for a polished, boutique presentation.

✨ Pro-Tips for a Professional Finish
- Steam Blocking: Before assembling your flowers, hold the completed blossoms over the steam of a kettle for a few seconds, then gently press the petals outward with your fingers. The steam softens the cotton fibers, permanently setting your 3D petals into a wide, open bloom.
- Scent Detail: Add a single drop of your favorite floral essential oil (like rose or lavender) to the hidden underside of the flower bases so your crochet bouquet smells just like a real garden!
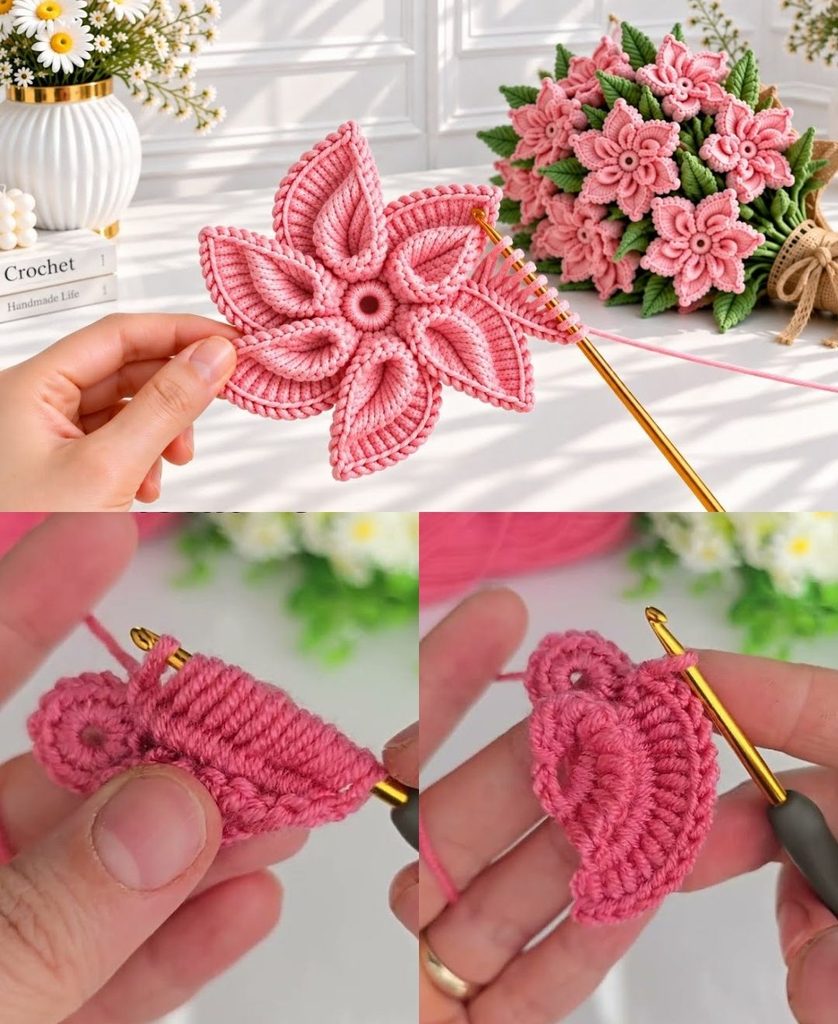
Video tutorial: