 by
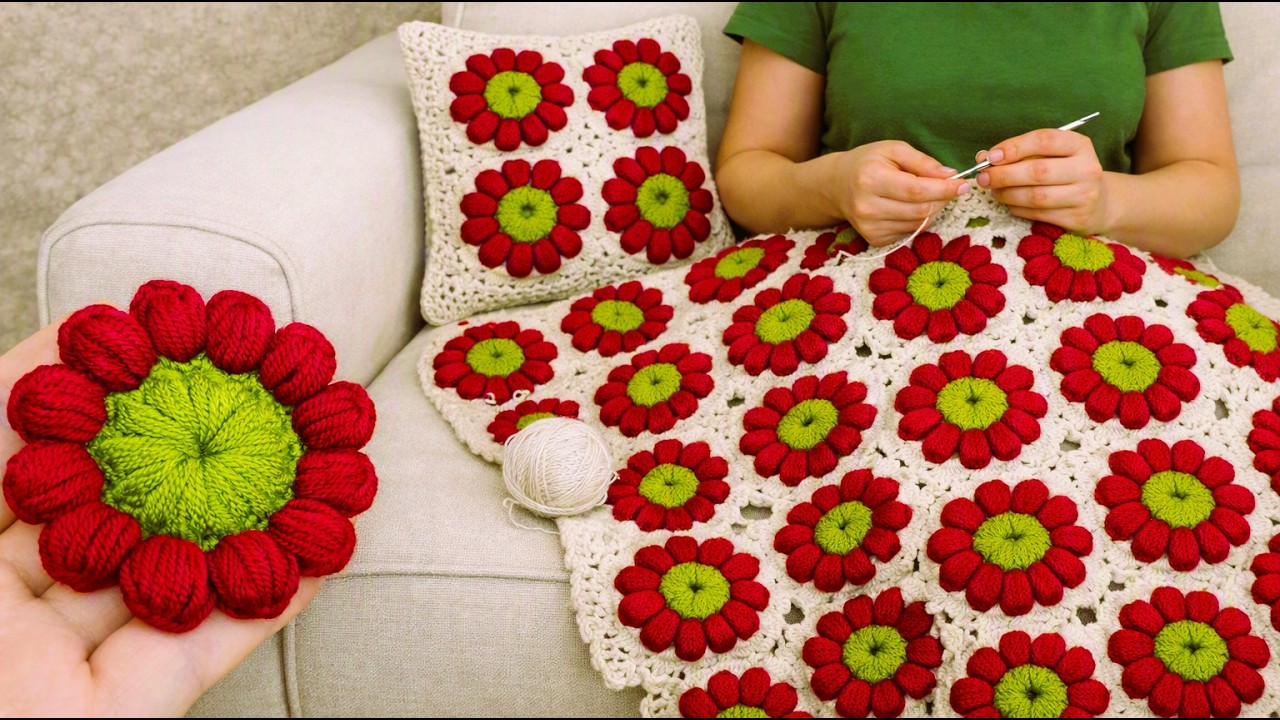
by Creating a super-soft, cozy blanket and matching pillow motif using knitting (rather than crochet) is one of the most relaxing and satisfying home decor projects. By using chenille or “blanket” yarn and large needles, you can knit a luxurious, heirloom-quality piece with an incredibly plush texture using basic stitches.
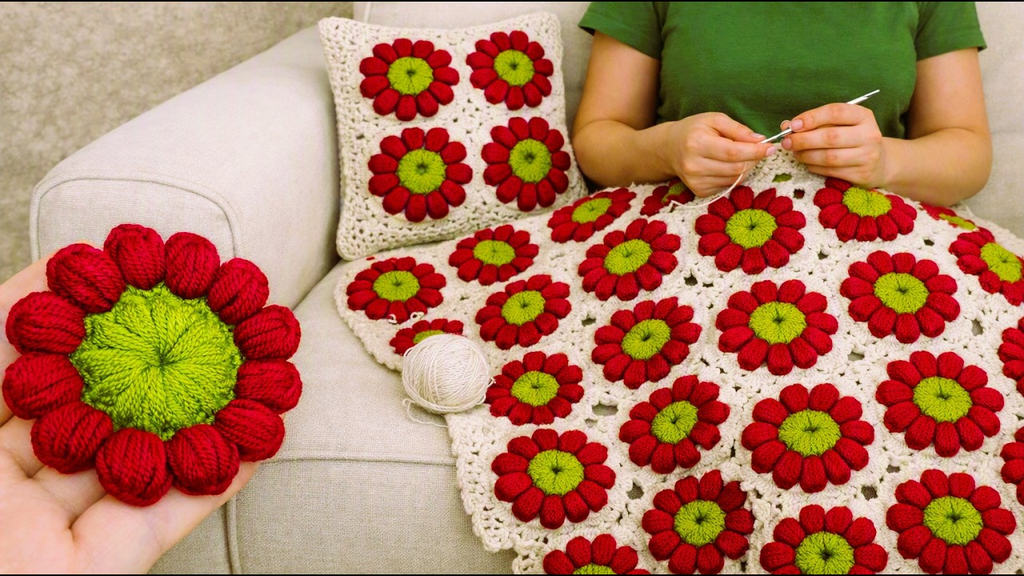
Here is your detailed, step-by-step guide to knitting an ultra-soft blanket and a matching pillow motif using a very easy technique.
🧶 The Super-Soft Knitting Toolkit
- Yarn: Super Bulky (Size 6) Chenille or Velvet Yarn (such as Bernat Blanket yarn). This yarn is famously plush, velvety, soft, and hides minor tension inconsistencies, making it ideal for beginners.
- Needles: 10.0 mm (US 15) or 12.0 mm (US 17) knitting needles (circular needles are recommended even for flat knitting, as they easily support the weight of a heavy blanket across your lap).
- Extra Supplies: Tapestry needle for weaving ends, and a standard pillow form (approx. 16×16 inches) if you are making the matching pillow motif.
- Stitch Key:
- K: Knit
- P: Purl
🛏 Part 1: Knitting the Super-Soft Blanket
The easiest, most foolproof stitch pattern that yields a gorgeous, modern texture without curling is the Seed Stitch or Moss Stitch (alternating knit and purl stitches).
Step 1: The Cast-On
- Using your super bulky yarn and large needles, cast on an even number of stitches (e.g., 60 stitches for a generous throw blanket width).
- Tip: Because chenille yarn is thick and fuzzy, cast on loosely so your first row is easy to work into.

Step 2: The Seed Stitch Rhythm (Rows 1 & 2)
- Row 1:
K1, P1repeat across to the end of the row. - Row 2:
P1, K1repeat across to the end of the row. (Note: On Row 2, you will purl over the knit stitches and knit over the purl stitches from the previous row). - Why this works: The Seed Stitch creates a squishy, textured fabric that lies completely flat on both sides (no curling edges) and feels like a cloud against the skin.
Step 3: Growing the Blanket
- Continue repeating Rows 1 and 2 until your blanket reaches your desired length (usually around 50 to 60 inches for a standard throw).
- Bind off loosely in pattern, cut your yarn, and use a tapestry needle to securely weave in the fuzzy tails.

🛋 Part 2: Knitting the Matching Pillow Motif
To tie your room decor together, make a matching pillow cover using the exact same stitch pattern and yarn!
Step 1: Knitting the Panels
- Cast on 35 to 40 stitches (adjust based on the size of your pillow insert).
- Work the exact same Seed Stitch (
K1, P1alternating rows) until your knitted square matches the height of your pillow form. - Bind off. You will need two identical squares (one for the front, one for the back) to make a removable envelope or sewn cushion cover.
Step 2: Assembling the Pillow
- Lay your two knitted squares right-sides facing outward, sandwiching your pillow insert in between (or sew three sides closed first, insert the pillow form, and slip-stitch the final side shut).
- Using a tapestry needle and a length of your chenille yarn, whip-stitch the edges of the squares together securely. Because chenille yarn is thick, your stitches will naturally disappear into the fuzz, creating a seamless finish.
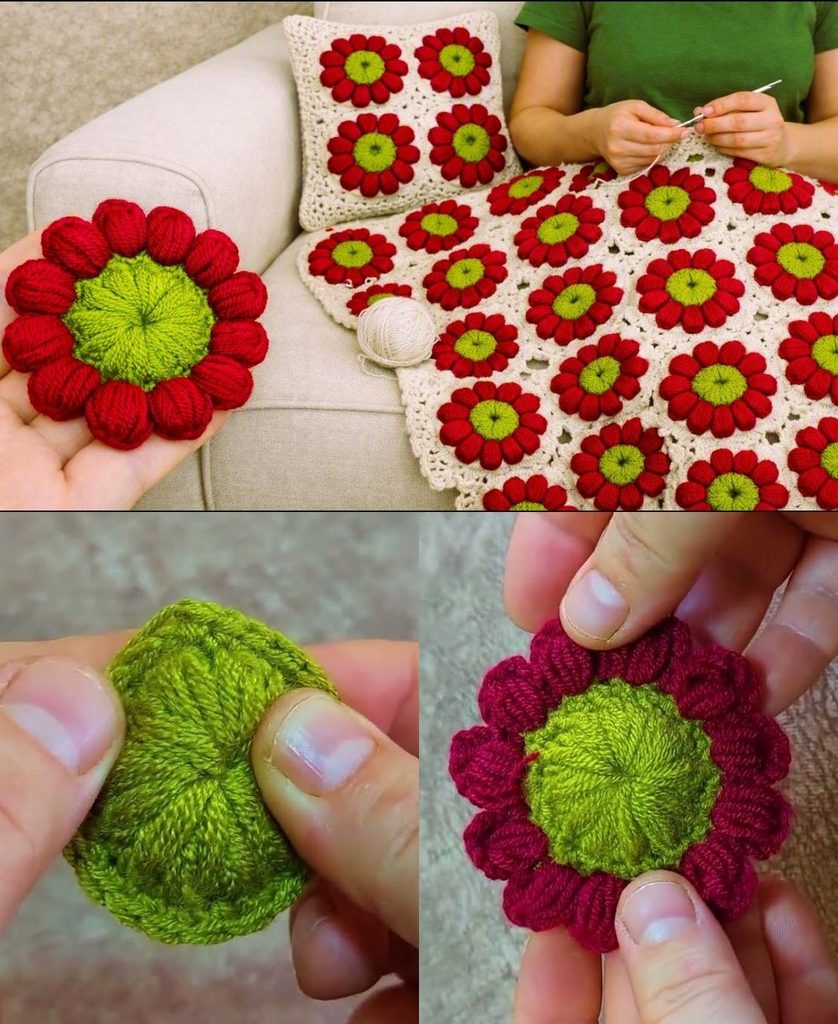
✨ Pro-Tips for Working with Chenille Yarn
- Handling the Ends: Chenille yarn has a tendency to shed its fuzzy plush exterior if pulled too hard, leaving a bare string core. When securing your ends, tie a gentle knot before weaving, and weave the tails back and forth through multiple stitches to lock them in place permanently.
- No Blocking Needed: Unlike cotton or wool projects that require rigorous steam blocking, chenille blanket yarn holds its shape naturally and blooms into an even softer texture after its first gentle machine wash and dry.
Video tutorial: