by
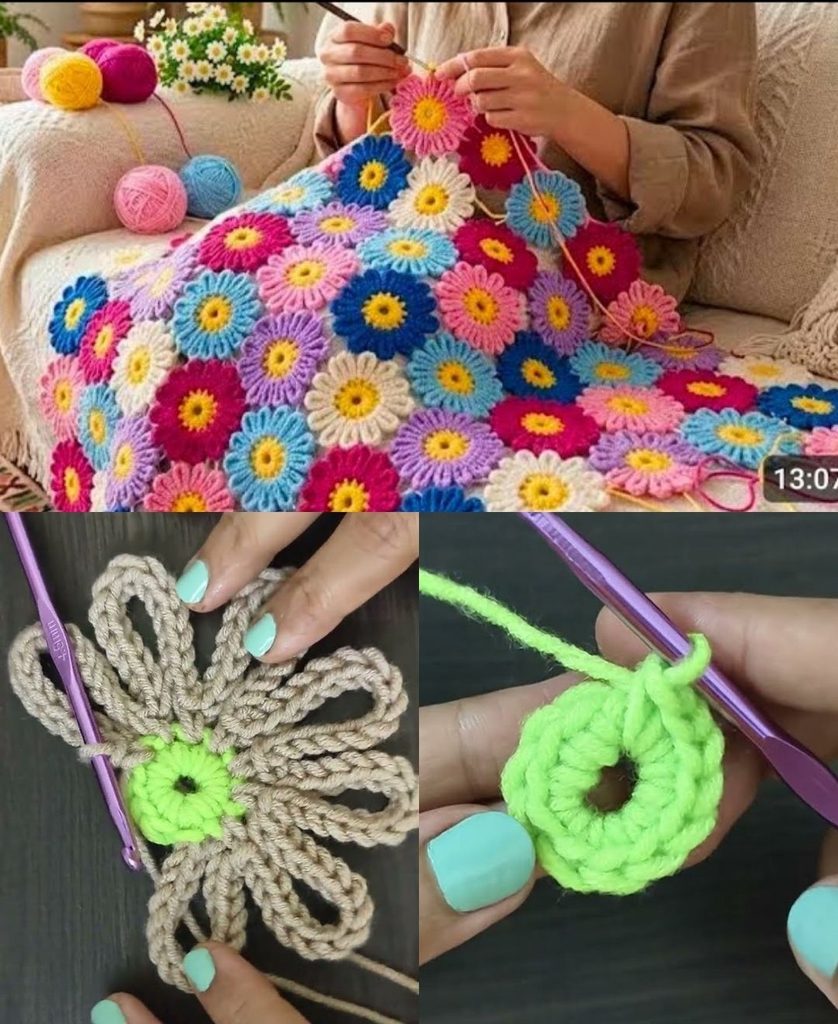
by Creating a Daisy Throw is one of the most rewarding beginner-friendly projects because it allows you to make a stunning, boutique-quality heirloom blanket without mastering complicated stitches. By using a “super simple” join-as-you-go method and clean color blocking, you can achieve a high-end designer look with basic crochet skills.
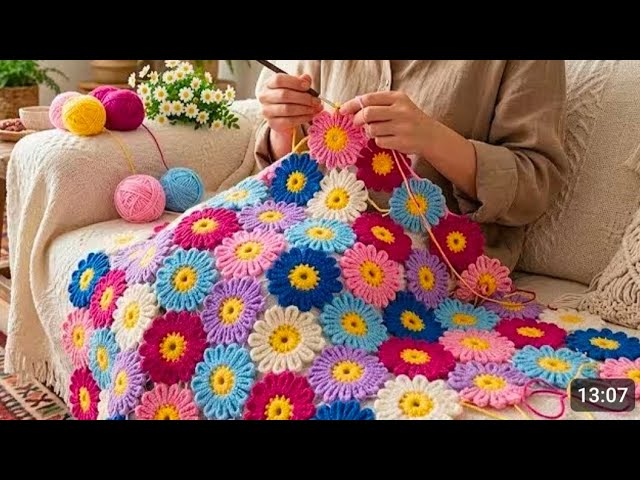
Here is your detailed, step-by-step masterclass on how to crochet a gorgeous daisy throw designed specifically for beginners.
🧶 The Beginner-Friendly Toolkit
- Yarn:Worsted weight (Size 4) acrylic or cotton blend. Choose a soft, durable yarn that is easy to wash (essential for a throw blanket).
- Colors: Sunshine Yellow (for the daisy centers), Crisp White (for the daisy petals), and a rich background color like Sage Green, Charcoal, or Cream (to frame the squares).
- Hook: 5.0 mm (H/8). This is a forgiving hook size that makes your stitches easy to see and work into.
- Stitch Key (US Terms):
- ch: Chain
- sl st: Slip Stitch
- sc: Single Crochet
- hdc: Half Double Crochet
- dc: Double Crochet

🌼 Step 1: Crocheting the Super Simple Daisy Motif
Instead of complex joining techniques, you will make simple square motifs where a blooming daisy sits right in the center.
Round 1: The Yellow Center
- With your Yellow yarn,
ch 4and join with asl stto form a ring. ch 2(counts as first hdc), and work 11 hdc into the ring. (12 stitches total).- Join with a
sl stto the top of the initial chain. Fasten off yellow.
Round 2: The White Petals
- Attach your White yarn into any stitch.
ch 3, work 2 dc cluster (or 2 dc) into the same stitch, ch 1.- Work 2 dc in every stitch around with a
ch 1space between each petal group. You will have 12 white petal clusters. - Join with a
sl st. Fasten off white.
Round 3: Squaring the Daisy (The Background Color)
- Attach your Background Color (e.g., Sage Green or Cream) into any
ch-1space between the white petals. - The Corner:
ch 3(counts as dc), work(2 dc, ch 2, 3 dc)in that same space to form your first corner. - The Side: In the next space, work 3 hdc. In the space after that, work 3 hdc again.
- Next Corner: Work
(3 dc, ch 2, 3 dc)in the next space. - Repeat this pattern around (corners get
3 dc, ch 2, 3 dc, and two side gaps get3 hdcgroups) to turn your round daisy into a crisp, perfect square. - Join with a
sl st. Fasten off, leaving a tail for weaving.

🧩 Step 2: The Super Simple “Join-As-You-Go” Method
Instead of sewing dozens of squares together at the end (which can be tedious for beginners), use the Join-As-You-Go (JAYG) method on the final round of your squares, or use a simple Flat Slip Stitch Join.
- The Layout: Arrange your completed daisy squares on the floor in a grid (e.g., 6 squares wide by 8 squares long for a standard throw). Play with the placement until you love the flow.
- The Connection: When working Round 3 of a new square, substitute the corner
ch-2spaces and sidech-1spaces with a simplesl stdirectly into the corresponding spaces of the already-completed neighboring square. - Result: Your squares link together organically as you crochet them, eliminating the need for a separate assembly phase!
✨ Step 3: The Boutique Finishing Touches
- The Border Frame: Once all your squares are joined into a blanket, do not leave the outer edge raw. Attach your background color to any corner and work 2 to 3 rounds of simple half double crochet (hdc) all the way around the perimeter, working
(hdc, ch 2, hdc)in the outer corners to keep them sharp. - Blocking (The Secret to Professionalism): Even for a beginner blanket, blocking makes a dramatic difference. Lay your finished throw flat on a clean surface or blocking mats, pin the outer edges so the blanket forms a clean rectangle, and mist it thoroughly with water or steam. Once dry, your squares will line up in flawless, crisp rows.
- Weaving Ends: Take your time using a tapestry needle to weave in all yarn tails back and forth through the back of the stitches for at least an inch so your blanket remains secure through machine washing.
💡 Beginner Pro-Tip
If you want to make this even simpler, keep all your daisy centers yellow and all your petals white, but change the background color of every square to match a specific color palette (like shades of blue and sage). This creates a cohesive, high-end designer throw that looks complex, even though every single square is made using the exact same beginner-friendly pattern!
Video tutorial: