 by
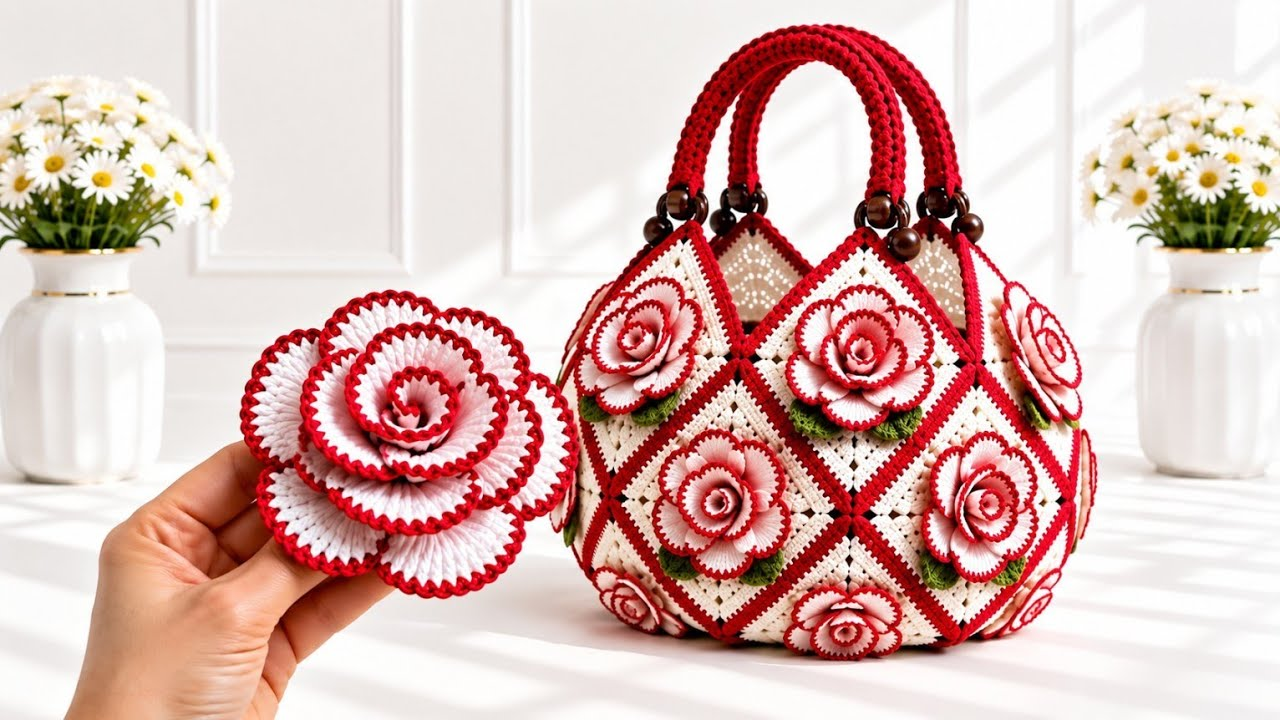
by Creating a 3D Flower Bag is the ultimate way to blend artistic, tactile design with practical fashion. By turning raised, blooming floral motifs into a structured handbag, you achieve a piece that looks like a high-end designer accessory.
Because bags must bear weight and resist sagging, constructing a stunning 3D crochet bag requires precise stitch work, heavy-duty yarn choices, and essential structural reinforcement. Here is your detailed masterclass on how to create a breathtaking 3D Flower Bag from scratch.
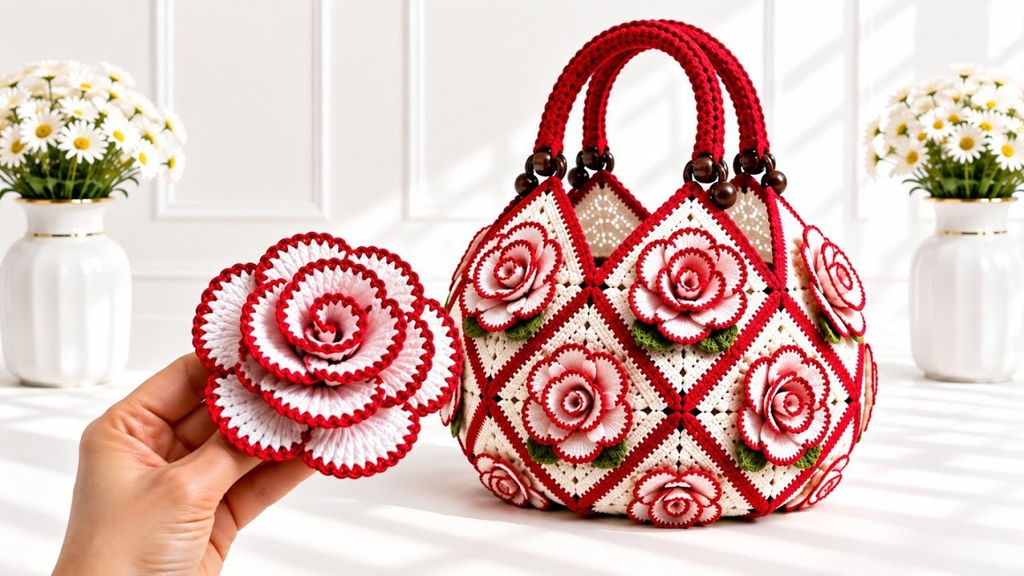
🧶 The Professional 3D Flower Bag Toolkit
- Yarn: 100% Cotton (DK or Worsted weight). Cotton is non-stretchy and provides the crisp, firm definition required for 3D petals. Avoid soft acrylic, which will stretch out of shape under the weight of your belongings.
- Hook: 3.5 mm or 4.0 mm. Using a hook slightly smaller than recommended for your yarn creates the tight tension necessary for a sturdy, professional fabric.
- Extra Supplies:
- Tapestry needle for weaving ends.
- Cotton fabric for an interior lining (mandatory to prevent items from slipping through floral gaps).
- Plastic canvas mesh or cardboard for bottom and wall support.
- Handles (wooden, bamboo, leather, or sturdy braided crochet).
🛠 Phase 1: Crafting the 3D Flower Motifs
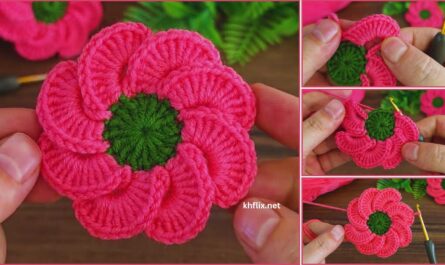
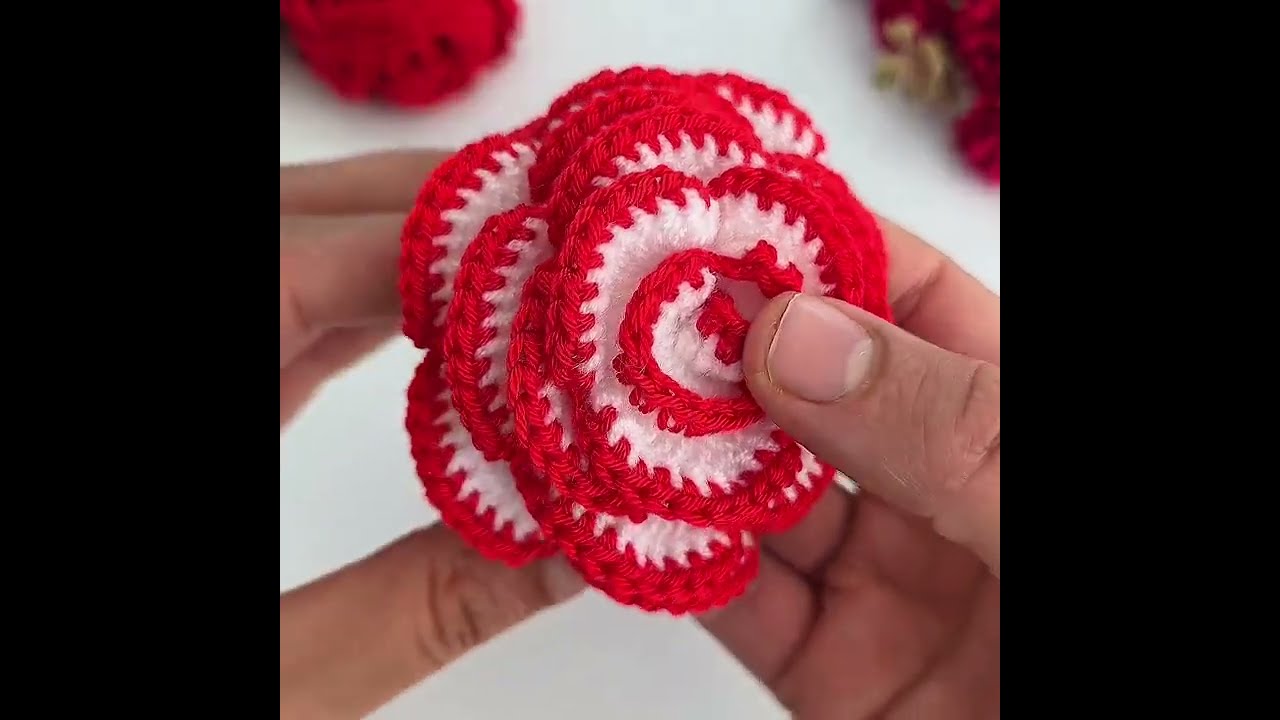
The heart of this bag is the raised, multi-layered floral square or circle. The most popular choice is the 3D “Popcorn” or “Puff Stitch” Flower Motif.
- The Center Core (The Flower Pistil):
- With your center color (e.g., sunny yellow),
ch 4and join with asl stto form a ring. ch 3(counts as firstdc), work 11 dc into the ring. Join with asl st(12 stitches total). Fasten off.
- With your center color (e.g., sunny yellow),
- The 3D Popcorn Petals:
- Join your petal color (e.g., crisp white, soft pink, or lavender) in any stitch.
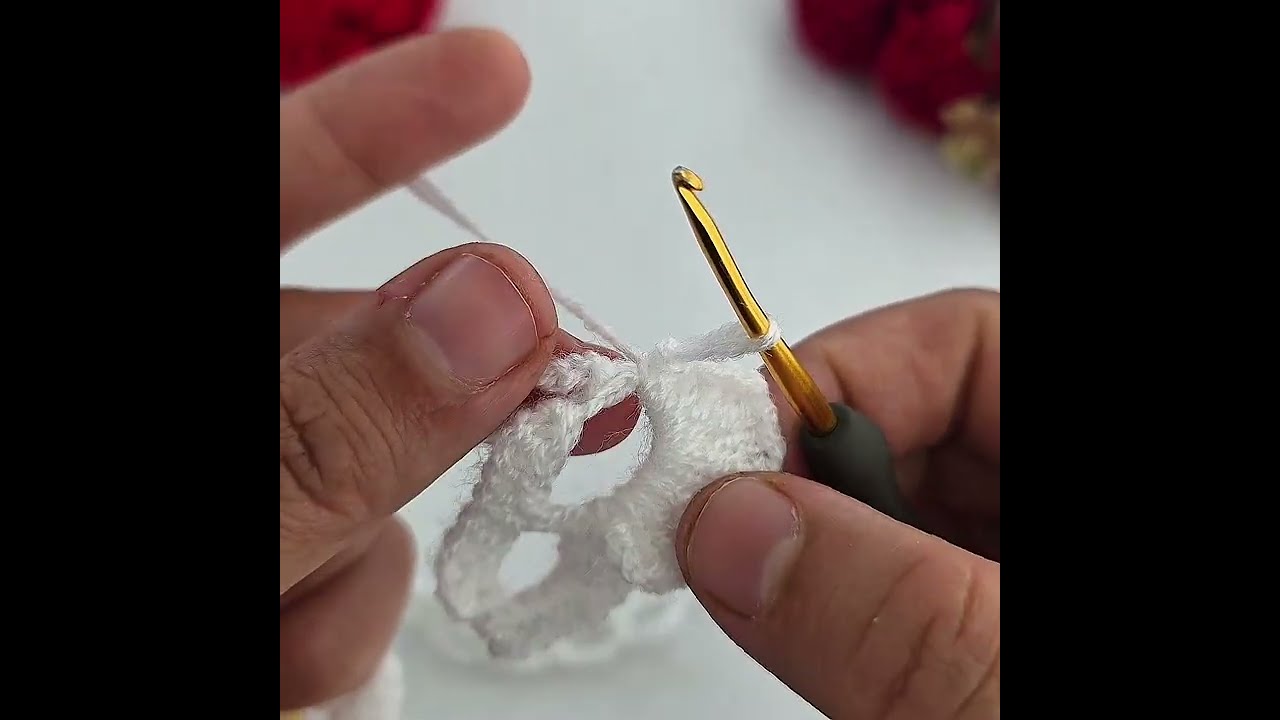
- Work a Popcorn (PC) stitch: 4 or 5
dcinto the same stitch, remove your hook, insert it into the top of the firstdc, grab your working loop, and pull it through. ch 2. Work a PC stitch in the next stitch,ch 2. Repeat around until you have 12 3D petals blooming outward. Fasten off.
- The Square-Off Round (Framing the Flower):
- Join your background/bag color (e.g., forest green, beige, or black) in any
ch-2space behind the petals. - Work your corners
(3 dc, ch 2, 3 dc)and side spaces(3 dc)to turn your round flower into a crisp, geometric square.
- Join your background/bag color (e.g., forest green, beige, or black) in any
🛠 Phase 2: Assembling the Bag Structure
To construct a standard box-style tote, you will need multiple motifs arranged with precision.
- The Motif Count: For a standard tote, you will need 13 identical 3D flower squares (4 for the front panel, 4 for the back panel, 2 for the sides, 2 for the bottom, and 1 extra or substituted with solid squares for internal reinforcement if desired).
- The Professional Join: Avoid bulky seams. Use the Flat Slip Stitch Join working through the back loops only of your squares. This creates a smooth, almost invisible, woven-looking seam on the front that mimics high-end boutique construction.
- Shaping: Sew your panels into an open box or 3D tote configuration, ensuring the 3D flowers face outward uniformly.
🌟 Phase 3: Structural Integrity & “Boutique” Finishes
A 3D flower bag will sag and droop if you do not add interior reinforcement. These finishing touches transform your project into a true luxury piece:
1. The Non-Negotiable Fabric Lining
Because floral motifs feature open textures and gaps between petals, you must line the bag.
- Cut a cotton fabric to match the exact interior dimensions of your bag.
- Sew it into a matching pouch, fold the top edge inward, and hand-stitch it neatly to the inner rim of your crochet opening.

2. Base and Wall Support
- Cut a piece of stiff plastic canvas to the exact dimensions of the bag’s bottom base and slip it inside beneath your fabric lining. This ensures the bottom stays flat and never sags when you set your bag down.
3. The Reinforced Rim & Handles
- Work 2 to 3 rounds of tight single crochet (sc) around the top opening of the bag.
- Pro-Trick: Lay a piece of nylon paracord inside the top stitches and crochet right over it (“carrying the cord”) to give the rim unyielding strength.
- Attach wooden or bamboo handles by crocheting small, tight 4-stitch-wide tabs around the hardware and securing them firmly to the inside of the reinforced top rim.
✨ Pro-Tips for Success
- Block Every Square: Before assembling your bag, pin every single 3D flower square to a blocking board, spray or steam them, and let them dry completely. This forces the petals and frames into sharp, uniform shapes.
- Color Hierarchy: Use a variety of vibrant, contrasting colors for your 3D flower petals, but keep the outer framing round (the square-off phase) the exact same neutral color for every square. This unifies the entire bag, making the diverse flowers look like an intentional, curated garden.
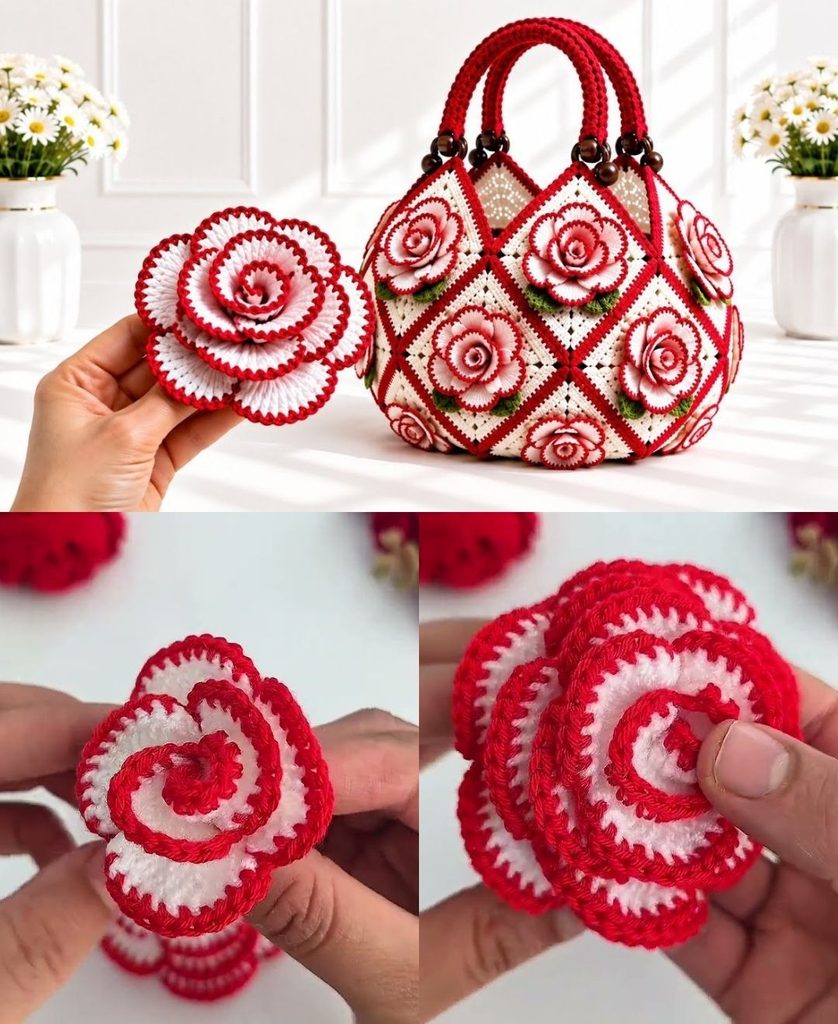
Video tutorial: