 by
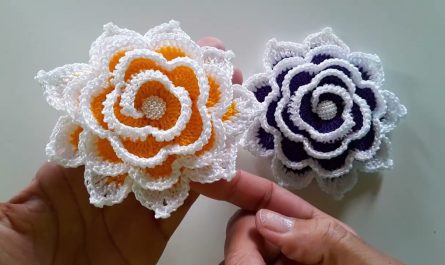
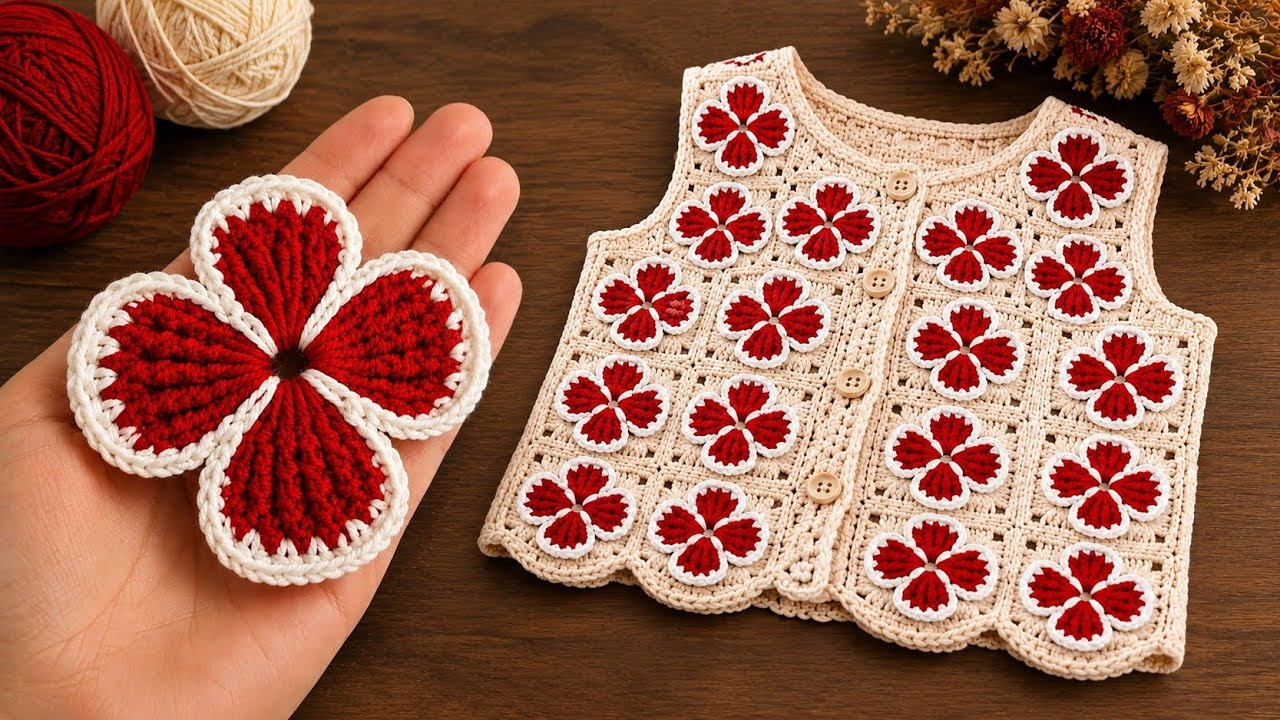
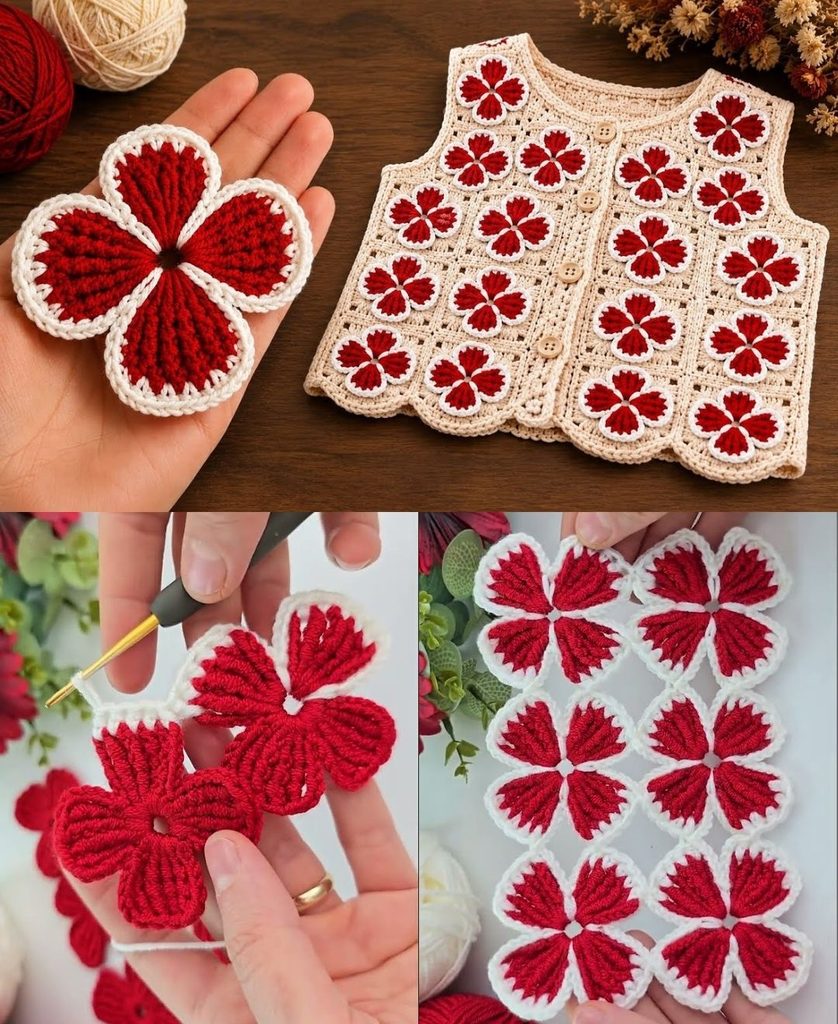
by Creating a Flower Motif Vest is a phenomenal way to elevate your handmade wardrobe into high-end boutique fashion. By combining intricate floral squares or 3D blossom motifs with expert structural framing, you can craft a wearable statement piece that pairs artisan charm with tailored elegance. Furthermore, the exact same floral motif principles can be adapted to create matching bags, table runners, and classic granny square blankets to tie your entire handmade collection together.
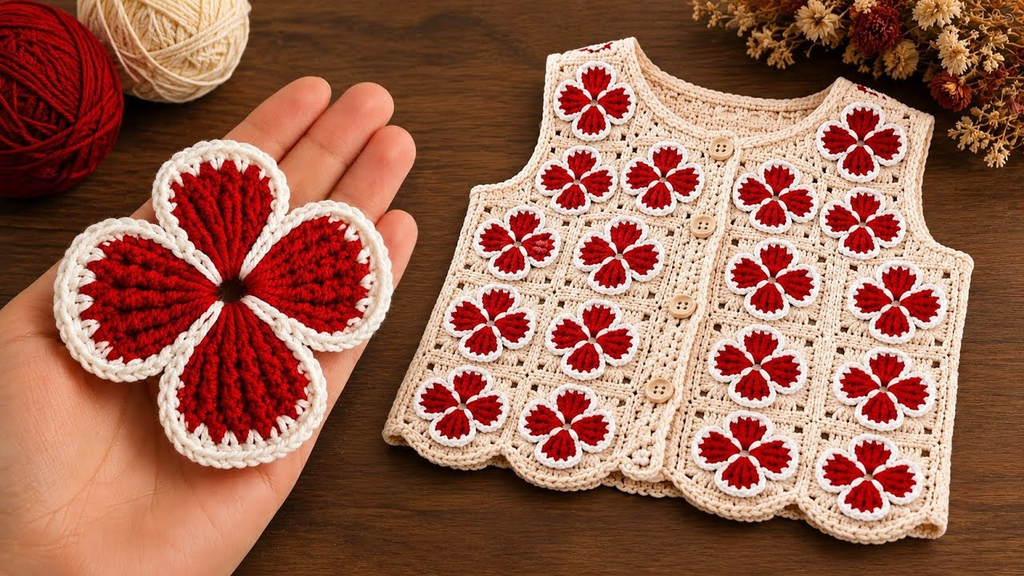
Here is your detailed, step-by-step masterclass on how to crochet a stunning Flower Motif Vest and adapt the motifs into your choice of home and fashion projects.
🧶 The Professional Flower Motif Vest Toolkit
- Yarn:Sport weight or DK 100% cotton yarn. Cotton is essential for garments and motif projects because it has minimal stretch, keeping your stitches crisp, defined, and preventing the vest from sagging over time.
- Palette: Vibrant, contrasting colors for the flower centers and petals, paired with a unifying neutral background color (such as cream, beige, or charcoal) for framing and joining the squares.
- Hook: 3.5 mm or 4.0 mm. A snug hook size ensures a tight, dense gauge, giving the vest fabric structure and durability.
- Extra Supplies:
- Tapestry needle for weaving in ends.
- Stitch markers to map out armhole and neckline placement.
- Blocking mats and pins (mandatory for garments!).
🌸 Step 1: Crafting the Master Flower Motif Square
The building block of your vest is a stunning geometric square featuring a prominent floral center.
- Round 1 (The Flower Center):
- With your center color (e.g., sunny yellow),
ch 4and join with asl stto form a ring. ch 1, work 12 sc (single crochet) into the ring. Join with asl st. Fasten off center color.
- With your center color (e.g., sunny yellow),
- Round 2 (The Blooming Petals):
- Join your petal color (e.g., dusty rose or cream) into any stitch.
ch 3(counts as dc), work 2 dc cluster (or 2 dc) in the same stitch,ch 2. Work 2 dc in every stitch around with ach 2space between each petal group (12 petal clusters total). Join with asl st. Fasten off.
- Round 3 (Squaring the Motif):
- Join your background color (e.g., beige or black) into any
ch-2space between the petals. - Work your corners
(3 dc, ch 2, 3 dc)and side spaces (3 hdcgroups) to transform your round floral blossom into a crisp, geometric square. Fasten off, leaving a long tail for assembly.
- Join your background color (e.g., beige or black) into any

🧥 Step 2: Assembling and Tailoring the Vest
Unlike blankets or flat runners, a vest requires a precise architectural layout to fit the contours of the body.
- Calculating Your Panel Layout:
- Determine your measurements and map out your grid. A standard vest is built from three main panels: a Back Panel (e.g., 4 squares wide by 5 squares high) and two Front Panels (e.g., 2 squares wide by 5 squares high each).
- The Invisible Join:
- Join your squares together using the Flat Slip Stitch Join working through the back loops only of your square edges. This keeps the seams completely flat and flexible against your body.
- Shaping Shoulders, Armholes, and Neckline:
- Seam the front and back panels together at the top shoulders, leaving a central opening for your neck and side openings for your arms.
- The Tailored Border: Attach your background yarn to the underarm and work 2 to 3 rounds of tight single crochet (sc) around the armhole and front opening edges. This creates a polished, professional finish that prevents stretching.

👜 Step 3: Adapting Your Flower Motifs Into Other Projects
Because the flower motif square is entirely modular, you can easily scale your project count to create matching accessories and decor:
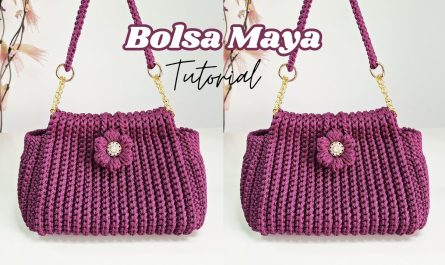
Option A: The Matching Flower Motif Bag
- Motif Count: Make 12 to 16 identical flower squares and join them into an open box or tote configuration.
- Boutique Finish: Sew a custom cotton fabric lining pouch inside the bag so small items don’t slip through the stitches. Work 3 rounds of single crochet along the top rim, carrying a piece of nylon cord inside the stitches to create an unyielding rim that supports the bag’s weight.
Option B: The Elegant Table Runner
- Motif Count: Join your flower squares in a continuous horizontal strip (e.g., 1 square wide by 6 to 8 squares long) down the center of your dining table.
- Boutique Finish: Add a delicate picot or single crochet border around the entire outer perimeter and steam-block heavily so it lies completely flat.

Option C: The Heirloom Granny Square Blanket
- Motif Count: Scale your yarn up to worsted weight and construct a large grid of squares (e.g., 5 squares wide by 6 squares long).
- Boutique Finish: Frame the entire throw with a lush, 3-round border of half-double crochet stitches in your background color to anchor the vibrant floral design.
✨ Pro-Tips for a Professional Finish
- Block Every Single Square: Before assembling your vest, bag, runner, or blanket, pin every flower square tightly to blocking mats, mist or steam them thoroughly, and let them dry flat. Crisp, uniform squares make assembly seamless and give your finished pieces an immaculate, high-end appearance.
- Unified Background Color: Keep your background framing yarn identical across all projects (vest, bag, and home decor) to establish a cohesive, designer-curated aesthetic!
Video tutorial: