 by
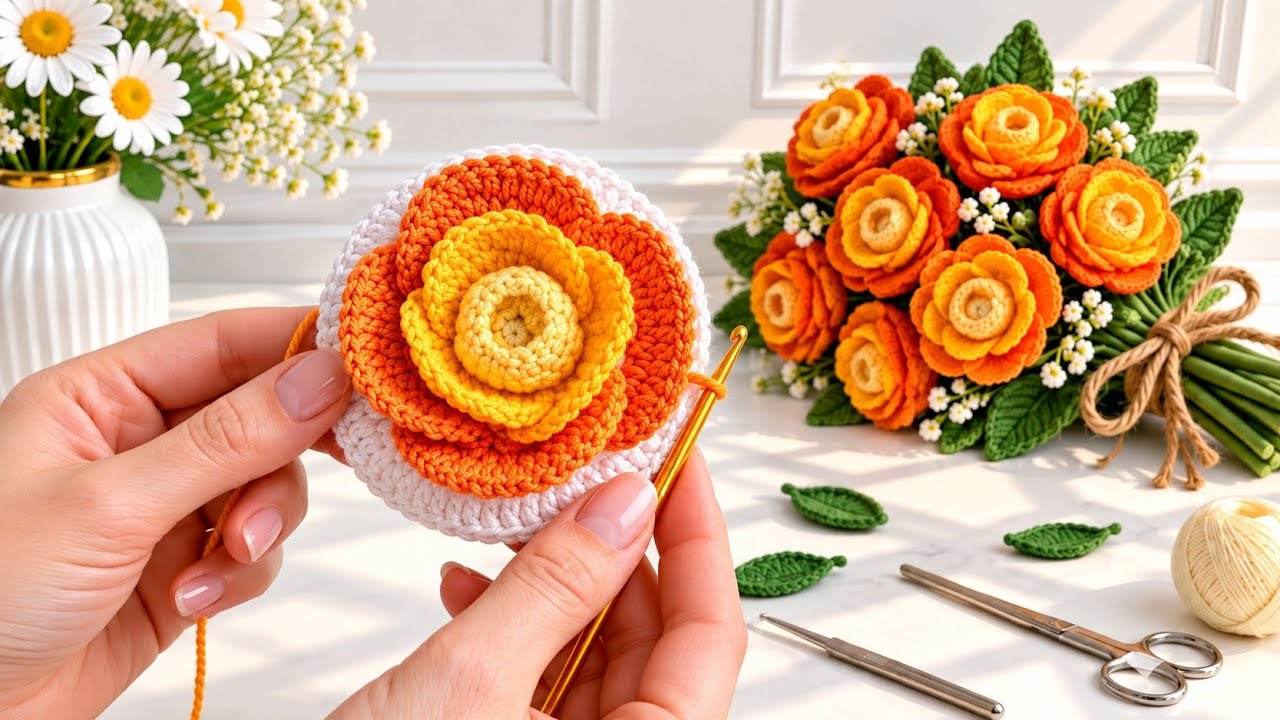
by Creating a Stunning Crochet Rose Flower Bouquet is one of the most rewarding ways to craft an everlasting botanical arrangement. Unlike standard flat motifs, crochet roses utilize clever rolling techniques and layered petal construction to capture the rich, romantic depth of real garden roses.
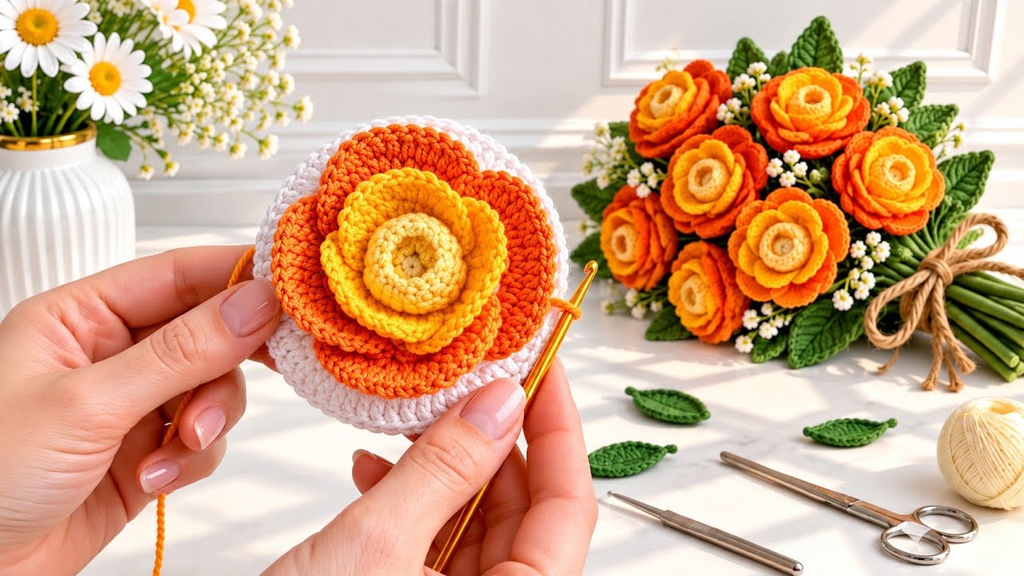
Here is your detailed, step-by-step masterclass on how to crochet a breathtaking rose bouquet from scratch, complete with structural wire stems and professional assembly.
🧶 The Professional Rose Bouquet Toolkit
- Yarn:Sport weight or DK 100% cotton yarn. Cotton provides crisp, clean stitch definition and prevents the petals from looking fuzzy or collapsing.
- Palette: A luxurious mix of rose hues (such as dusty blush, deep crimson, soft peach, or antique cream) paired with a rich botanical green for the leaves and calyx.
- Hook: 3.0 mm or 3.5 mm. A slightly snug hook keeps your stitches compact, ensuring the rose petals hold their sculpted shape.
- Structural & Realism Supplies:
- 18-gauge floral wire for the primary main stems.
- 28-gauge floral wire for wiring and shaping individual leaves.
- Green floral tape for wrapping and binding.
- Hot glue gun (or fabric glue) for secure anchoring.
🌹 Step 1: Crocheting the Classic Rolling Rose (The Easiest & Most Realistic Method)
This technique works up in a single, long straight strip of stitches that is simply rolled up into a gorgeous, layered rosebud.
- The Foundation Chain:
- With your rose color,
ch 48(for a medium-sized rose; add more chains for a larger, fuller garden rose).
- With your rose color,
- Row 1 (The Petal Base):
- In the 4th chain from the hook, work 3 dc (double crochet) into the same chain.
- Skip the next chain, and work
(1 sc, ch 2, 3 dc)into the following chain. - Repeat this pattern
(skip 1, work 1 sc, ch 2, 3 dc into the next)all the way down the length of your chain. You will see a wavy, scalloped strip forming like a ruffled ribbon. Fasten off, leaving an 8-inch yarn tail.
- Rolling the Rose:
- Lay your scalloped strip flat on a table. Starting from the tighter end (the beginning of the chain), roll the strip tightly around your finger or a tapestry needle. The scalloped edges will naturally stagger and layer themselves into a dense, realistic 3D rose bloom.
- Thread your long yarn tail onto a tapestry needle, and securely whip-stitch through the flat base of the rolled layers several times to lock the rose permanently in place.

🌿 Step 2: Crafting the Calyx and Wired Leaves
1. The Green Calyx (The Base Cup)
A real rose sits inside a small green star-shaped cup right where the stem meets the petals.
- With your green yarn,
ch 4and join with asl stto form a ring. ch 4, work1 tr, ch 2, 1 trinto the ring,ch 4,sl stinto the ring.- Repeat this process 4 times around to create 4 to 5 pointed green sepals. Fasten off, leaving a long tail.
2. The Wire-Supported Leaf
ch 10with green yarn. Lay a 28-gauge floral wire directly along the length of the chain.- Work
1 sc, 1 hdc, 4 dc, 1 hdc, 1 scdirectly over the chain while trapping the wire underneath your stitches. - Why wire? This allows you to bend and pose your leaves into realistic, windswept angles that will never sag or droop.

💐 Step 3: Stem Construction and Final Assembly
- Mounting the Stem:
- Take a length of 18-gauge floral wire and bend a tiny $1/4$-inch loop at the top tip using pliers so the sharp wire end never punctures your work.
- Slide the looped wire up through the center opening at the base of your green calyx, then glue and sew the calyx directly to the flat underside of your crocheted rose.
- Wrapping with Floral Tape:
- Anchor your green floral tape right beneath the calyx base and wrap it tightly downward at a $45^\circ$ angle, pulling gently to activate the wax adhesive. As you travel down the stem, introduce your wired leaves into the wrap, binding them securely.
- Arranging the Bouquet:
- Craft 5 to 7 roses in varying shades (e.g., mixing deep crimson with soft cream) and differing bloom stages (some tight rosebuds made with shorter chains, and some fully open garden roses).
- Bundle them together into a balanced dome, tie the lower stems with twine, and wrap them in rustic kraft paper or satin ribbon for a high-end florist presentation.

✨ Pro-Tips for a Luxury Finish
- Steam Setting: Hold your completed roses over the steam of a kettle for a few seconds, then gently use your fingers to flare the outer petals outward. The steam relaxes the cotton fibers, permanently setting your roses into a wide, open bloom.
- The Scent Detail: Add a single drop of rose essential oil to the hidden underside of the calyx so your everlasting crochet bouquet carries a authentic, fresh garden fragrance!
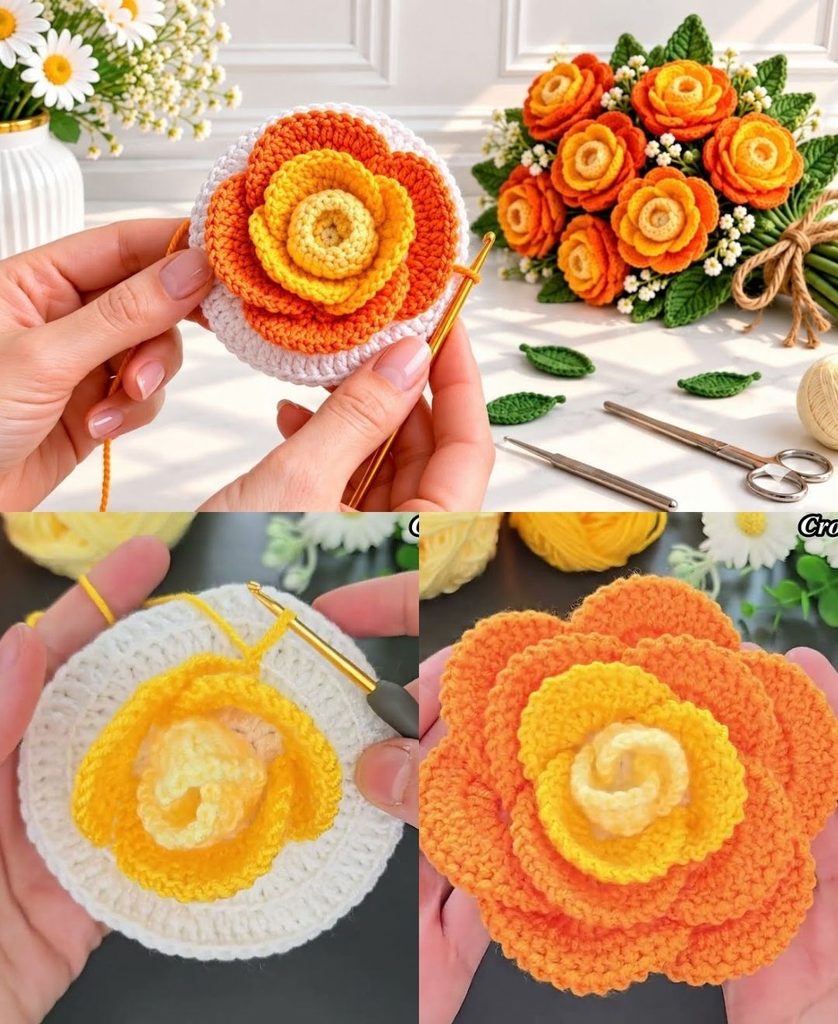
Video tutorial: