 by
by Creating a Mini Flower Motif Vest is an incredible way to transition from making standalone home decor items into crafting high-end, boutique-style wearable apparel. By combining delicate mini floral motifs with structural framing, you achieve a piece that looks like a curated designer garment.
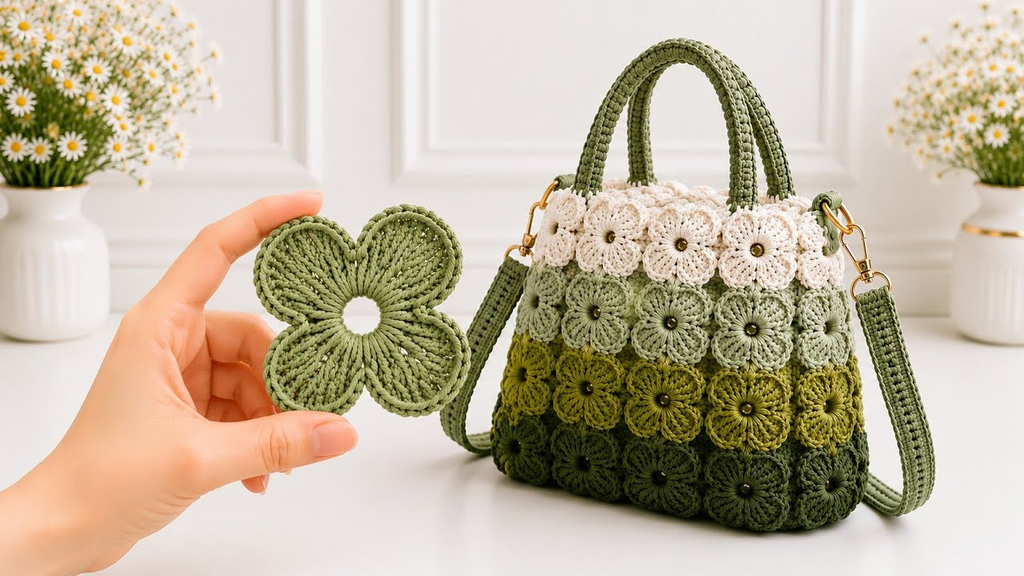
Here is your detailed, step-by-step masterclass on how to crochet a stunning mini flower motif vest from scratch.
🧶 The Professional Mini Flower Vest Toolkit
- Yarn:Sport weight or DK 100% cotton yarn. Cotton provides crisp, defined stitches that prevent wearable garments from stretching out or sagging over time.
- Palette: A vibrant array of colors for the mini flower centers and petals, combined with a unifying neutral background color (such as cream, beige, or black) for framing and joining the squares.
- Hook: 3.5 mm or 4.0 mm. A slightly tighter gauge ensures the vest fabric has structure and durability.
- Extra Supplies:
- Tapestry needle for weaving in ends.
- Stitch markers to plan out armhole placement.
- Optional buttons for a front closure.
🌸 Step 1: Crafting the Mini Flower Motif Square
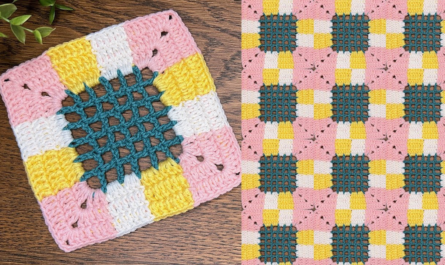
The building block of your vest is a small, intricate floral square. Because it’s compact, it creates a gorgeous, detailed mosaic effect across the garment.
- Round 1 (The Flower Center):
- With your center color (e.g., yellow),
ch 4and join with asl stto form a ring.ch 1, work 8 sc into the ring. Join with asl st. Fasten off.
- With your center color (e.g., yellow),
- Round 2 (The Petals):
- Join your petal color (e.g., pink, white, or blue) in any stitch.
ch 2, work2 dccluster (or 2 dc) in the same stitch,ch 1. Repeat around in each stitch to create 8 delicate petals. Join with asl st. Fasten off.
- Round 3 (Squaring the Motif):
- Join your background color in any
ch-1space between the petals. - Work your corners
(2 dc, ch 2, 2 dc)and side spaces(3 hdc)to transform your round mini flower into a crisp, geometric square. Fasten off, leaving a long tail for joining.
- Join your background color in any

🧩 Step 2: Planning and Assembling the Vest Layout
Unlike a simple blanket, a vest requires a specific architectural layout to accommodate shoulders, a neckline, and armholes.
- Calculating Your Size:
- Measure your bust and determine how many mini flower squares you need for the circumference of the torso (e.g., a standard panel might be 4 squares wide by 5 squares high for the front/back panels).
- The Panel Configuration:
- Back Panel: Join a grid of squares (e.g., 4 wide by 5 high).
- Front Panels (Left & Right): Join two narrower grids (e.g., 2 wide by 5 high each) to leave an open front.
- The Invisible Join: Use the Flat Slip Stitch Join working through the back loops only of your square edges. This keeps the seams completely flat and flexible against the body, ensuring a professional, boutique finish.

🪡 Step 3: Shaping the Armholes and Neckline
Once your flat front and back panels are assembled, join them at the shoulders using a secure whip-stitch or slip-stitch seam, leaving a comfortable gap for your head (the neckline) and your arms (the armholes).
- The Armhole Edging: Attach your background yarn to the underarm seam and work 2 rounds of crisp single crochet (sc) around the armhole opening to give it a clean, tailored edge that won’t stretch out.
- The Neckline & Front Placket: Work 2 to 3 rounds of single crochet all the way up the right front edge, around the back neckline, and down the left front edge.
- Pro-Trick: If you want a button-up vest, create small chain-space buttonholes evenly spaced along the right front border on your second border round.
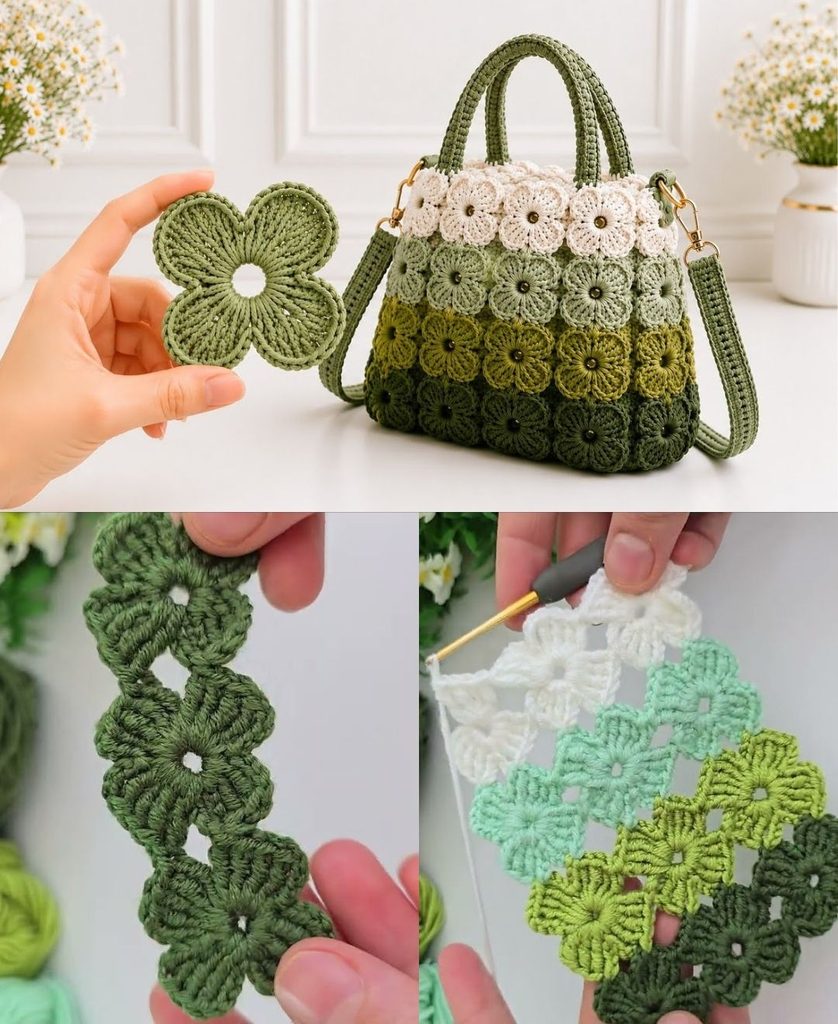
✨ Pro-Tips for a Boutique Finish
- Block Before Assembly: Pin every single mini flower square to blocking boards, mist them heavily with water or steam, and let them dry completely before joining. Crisp, uniform squares make the vest layout look impeccably tailored.
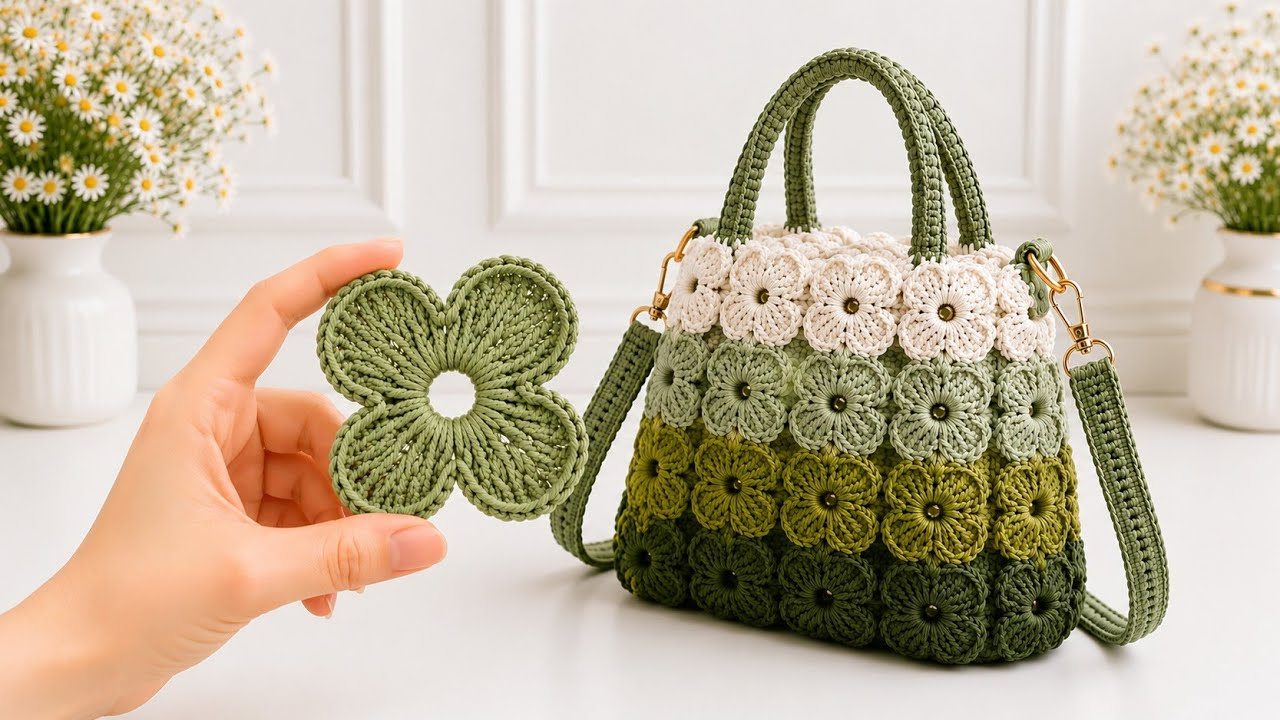
- Coordinate Your Accessories: Because you are working with mini flower motifs, you can use leftover yarn and extra squares to whip up a matching mini flower bag, table runner, or coasters, tying your entire handmade aesthetic together!
Video tutorial: