 by
by Creating a Mini Flower Motif Bag is an exquisite way to showcase delicate, intricate craftsmanship while constructing a durable, highly functional accessory. By utilizing charming mini flower squares, you can create a handbag that pairs high-end boutique style with timeless granny square geometry.
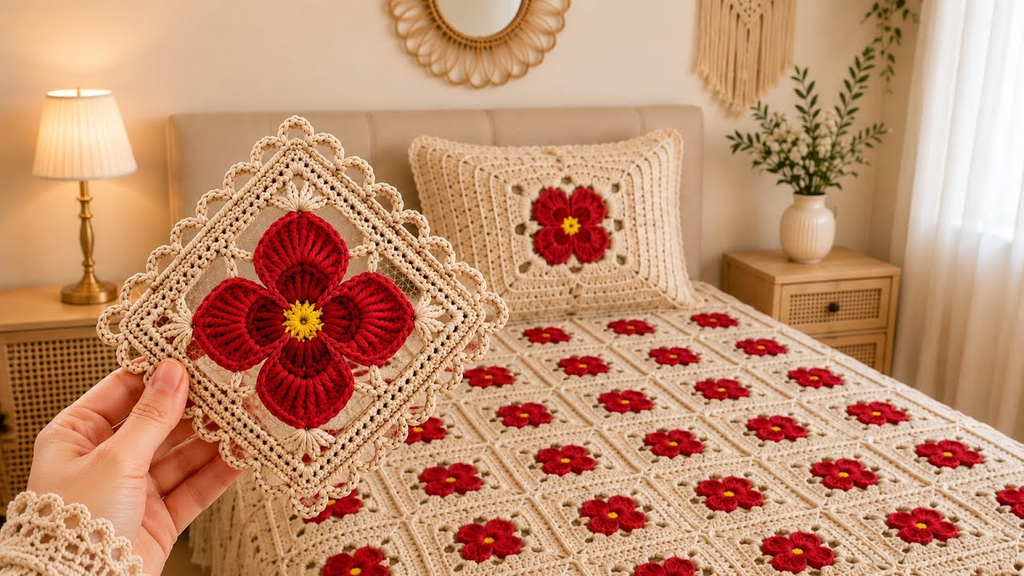
Here is your detailed, step-by-step masterclass on how to crochet a stunning mini flower motif bag from scratch.
🧶 The Professional Mini Flower Bag Toolkit
- Yarn:100% Cotton Yarn (Sport weight or DK). Cotton is mandatory for motif bags because it has minimal stretch, preventing the bag from sagging or distorting when loaded with personal items.
- Palette: A vibrant array of colors for the mini flower centers and petals, combined with a unifying background color (such as cream, black, or beige) to frame and tie the squares together.
- Hook: 3.5 mm or 4.0 mm. A slightly smaller hook creates a tight, dense gauge, ensuring the bag fabric is sturdy and structured.
- Extra Supplies:
- Tapestry needle for weaving in ends.
- Cotton fabric for an interior lining (essential for motif bags with open gaps).
- Magnetic snap or button closure.
- Strap (leather, chain, or a sturdy crocheted strap).

🌸 Step 1: Crafting the Mini Flower Motif Square
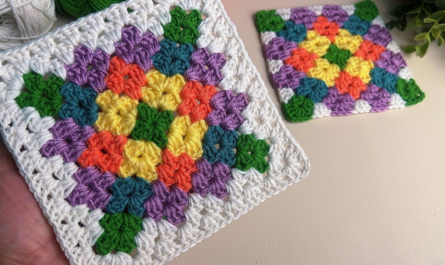
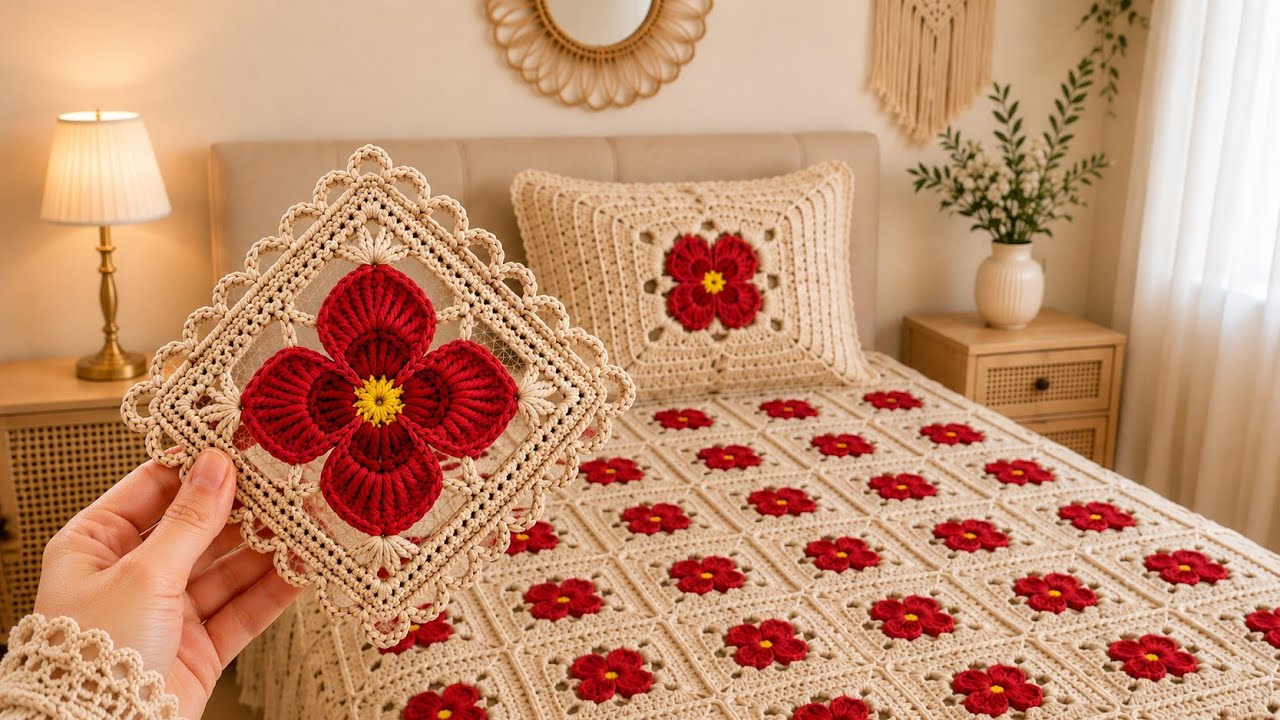
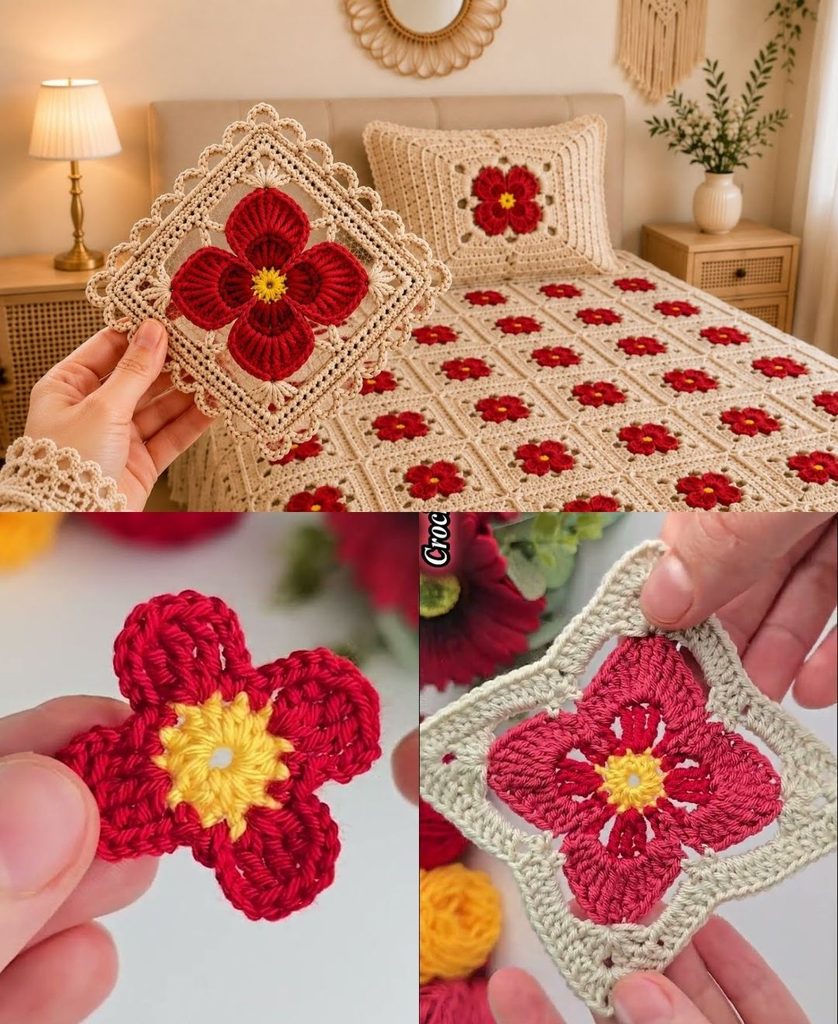
The foundation of your bag is a small, detailed floral square that yields a gorgeous mosaic effect when joined.
- Round 1 (The Flower Center):
- With your center color (e.g., sunny yellow),
ch 4and join with asl stto form a ring.ch 1, work 8 sc into the ring. Join with asl st. Fasten off.
- With your center color (e.g., sunny yellow),
- Round 2 (The Petals):
- Join your petal color (e.g., soft pink, lavender, or white) in any stitch.
ch 2, work2 dccluster (or 2 dc) in the same stitch,ch 1. Repeat around in each stitch to create 8 delicate petals. Join with asl st. Fasten off.
- Round 3 (Squaring the Motif):
- Join your background color in any
ch-1space between the petals. - Work your corners
(2 dc, ch 2, 2 dc)and side spaces(3 hdc)to transform your round mini flower into a crisp, geometric square. Fasten off, leaving a long tail for joining.
- Join your background color in any

🧩 Step 2: Assembling the Bag Layout
To build a standard tote or box-style handbag, you will arrange your mini flower squares into geometric panels.
- The Motif Count: For a classic square handbag, you will typically need 12 to 16 identical mini flower squares (configured into front and back panels, plus side/bottom gussets if desired).
- The Professional Join: Avoid bulky seams. Use the Flat Slip Stitch Join working through the back loops only of your square edges. This keeps the seams completely flat and flexible, giving the geometric lines of your bag a clean, high-end boutique definition.
🌟 Step 3: Structural Integrity & “Boutique” Finishes
Because motif bags feature delicate joins and open petal spaces, incorporating professional structural elements is key to a luxury finish:

1. The Non-Negotiable Fabric Lining
- Cut a cotton fabric to match the exact interior dimensions of your assembled bag structure.
- Sew the lining pouch, fold the top edge over by half an inch, and meticulously hand-stitch it to the inner rim of your crochet opening using matching thread. This prevents small items from slipping through and supports the weight of the bag.
2. The Reinforced Top Rim
- Work 2 to 3 rounds of tight single crochet (sc) right along the top opening of your bag.
- Pro-Trick: Lay a piece of nylon cord or thick twine inside your stitches (“carrying the cord”) as you work your final top border. This creates an unyielding rim that stops the bag from stretching or sagging when carried by the handles.
3. Professional Straps & Hardware
- Attach sleek leather handles or a sturdy strap by crocheting small, dense 4-stitch-wide tabs around your strap rings and anchoring them securely into the reinforced top rim of the bag.
✨ Pro-Tips for Success
- Block Every Square: Before joining your mini flower squares together, pin every single piece to a blocking board, mist them with water or steam, and let them dry flat. Sharp, blocked squares make assembly significantly easier and keep the geometry exact.
- Coordinate Your Aesthetic: Because you are working with mini flower motifs, you can use extra squares or leftover yarn to create a matching table runner, coasters, or a coordinated vest, tying your entire handmade home and fashion collection together!
Video tutorial: