 by
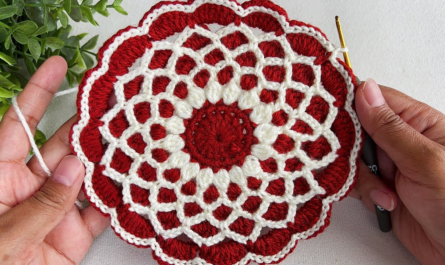
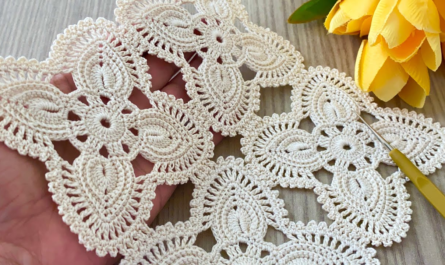
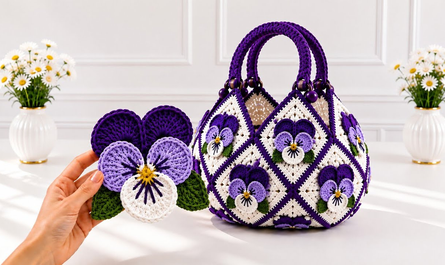
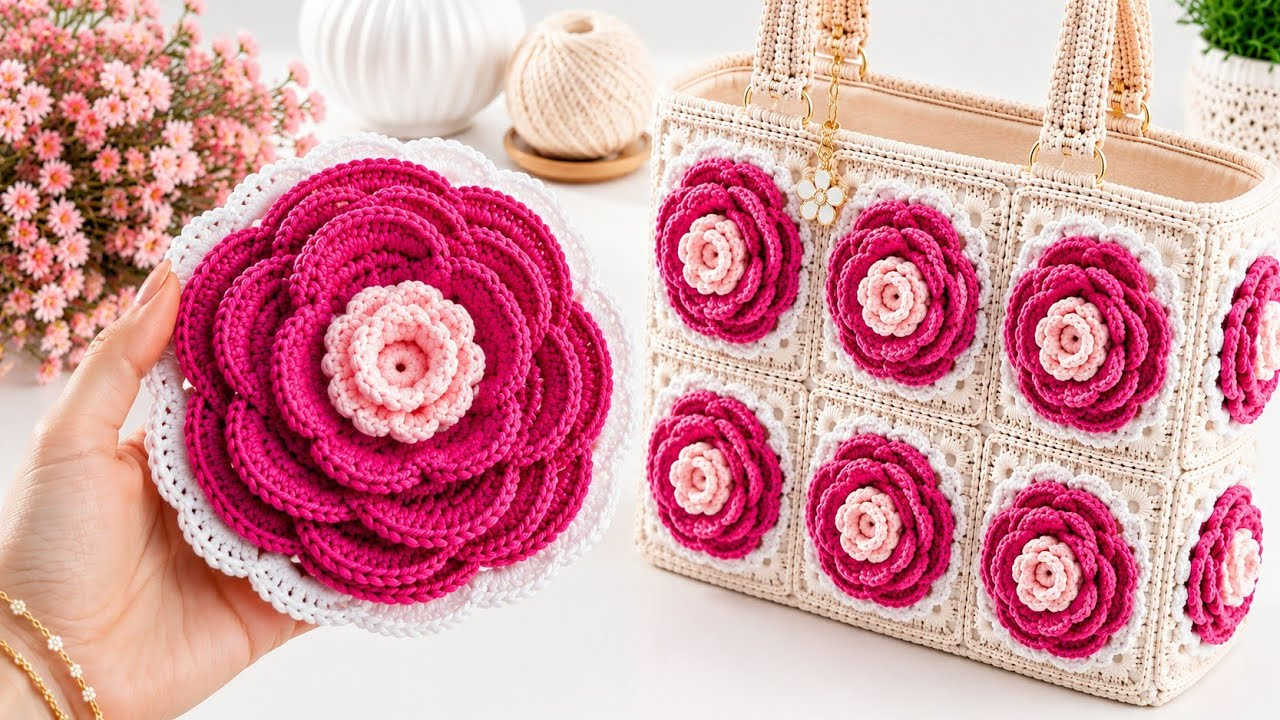
by Creating a Flower 3D Granny Square Bag is the ultimate expression of botanical fiber art combined with functional fashion. By combining multi-layered 3D floral centers with classic square framing, you can construct individual modular motifs that assemble into an eye-catching, boutique-quality handbag.
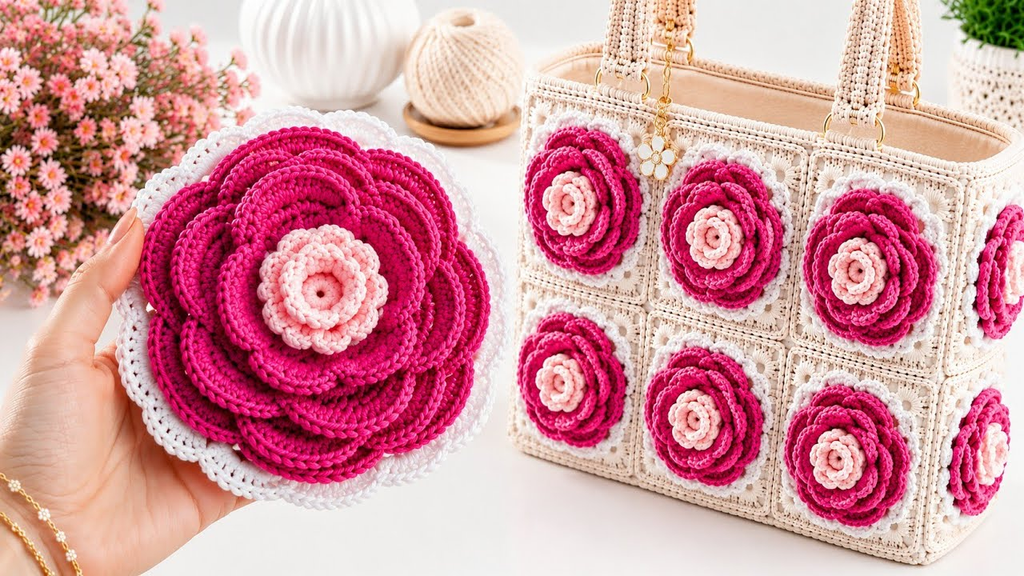
Here is your detailed, step-by-step masterclass on how to crochet a stunning 3D Flower Granny Square Bag from scratch, complete with professional structural reinforcement.
🧶 The Professional 3D Flower Bag Toolkit
- Yarn:100% Mercerized Cotton Yarn (Sport weight, DK, or Worsted weight). Cotton yarn is mandatory for motif bags because it has zero stretch, ensuring your 3D flowers retain their shape and your bag body never sags under weight.
- Palette: A vibrant focal color for the 3D flower centers (such as sunny yellow or golden marigold), a romantic hue for the dimensional petals (such as blush pink, lavender, or cream), and a clean neutral background color (like beige, cream, or charcoal) to frame the squares.
- Hook: 3.5 mm or 4.0 mm. A snug hook creates a tight, dense gauge, giving your bag essential durability and structure.
- Structural & Lining Supplies:
- Tapestry needle and stitch markers.
- Sew-in plastic mesh canvas and custom fabric lining (crucial for supporting 3D motifs and keeping items secure).
- Sturdy leather handles or custom crochet straps.
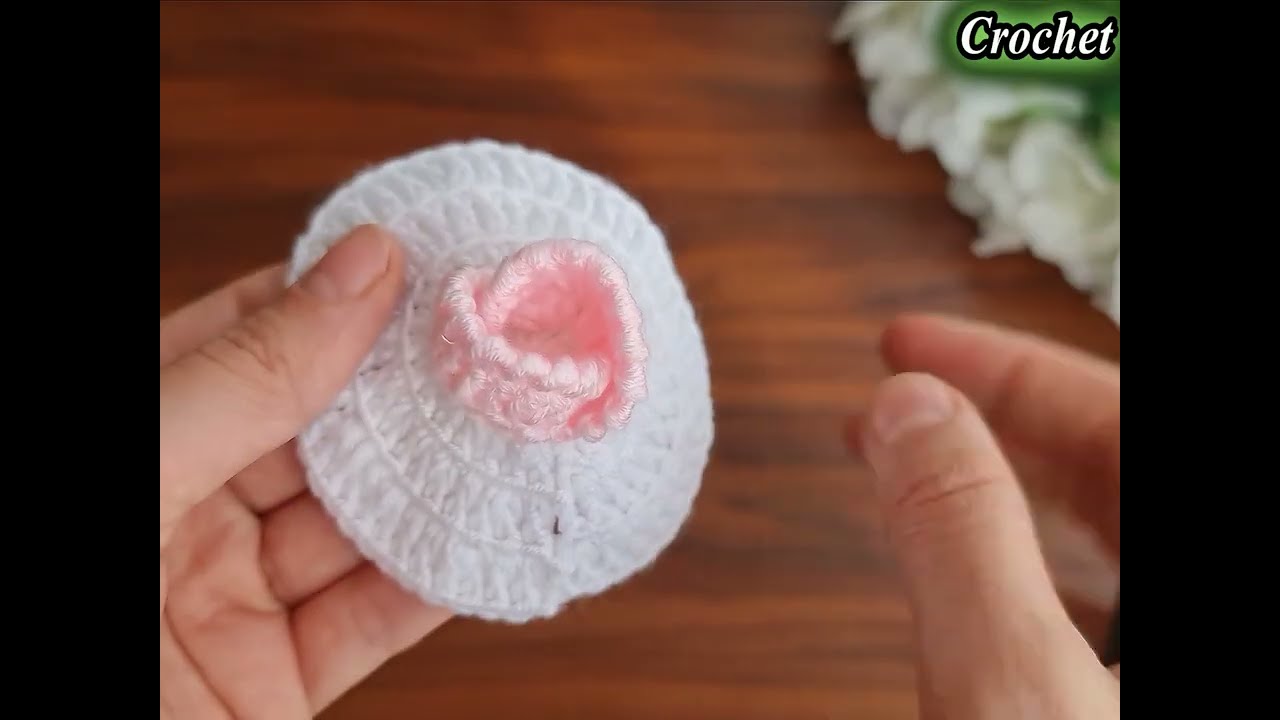
🌸 Step 1: Crafting the Master 3D Flower Granny Square
You will need to make 13 identical 3D flower squares to construct your tote bag (4 for the front panel, 4 for the back panel, and 5 for the continuous side and bottom gusset).
- Round 1 (The Center Pistil):
- With your center color (e.g., yellow),
ch 4and join with asl stto form a tiny ring. ch 1, work 12 sc (single crochet) into the ring. Join with asl st. Fasten off yellow.
- With your center color (e.g., yellow),
- Round 2 (The 3D Inner Petals – Back Loops):
- Attach your Petal Color into the back loop only of any stitch from the center round.
ch 3(counts as first dc), work2 dcin that same back loop. Skip the next stitch, and work 3 dc in the following back loop. Repeat around to form a dense inner ring of petals. Join with asl st. Fasten off.
- Round 3 (The Dramatic Outer Petals – Front Loops):
- Turn your square to the back. Attach your Petal Color into any remaining unworked front loop from Round 1.
ch 4(counts as treble crochet), work(2 tr, ch 2, 2 tr)into that same loop space. Repeat in every unworked front loop around. This creates a bold, wide layer of 3D petals that frame the inner bud. Join with asl stand fasten off.
- Round 4 (Squaring the Motif):
- Attach your Background Neutral Color (e.g., cream) into any
ch-2space behind the outer petals. - The Corner:
ch 3(counts as dc), work(2 dc, ch 2, 3 dc)in that same space to form a sharp, pristine 90-degree corner. - The Sides: Work groups of 3 hdc (half double crochet) in the remaining side spaces to bridge the transition.
- Next Corner: Work
(3 dc, ch 2, 3 dc)in the next corner space. Repeat around to transform your dimensional flower into a crisp geometric square. Join with asl stand fasten off.
- Attach your Background Neutral Color (e.g., cream) into any
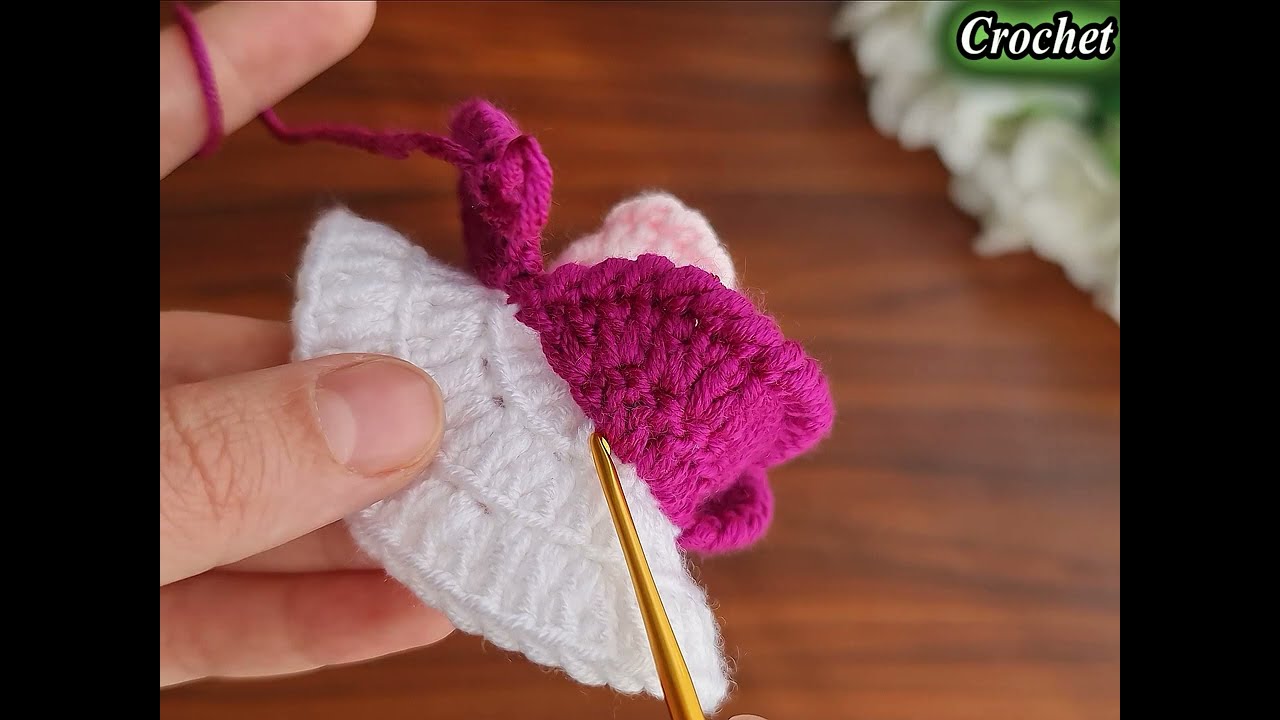
👜 Step 2: Assembling the 3D Flower Bag
- Layout & Assembly:
- Arrange your 13 finished squares into your desired bag layout (2×2 grids for the front and back panels, joined by a continuous side/bottom gusset).
- Use the Flat Slip Stitch Join working exclusively through the back loops only of your square edges to keep all seams flat, crisp, and flexible.
- Structural Integrity (The Lining & Mesh):
- Cut sew-in plastic mesh canvas to match the interior dimensions of your bag and slip it inside to act as an invisible armature.
- Sew a custom fabric lining pouch and hand-stitch it securely around the inner rim to conceal raw edges and prevent items from slipping through the gaps between motifs.
- The Reinforced Top Rim:
- Work 3 rounds of tight single crochet right along the top opening of your bag, carrying a piece of nylon cord inside your stitches as you work to create an unyielding rim that prevents stretching. Attach sturdy leather handles or reinforced crochet straps.
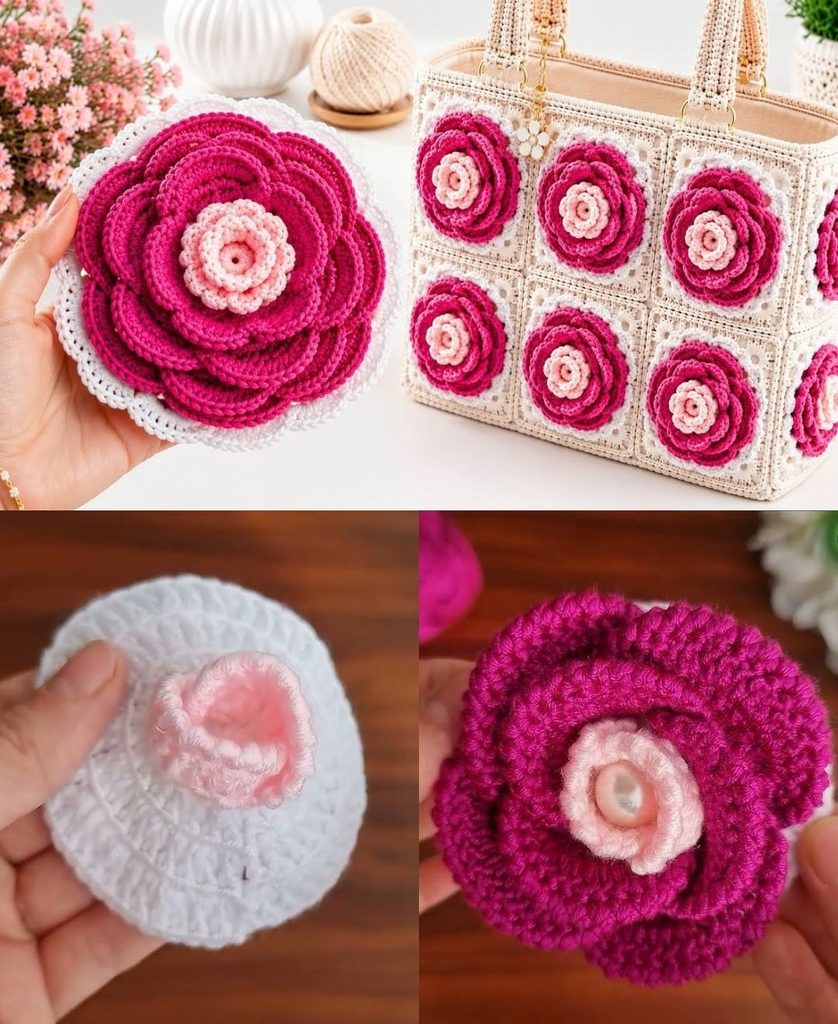
✨ Pro-Tips for Success
- Block Every Square: Before joining your 3D floral squares, pin every single piece to a blocking board, mist them lightly with water or steam, and let them dry flat. Blocking relaxes the cotton fibers and guarantees that every square matches in exact size and sharp geometry.
- Steam-Shape the Petals: Once your bag is fully assembled, hold the 3D flower centers over the gentle steam of a kettle for a few seconds to flare and pop the petals outward for maximum dimensional realism!