 by
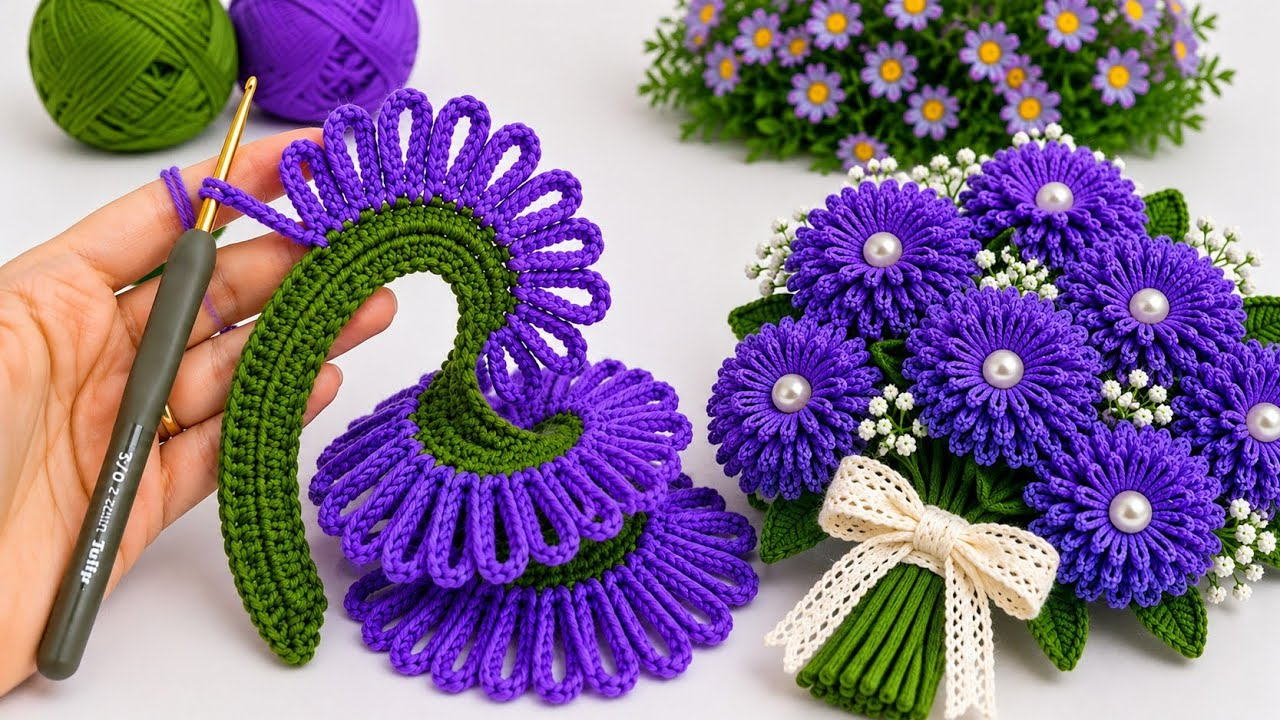
by Creating a Beautiful 3D Flower Bouquet is the ultimate expression of botanical fiber art. By combining multi-layered dimensional blossoms, wired structural leaves, and expert stem-mounting techniques, you can craft a breathtaking, everlasting floral arrangement that rivals any professional florist’s creation.
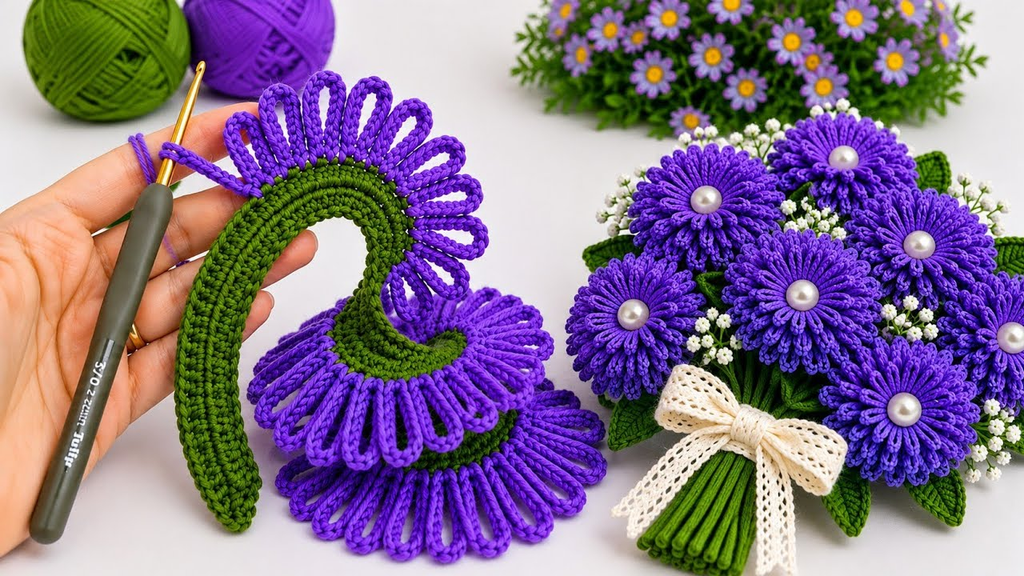
Here is your detailed, step-by-step masterclass on how to crochet, wire, and assemble a stunning, boutique-quality 3D flower bouquet from scratch.
🧶 The Master 3D Bouquet Toolkit
- Yarn:100% Mercerized Cotton Yarn (Sport weight or DK). Cotton yarn is mandatory for botanical projects because it has a subtle natural sheen, zero fuzz, and crisp stitch definition, ensuring your petals and leaves hold their architectural form without drooping.
- Palette: A cohesive floral color story (e.g., vintage rose, soft peach, cream, and buttery yellow), paired with rich botanical sage and olive greens for the leaves, calyxes, and stems.
- Hook: 3.0 mm or 3.5 mm. A snug hook size creates a tight, dense gauge, giving the 3D petals essential stability.
- Structural & Assembly Supplies:
- 18-gauge floral wire for the primary main stems.
- 28-gauge floral wire for shaping and wiring individual leaves and petals.
- Green floral tape for wrapping and binding.
- Hot glue gun (or fabric glue) for secure anchoring.
- Kraft paper, tissue paper, and ribbon for professional presentation wrapping.

🌸 Step 1: Crafting Your Multi-Tiered 3D Focal Flowers
To give your bouquet true 3D depth, you will use a two-tier construction method that creates lush, unfolding blossoms.
- The Center Core (Pistil):
- With a bright accent color (e.g., yellow),
ch 4and join with asl stto form a ring. Work 10 sc into the ring, join, and fasten off.
- With a bright accent color (e.g., yellow),
- Layer 1 (Inner Petals):
- Attach your Petal Color into the back loop only of any stitch from the center round.
ch 3(counts as dc), work2 dcin the same stitch. Skip the next stitch and work 3 dc in the following stitch. Repeat around to form a dense, cupped inner bud. Fasten off.
- Layer 2 (Dramatic Outer Petals):
- Turn your flower to the back. Attach your petal color into the remaining unworked front loops of the center round.
ch 4(counts as treble crochet), work(2 tr, ch 2, 2 tr)into that same loop space. Repeat in every unworked front loop to create a bold, wide layer of architectural outer petals that frame the inner bud. Fasten off and weave in ends.

🍃 Step 2: Crafting Wire-Supported Leaves and Calyxes
To make your bouquet look high-end and lifelike, your leaves and flower bases must be wired so you can pose them dynamically.
- The Green Calyx (Base Cup):
ch 4with green yarn, join to form a ring, and work a round of pointed sepals (ch 4, 1 tr, ch 2, 1 tr, ch 4, sl strepeated 4 times) to create a star-shaped cup that hugs the base of your 3D flowers.
- The Wired Leaf:
ch 12with botanical green yarn. Lay a length of 28-gauge floral wire directly down the center of the chain.- Work
1 sc, 1 hdc, 1 dc in next 4 chains, 1 hdc, 1 sc, workch 1at the tip for a sharp point, and mirror down the opposite side. The wire is permanently trapped inside, allowing you to curve the leaf dynamically.
🌿 Step 3: Stem Mounting and Assembly
- Mounting to the Stem:
- Take an 18-gauge floral wire and bend a tiny $1/4$-inch safety loop at the top tip using pliers.
- Apply a generous drop of hot glue to the looped wire and push it firmly into the center base of your completed 3D flower (anchoring it through the green calyx).
- Tape Wrapping:
- Anchor your green floral tape directly underneath the calyx and wrap it firmly and evenly down the length of the wire stem at a $45^\circ$ angle.
- As you travel down the stem, incorporate 1 or 2 wired leaves into the tape wrap, smoothing everything down for a clean, professional finish.

🎁 Step 4: Arranging and Wrapping Your Bouquet
The secret to a breathtaking presentation lies in how you arrange and package your finished stems:
- Structuring the Arrangement:
- Hold your tallest focal 3D flower in the center.
- Gradually fan out your secondary blossoms and leafy stems around it in a domed, balanced shape, staggering the heights so every flower is visible.
- Securing the Bundle:
- Wrap a piece of twine or a rubber band tightly around the stems about 4 inches below the flower heads to lock your arrangement into place. Trim the bottom wire stems evenly with wire cutters.
- Professional Florist Wrapping:
- Layer a sheet of crisp tissue paper and a contrasting sheet of kraft paper or matte floral wrapping film behind the bouquet.
- Fold the paper snugly around the stems, secure with clear tape, and tie a luxurious satin or velvet ribbon around the middle in a neat bow.
✨ Pro-Tips for Success
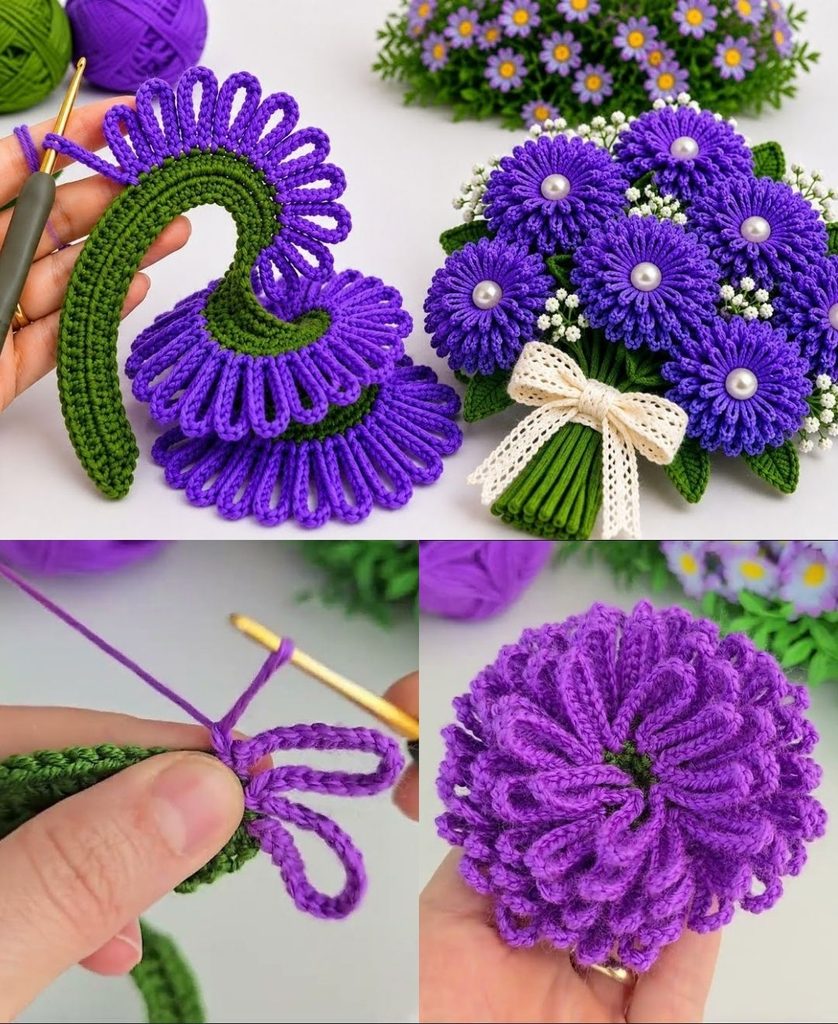
- Steam-Shape Before Assembly: Hold your finished crochet 3D flowers over the gentle steam of a kettle for a few seconds. Use your fingers to flare and curve the cotton petals open. Once cooled, the cotton and wire will lock into a permanent, professional bloom.
- Scent Infusion: Lightly mist the back of the cotton flowers with a drop of rose or lavender essential oil just before wrapping for an unforgettable sensory experience!