 by
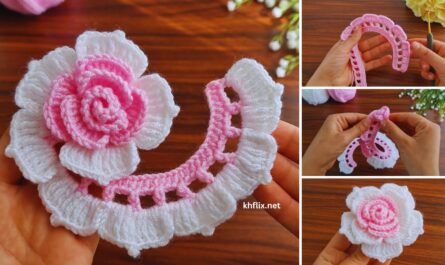
by Let’s create a truly beautiful crochet rose flower motif! Unlike flat appliqués, a crochet rose has dimension, forming by curling a long, ruffled strip of crochet. This pattern is often surprisingly simple to make, relying on increases to create the “ruffle” that forms the petals.
For this tutorial, we’ll focus on a common and very effective method that builds a spiraling strip.
Pattern: How to Make a Beautiful Crochet Rose Flower Motif
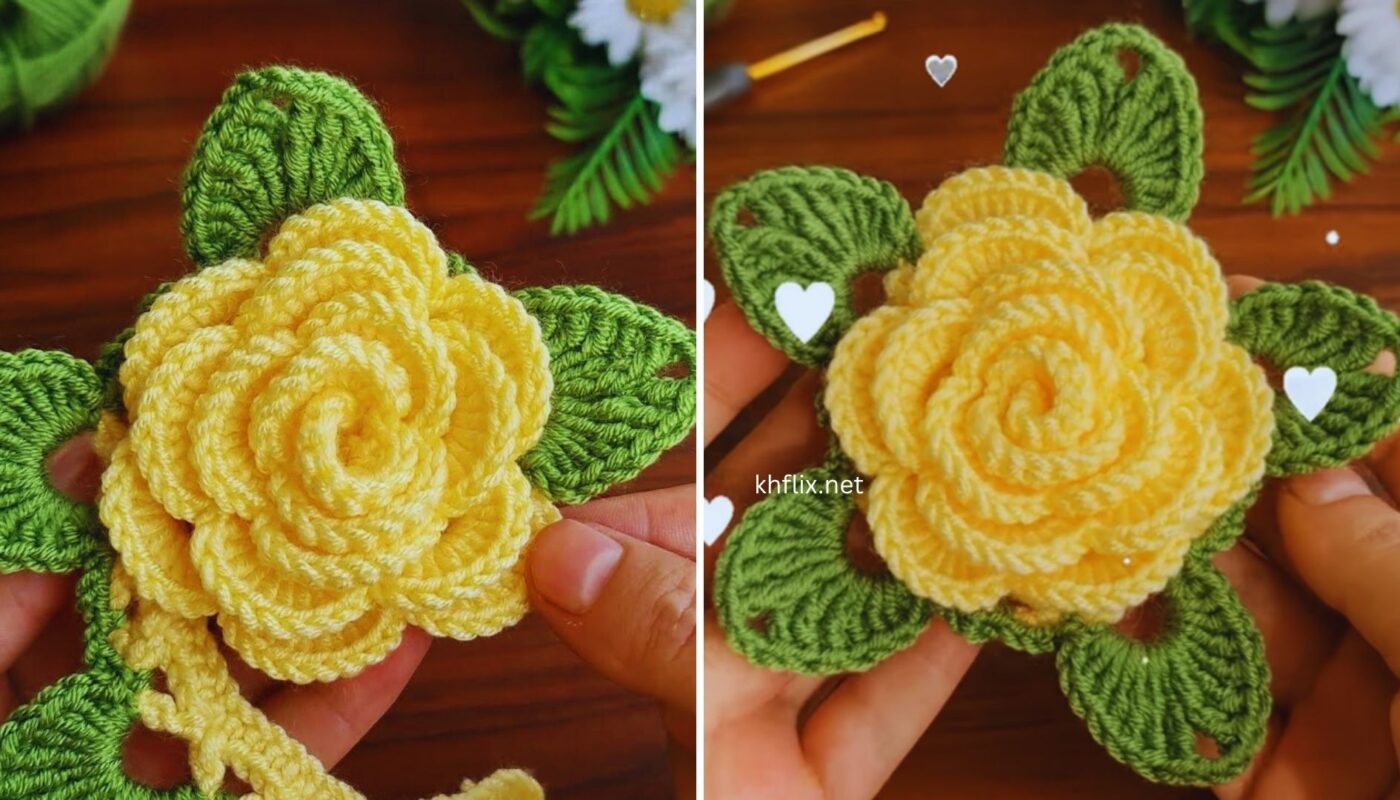
This tutorial will guide you through creating a charming, dimensional crochet rose that mimics the natural curl of rose petals. It’s a wonderful motif for adding elegance to any project.
Goal: To crochet a realistic-looking, beautiful rose motif, typically 2-3 inches in diameter, by creating a ruffled strip and then shaping it.
Materials You’ll Need:
- Yarn:
- Worsted Weight (Medium #4) Yarn: Cotton yarn offers a slightly crisper, more defined petal, while acrylic yarn creates a softer, squishier rose. Choose a beautiful rose color (e.g., Yellow, red, pink, white, cream, or even a soft purple).
- Small amount of Green Worsted Weight Yarn (Optional): For leaves.
- Crochet Hook:
- Size H/5.0mm (or a size suitable for your chosen yarn and desired rose tightness).
- Yarn Needle (Tapestry Needle): Essential for weaving in ends and, most importantly, for sewing the rose into its shape.
- Scissors
- Sewing Pins (Optional, but helpful): To temporarily hold the rose shape while sewing.
Abbreviations Used:
- ch: chain
- sl st: slip stitch
- sc: single crochet
- hdc: half double crochet
- dc: double crochet
- tr: treble crochet (or triple crochet)
- st(s): stitch(es)
- sk: skip
- sp: space
Understanding the Rose Motif Structure
A crochet rose is typically made by:
- Creating a Foundation Chain: This determines the length of your rose strip.
- Working a Base Row: A row of simple stitches (like hdc or dc) worked back along the chain. This forms the “spine” of your rose.
- Creating Ruffles (Petals): This is the key step. You will work multiple stitches (clusters) into individual stitches or chain spaces of the base row. These extra stitches create the ruffling that naturally curls into petal layers when the strip is rolled.
- Shaping and Sewing: The final (and most important) step is carefully rolling the crocheted strip into a rose shape and securing it with a yarn needle and thread.
Let’s Start Crocheting Your Beautiful Rose!
We’ll use Yellow Yarn for our rose, following your preference.
Part 1: The Foundation Chain
This chain forms the central “spine” of your rose. The longer the chain, the larger and fuller your rose will be. For a medium-sized rose, a chain of 35-45 stitches is a good starting point.
- With Yellow Yarn, ch 41. (This will give you 40 stitches to work into, assuming you skip the first chain).
Part 2: The Base Row (Foundation for Petals)
This row lays the groundwork for your petals. We’ll use half double crochet (hdc) for a compact base.
- Work 1 hdc into the 2nd ch from your hook.
- Work 1 hdc into each remaining ch across. (Total 40 hdc).
- You now have a long, straight strip of hdc stitches. Don’t turn your work.
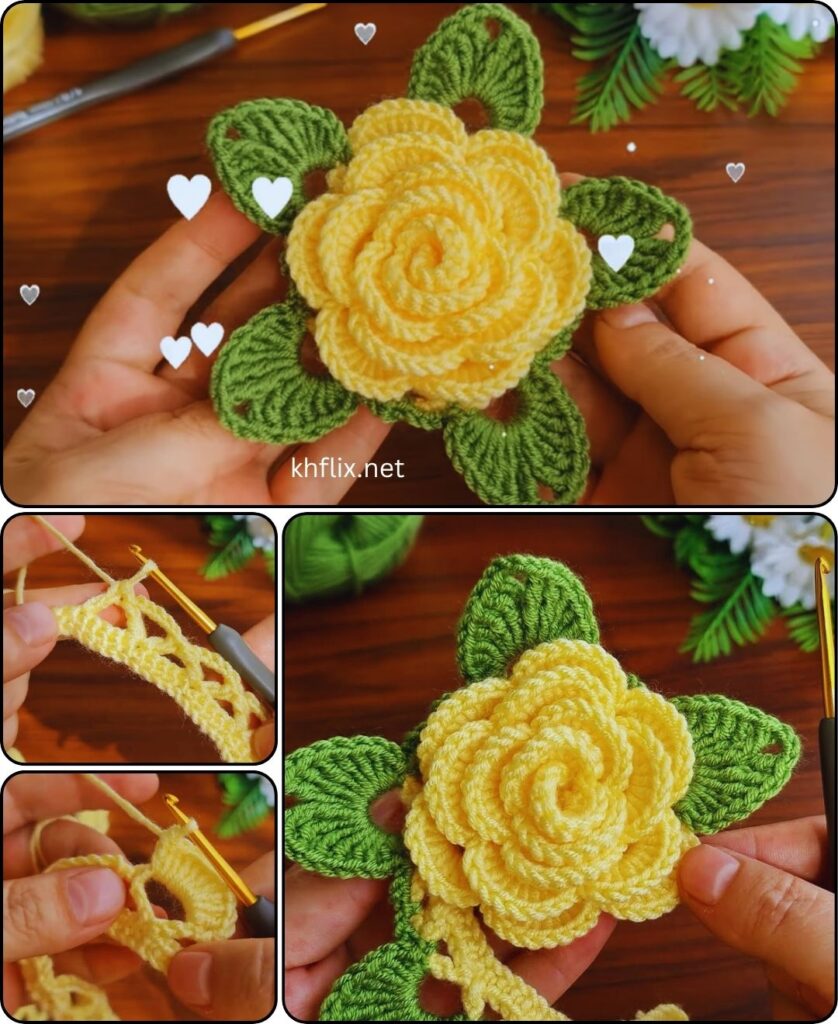
Part 3: Creating the Petals (The Ruffled Edge)
This is where the magic happens! We’ll work into the back loops only (BLO) of the hdc stitches from Part 2. This creates a neat ridge on the front (which will become the center of your rose) and allows the petals to stand out.
- Ch 2 (does NOT count as a stitch here; it’s just for height).
- Turn your work.
- Section 1: Inner Petals (Tighter Curl)
- Work into the BLO of the next 10 hdc stitches:
- In the first BLO hdc, work 3 hdc.
- In the next BLO hdc, work 3 hdc.
- …continue working 3 hdc into BLO of each of the next 8 hdc stitches.
- (You should have worked 3 hdc into 10 consecutive BLO hdc stitches).
- Section 2: Mid-Petals (Medium Fullness)
- Work into the BLO of the next 15 hdc stitches:
- In the next BLO hdc, work 4 dc (double crochet).
- In the next BLO hdc, work 4 dc.
- …continue working 4 dc into BLO of each of the next 13 hdc stitches.
- (You should have worked 4 dc into 15 consecutive BLO hdc stitches).
- Section 3: Outer Petals (Largest Fullness)
- Work into the BLO of the remaining 15 hdc stitches:
- In the next BLO hdc, work 5 tr (treble crochet).
- In the next BLO hdc, work 5 tr.
- …continue working 5 tr into BLO of each of the remaining 13 hdc stitches.
- (You should have worked 5 tr into 15 consecutive BLO hdc stitches).
- FO (Fasten Off), leaving a very long tail (at least 12-18 inches) for sewing the rose together.
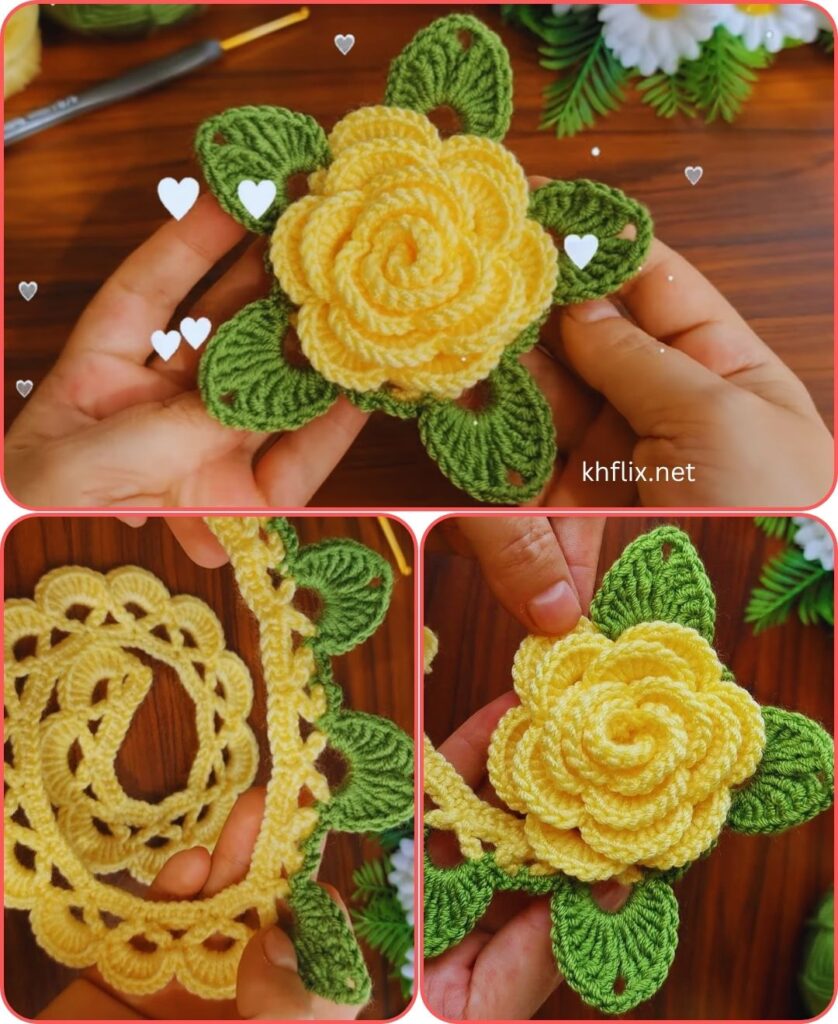
- You now have a long, wavy, ruffled strip of crochet! The side with the unworked front loops should be the side you roll from.
Part 4: Shaping and Sewing Your Rose
This is the most creative and satisfying part!
- Roll the Center:
- Take the end of the strip where you started (the end with the hdc stitches, Section 1).
- Start rolling this end tightly inwards, forming the very center bud of your rose. Keep the side with the unworked front loops facing inwards as you roll.
- Roll it just enough to form a small, tight “coil.”
- Continue Rolling and Shaping:
- As you continue to roll the strip, gently encourage the ruffles (the hdc, dc, and tr stitches) to fan out, forming the petals.
- Don’t roll too tightly. Allow the ruffles to create the natural, layered look of a rose.
- The taller stitches (dc and tr sections) will naturally form the larger, outer petals.
- As you roll, try to keep the bottom edge of the strip as even as possible.
- Secure with Pins (Optional): Once you’re happy with the shape of your rose, you can use a few sewing pins to temporarily hold it in place.
- Sewing the Rose:
- Thread the long tail you left onto your yarn needle.
- Starting from the bottom of the rose (the rolled-up base), begin sewing through all layers of the rolled strip.
- Make wide, strong stitches that go from one side of the base to the other, catching all the layers.
- Work your way around the entire bottom of the rose, pulling the yarn firmly (but not so tight it distorts the shape) to secure all the layers together. Aim to catch a bit of every “roll” to ensure it’s sturdy.
- Make several passes, back and forth, to really secure it. The goal is to sew the bottom edges of the spiral together so the rose holds its shape permanently.
- When you’re finished sewing, weave in the remaining tail on the back of the rose.
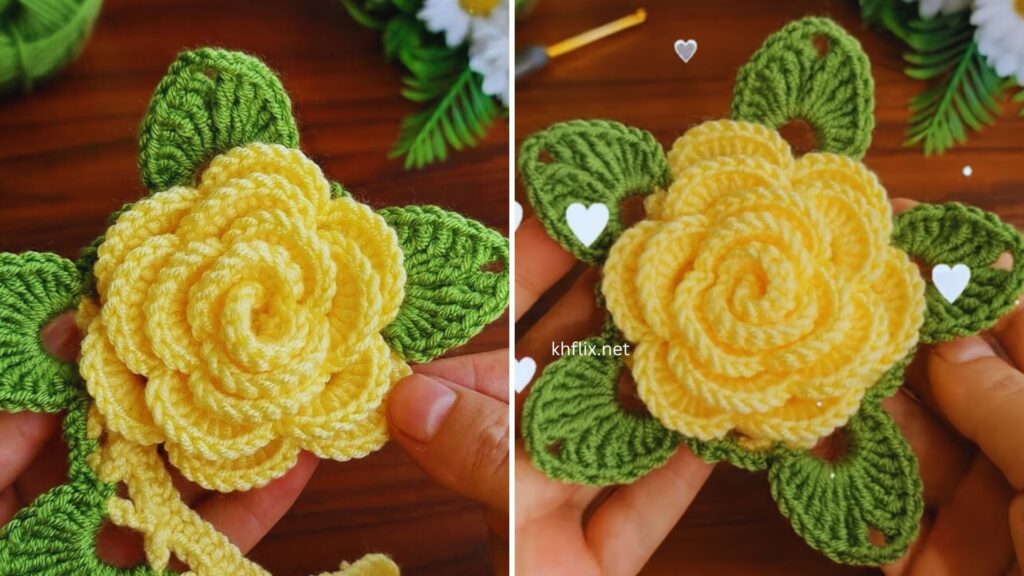
Part 5: Optional Leaves (Green Yarn)
Simple leaves can be added to the back of your rose.
- With Green Yarn, ch 7.
- Sl st into the 2nd ch from hook.
- Sc into the next ch.
- Hdc into the next ch.
- Dc into the next ch.
- Hdc into the next ch.
- Sc into the last ch.
- Ch 2 (forms a small stem).
- Sl st into the base of the first leaf to connect.
- Repeat steps 1-7 for a second leaf if desired, forming a small cluster of two leaves.
- FO, leaving a tail for sewing.
- Using your yarn needle, sew the leaves securely to the back of your crocheted rose.
Finishing Your Beautiful Rose
- Weave in all remaining loose ends from your rose and leaves on the back side.
- Gently fluff and arrange the petals of your rose to achieve your desired beautiful shape.
Tips for Beginners:
- Patience is Key: The rolling and shaping part takes a little practice. Don’t get discouraged if your first rose isn’t perfect.
- Watch Video Tutorials: Search for “crochet rose tutorial” on YouTube. Seeing someone roll and sew the rose is incredibly helpful for understanding the shaping process.
- Don’t Over-Ruffle: While you want ruffles, avoid making too many extra stitches per base stitch, or your rose might look too “messy” rather than naturally flowing.
- Adjust Stitch Counts: You can adjust the starting chain length and the number of stitches per section to create different sized roses.
- More stitches per BLO stitch = more ruffle = fuller rose.
- Fewer stitches per BLO stitch = less ruffle = tighter rose.
- Sew Securely: Ensure your sewing stitches go through all the layers at the base to prevent the rose from unraveling over time.
Ideas for Using Your Beautiful Crochet Rose Motif:
- Appliqué: Sew onto hats, scarves, bags, headbands, blankets, pillows, or clothing.
- Hair Accessories: Attach to hair clips, elastic bands, or headbands.
- Brooches/Pins: Sew a pin back onto the back for a lovely accessory.
- Gift Embellishment: Add to wrapped gifts, gift bags, or greeting cards.
- Home Decor: Create a rose garland, adorn picture frames, or decorate small baskets.
- Bouquets: Make several in different sizes and shades to create a charming crocheted bouquet.
Enjoy creating your gorgeous crochet roses! They are truly a rewarding motif to master.