by
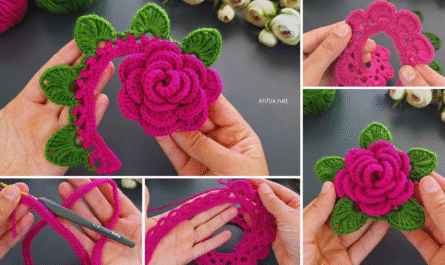
by Let’s crochet an absolutely charming and surprisingly easy 3D crochet rose flower! This project is perfect for beginners who want to dip their toes into three-dimensional crochet. We’ll use simple stitches to build beautiful, spiraling petals that truly pop. Once you get the hang of it, you’ll be making these delightful roses for all sorts of embellishments!
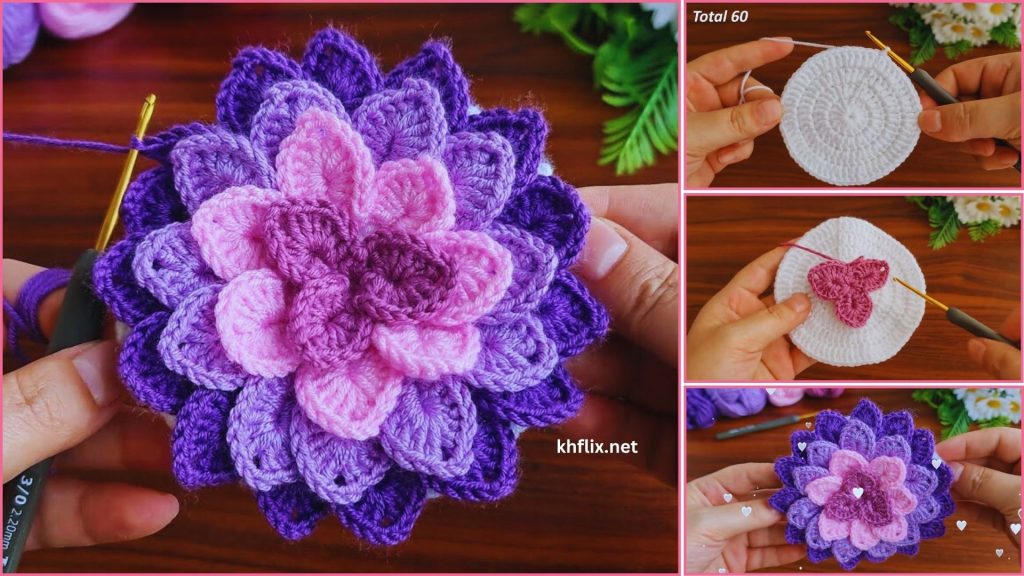
How to Crochet an Amazingly Easy 3D Rose Flower: Step-by-Step Tutorial
This detailed guide will walk you through crocheting a lovely, three-dimensional rose using fundamental stitches. The magic of this design lies in its simple construction, creating a natural spiral that forms the petals.
Skill Level: Beginner Friendly
This project is perfect for new crocheters and assumes you’re comfortable with:
- Chain (ch): The foundation stitch.
- Slip Stitch (sl st): For joining and neatening.
- Single Crochet (sc): A short, dense stitch.
- Half Double Crochet (hdc): A medium-height stitch.
- Double Crochet (dc): A taller stitch, used for most of the petals.
- Working into chains/spaces: Inserting your hook into the gaps or specific chains.
Finished Rose Dimensions (Approximate):
The size of your rose will depend on your yarn weight and hook size. This pattern typically creates a rose about 1.5 – 2.5 inches (4 – 6.5 cm) in diameter when fully rolled up.
Materials You’ll Need:
- Yarn: Approximately 5-10 yards (4.5-9 meters) of Worsted Weight (Medium #4) Yarn.
- Fiber Content: Acrylic or cotton yarn works beautifully. Acrylic is often easier for beginners and comes in a huge range of colors. Cotton gives a slightly crisper look.
- Color Choice: Choose a beautiful rose color! Think pink, red, deep fuchsia, cream, white, or even a lovely yellow. You’ll only need one color for the flower itself.
- Crochet Hook: Size H/5.0mm. This is a versatile hook size for worsted weight yarn and will give you nice, defined stitches.
- Yarn Needle (Tapestry Needle): Essential for weaving in ends and, crucially, for sewing the rose together.
- Scissors: For cutting your yarn.
Understanding the Rose Construction:
This 3D rose is created from a single, long strip of crocheted fabric. The strip is designed to have a natural curl, which, when rolled up, forms the elegant petals of the rose. The height of the stitches within the strip will determine the “fullness” of your petals.
Let’s Crochet Your Amazing 3D Rose Flower!
Part 1: Crocheting the Foundation Chain
This is the backbone of your rose. The length of this chain will determine the overall size and number of petals in your finished rose.
- Starting Chain:
- Make a slip knot and place it on your hook.
- Chain (ch) 30. (For a larger rose, chain more stitches, always in multiples of 3. For a smaller rose, chain fewer stitches.)
- Ch 2 more (total Ch 32). This Ch 2 will act as your first turning chain for the next row.
Part 2: Crocheting the Petal Strip
This is where the magic happens! We’ll work into the foundation chain, creating varying stitch heights that will form the petals.
- Row 1 (Petal Foundation):
- Work 1 dc into the 4th chain from your hook. (The skipped 3 chains count as your first dc for this row).
- Work 1 dc into each chain across the entire foundation chain.
- [Total: 30 dc] (If you chained 32 originally, you’ll have 30 dc plus the initial ch 3 that counts as a dc).
- Ch 2, turn. (This Ch 2 will act as your turning chain for the next row and also creates a slight lift for the petals.)
- Row 2 (Creating the Petals):
- Work 1 hdc into the very first stitch.
- In the next stitch: Work (1 dc, ch 1, 1 dc).
- In the next stitch: Work (1 hdc, 1 sc).
- In the next stitch: Work (1 sc, 1 hdc).
- In the next stitch: Work (1 dc, ch 1, 1 dc).
- In the next stitch: Work (1 hdc, 1 sc).
- This is your repeating sequence: *In the next stitch: Work (1 sc, 1 hdc). In the next stitch: Work (1 dc, ch 1, 1 dc). In the next stitch: Work (1 hdc, 1 sc).*
- Repeat from * to * across the rest of the row until you have a few stitches left.
- Finish the row with (1 sc, 1 hdc) in the second to last stitch, and 1 dc in the very last stitch.
- Don’t worry about exact stitch counts here. The goal is to create a wavy, undulating strip of fabric. The combination of sc, hdc, and dc, particularly with multiple stitches in one chain (like the
(1 dc, ch 1, 1 dc)), will naturally create the taller “bumps” that become your petals. Your strip should start to curl slightly. - Fasten off, leaving a very long tail (at least 12-18 inches / 30-45 cm) for sewing the rose together.
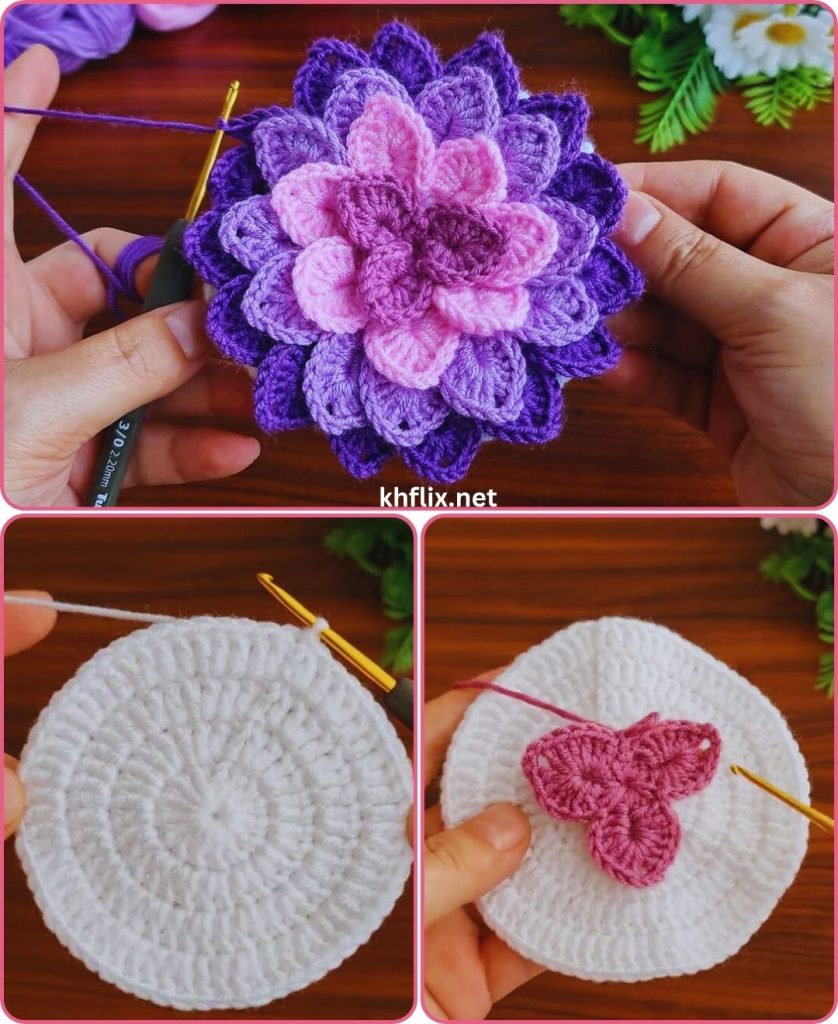
Part 3: Assembling Your 3D Rose Flower
This is where your wavy strip magically transforms into a beautiful rose!
- Preparation:
- Thread the long tail you left onto your yarn needle.
- Lay your crocheted strip flat. You should see one edge is relatively straight (where you worked into the foundation chain), and the other edge is wavy and ruffled (where you worked the varied stitches).
- Rolling the Rose:
- Start at one end of the strip (either end works).
- Begin to tightly roll the very beginning of the strip inwards. This will form the tight center bud of your rose.
- As you continue to roll, don’t roll as tightly. Let the wavy, ruffled edge fall naturally outwards, creating the petals. Guide the rolling process with your fingers, allowing the lower (straighter) edge of the strip to form the base of the rose.
- Keep rolling until you reach the end of the strip.
- Securing the Rose:
- Once you’ve rolled the entire strip into a rose shape, hold it firmly from the bottom.
- Using your yarn needle and the long tail, begin to sew through all layers of the rolled-up base of the rose. Make strong, sturdy stitches back and forth across the entire bottom of the rose. This is crucial for securing all the petals and preventing your rose from unraveling.
- Go through multiple times from different angles to ensure it’s very robust.
- Weave in any remaining yarn tail securely into the base of the rose.
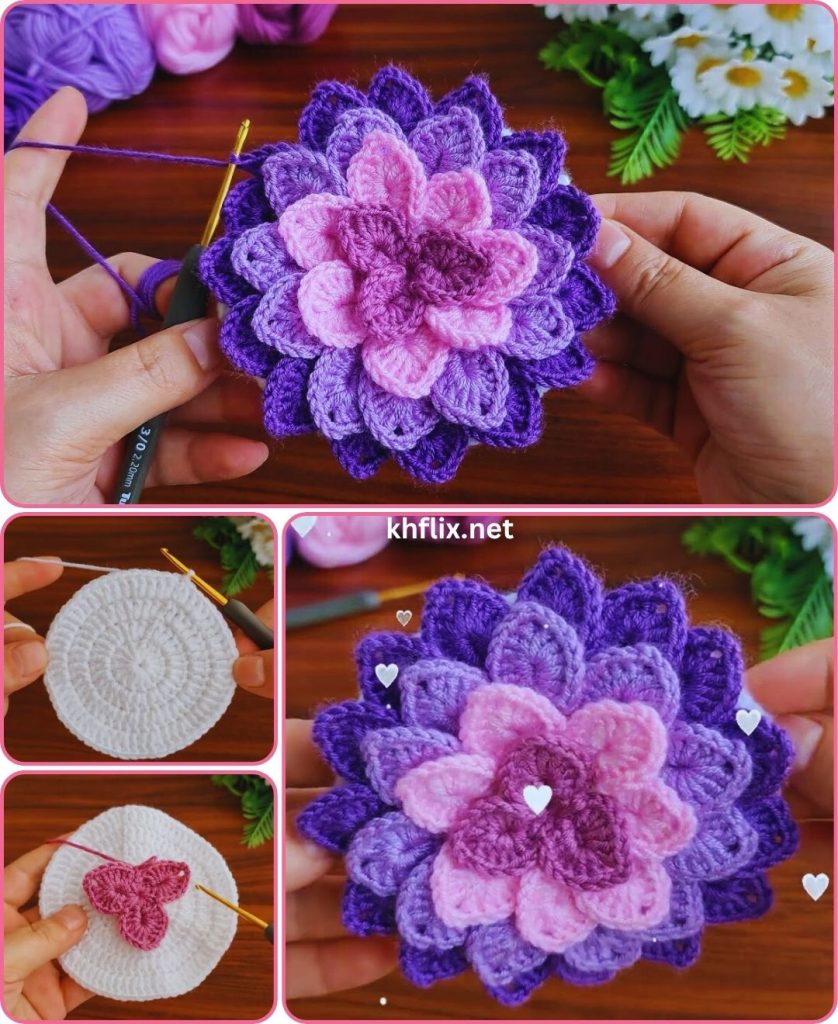
Finishing Touches:
- Weave in Starting Tail: If you have a starting tail from your foundation chain, use your yarn needle to weave it securely into the very center of the rose’s base.
- Fluff and Shape: Gently separate and arrange the petals to your liking. You can slightly pull them out to make the rose fuller or keep them tighter for a more compact look.
Congratulations! You’ve now created an amazing, very easy 3D crochet rose flower! You can use these beautiful roses for:
- Embellishing hats, headbands, or scarves.
- Decorating gift packages.
- Attaching to hair clips or brooches.
- Sewing onto bags or cushions.
- Creating a bouquet of everlasting flowers!
What creative uses do you have in mind for your new crochet roses?