 by
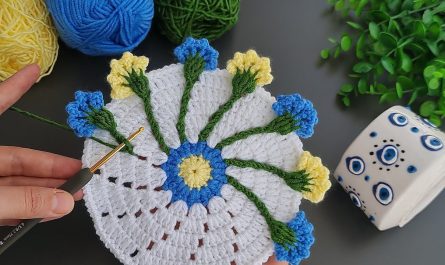
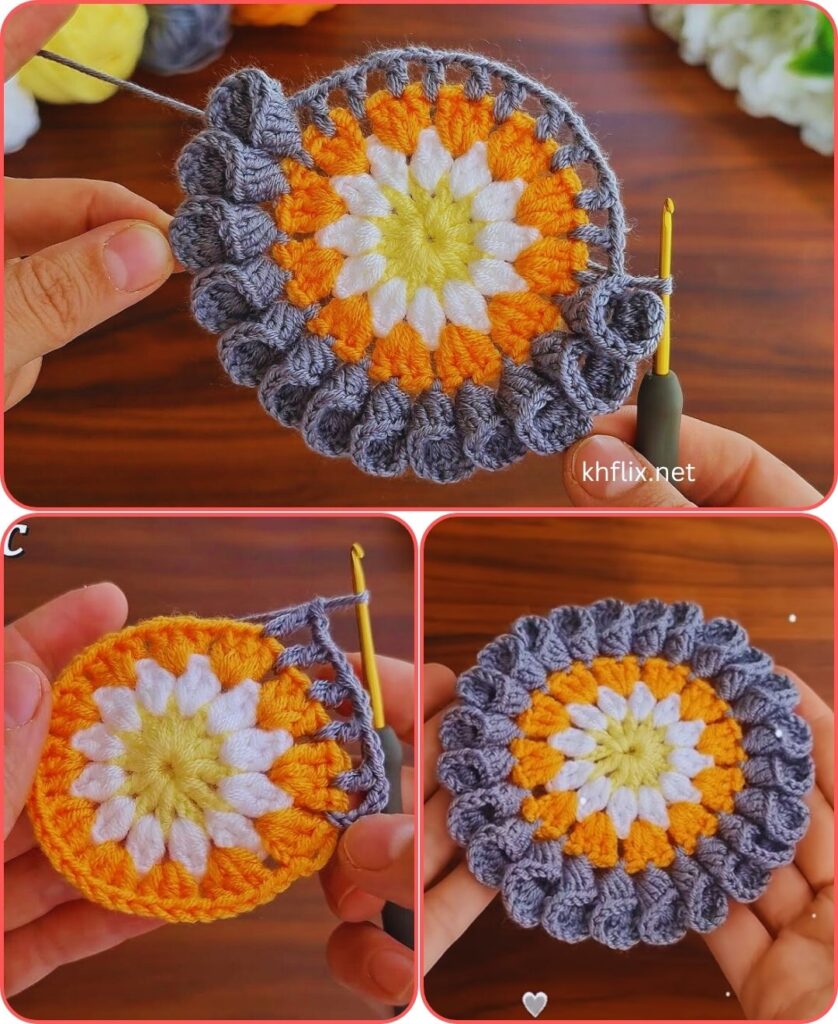
by You’re looking for a “coaster supla”! This usually refers to a smaller version of a crochet placemat (often called a “sousplat” or “supla” in some regions), designed with more decorative edging or texture, but sized for a coaster. It’s a wonderful way to combine functionality with intricate beauty.
This pattern will create a beautiful, sturdy, and visually appealing coaster with a more elaborate border than a simple circle, giving it that “supla” feel. As always, cotton yarn is crucial for functionality.
Pattern: Beautiful Crochet Coaster Supla Tutorial
This tutorial will guide you through crocheting a decorative coaster that evokes the intricate look of a larger placemat or “supla.” It features a solid base and a lovely, detailed border.
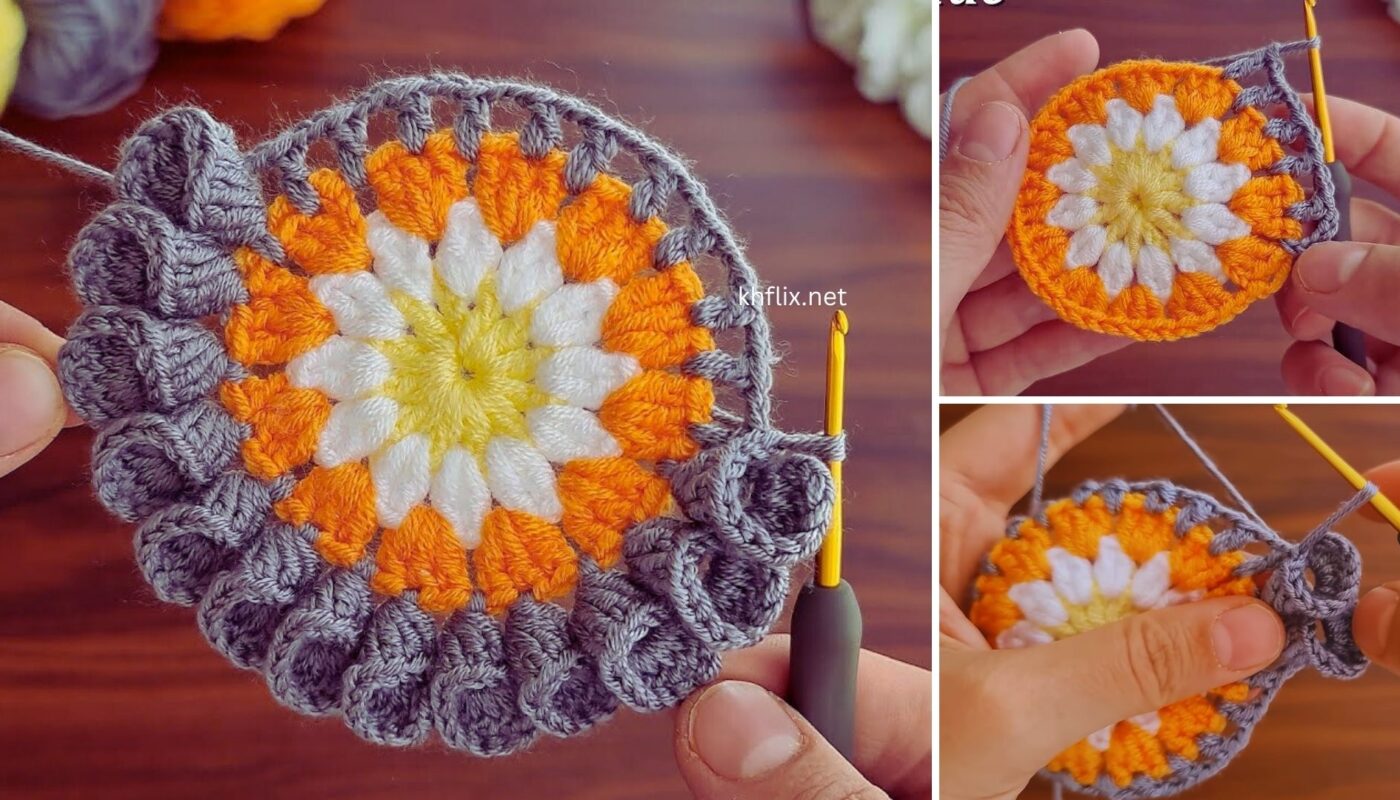
Goal: To create a flat, dense, and decorative coaster (approx. 4.5 – 5.5 inches in diameter) with an eye-catching, “supla-style” border.
Materials You’ll Need:
- Yarn:
- 100% Cotton Worsted Weight (Medium #4) Yarn: Absolutely essential for coasters due to its absorbency and heat resistance.
- Choose your desired main color (e.g., natural, white, yellow, or a bright pop of color).
- Optional: A small amount of a contrasting color for the final border round if you want a layered look.
- Crochet Hook:
- Size H/5.0mm (or a size that yields a dense, flat fabric with your chosen cotton yarn. Adjust as needed to prevent curling or rippling).
- Yarn Needle (Tapestry Needle): For weaving in ends.
- Scissors
- Stitch Marker (Optional): Highly recommended for beginners to mark the beginning of rounds.
Abbreviations Used:
- ch: chain
- sl st: slip stitch
- sc: single crochet
- hdc: half double crochet
- dc: double crochet
- tr: treble crochet (or triple crochet)
- st(s): stitch(es)
- sp: space
- ch-sp: chain space
- MR: magic ring (or magic circle)
- FO: fasten off
- inc: increase (working 2 stitches into the same stitch)
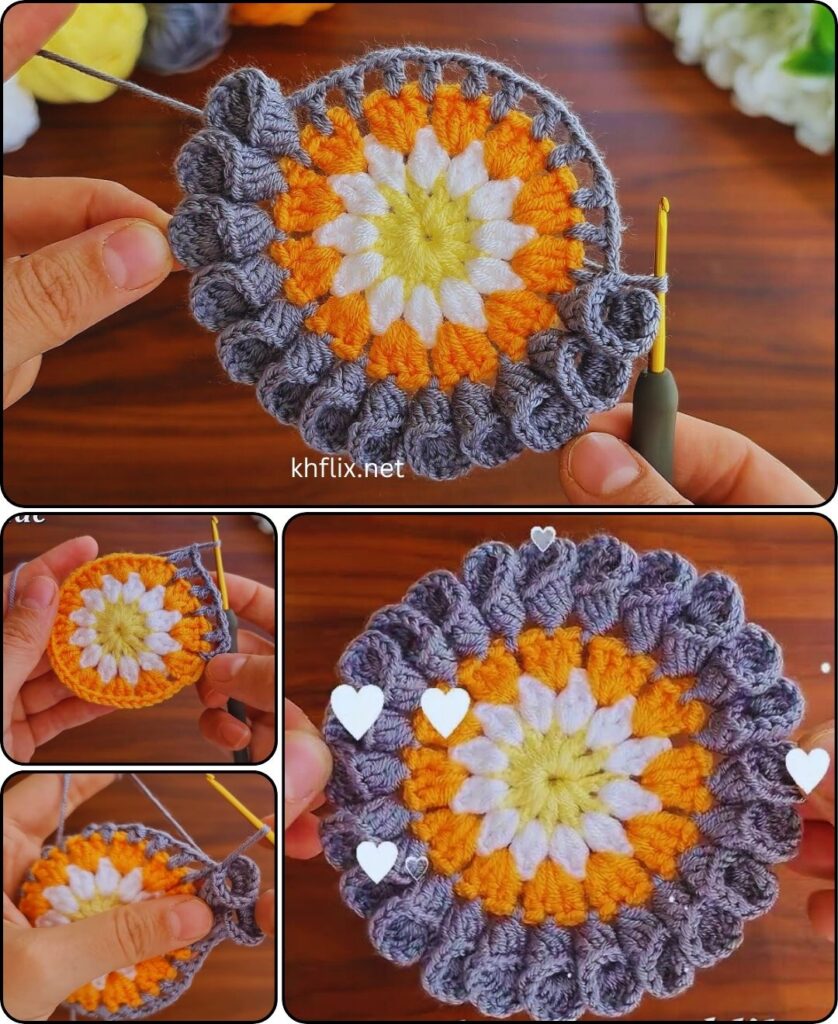
Understanding the Coaster Supla Structure
This coaster is built in distinct stages to achieve its decorative look:
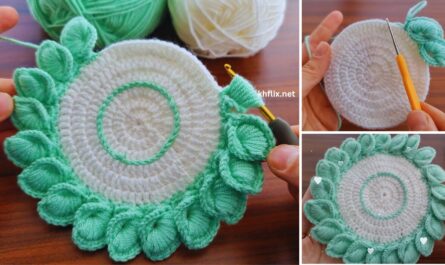
- Solid Base: A sturdy, flat circle using half double crochet (hdc) for density.
- Transition Round: A round of single crochet to create a solid edge for the decorative border.
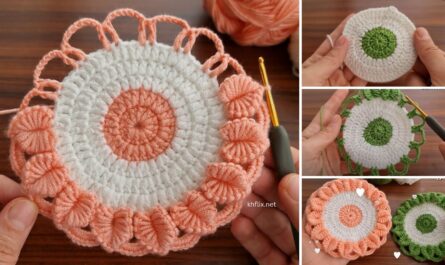
- Decorative Border – Round 1: Creating the first layer of the “supla” pattern using groups of stitches and chain spaces.
- Decorative Border – Round 2: Building on the previous border round with taller stitches and more chain spaces to create the intricate edge.
Let’s Start Crocheting!
Part 1: The Solid Coaster Base
We’ll use hdc stitches for the main body to ensure a dense and flat coaster.
Option A: Chain Ring (Beginner-Friendly Start)
- Ch 3.
- Sl st into the first chain you made to form a ring.
Option B: Magic Ring (MR / Magic Circle – Recommended for a no-hole center)
- Create a Magic Ring.
- Ch 1 (does NOT count as a stitch; it just secures the ring).
Round 1 (Center Base):
- Into the center ring (from Option A or B), ch 1 (does not count as a stitch).
- Work 8 hdc into the center ring.
- Sl st into the first hdc to join the round. (8 hdc).
- If using Magic Ring, gently pull the starting yarn tail to close the center hole tightly.
Round 2:
- Ch 1 (does not count as a stitch).
- Work 2 hdc in each hdc around (hdc increase in every stitch). (16 hdc).
- Sl st into the first hdc to join the round.
Round 3:
- Ch 1 (does not count as a stitch).
- Work 1 hdc in the first st, then 2 hdc in the next st (inc). Repeat from * to * around. (24 hdc).
- Sl st into the first hdc to join the round.
Round 4:
- Ch 1 (does not count as a stitch).
- Work 1 hdc in each of the first 2 sts, then 2 hdc in the next st (inc). Repeat from * to * around. (32 hdc).
- Sl st into the first hdc to join the round.
Round 5:
- Ch 1 (does not count as a stitch).
- Work 1 hdc in each of the first 3 sts, then 2 hdc in the next st (inc). Repeat from * to * around. (40 hdc).
- Sl st into the first hdc to join the round.
- At this point, your coaster should be approximately 3.5 – 4 inches in diameter and laying perfectly flat.
Part 2: The Transition Round (Solid Edge for Border)
This round helps to define the edge before the more decorative border starts.
- Ch 1 (does not count as a stitch).
- Work 1 sc into each hdc around. (40 sc).
- Sl st into the first sc to join the round.
- If you want to change colors for your border, FO here, weave in the end, and join your new color in any sc stitch.
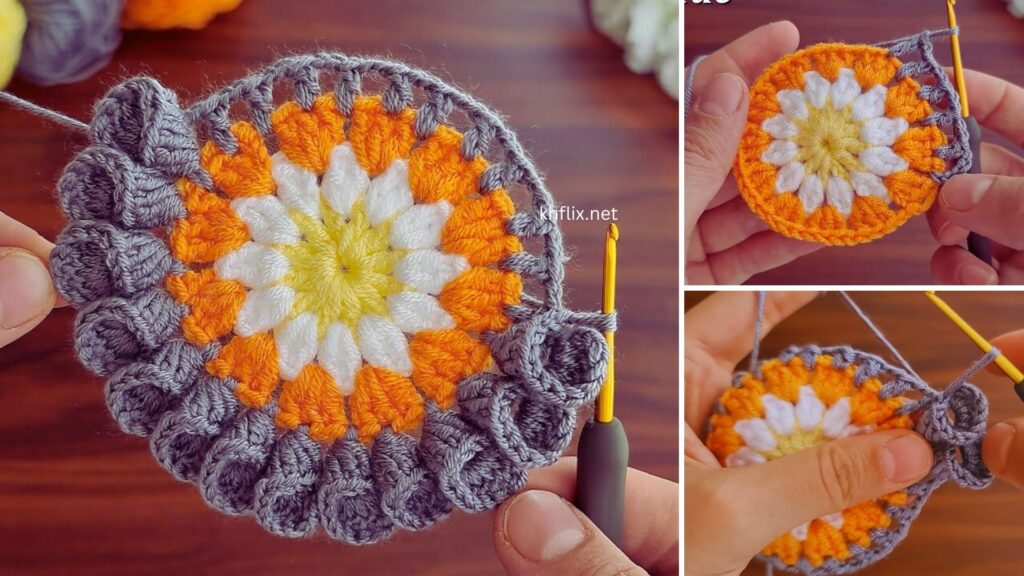
Part 3: The Decorative “Supla” Border – Round 1
This round starts to create the openwork and clusters characteristic of many supla designs.
- Ch 3 (counts as first dc).
- Work 2 dc into the same stitch.
- Ch 3.
- Sk 3 sts.
- In the next st, work 3 dc.
- Ch 3.
- Sk 3 sts.
- Repeat steps 5-7 around. You should end with a Ch 3 space.
- Sl st into the top of the beginning ch 3 to join the round. (10 groups of 3 dc, 10 ch-3 spaces).
- This round will start to create a slightly scalloped or pointed edge with open spaces.
Part 4: The Decorative “Supla” Border – Round 2
This is the final, most decorative round, building on the previous clusters and spaces.
- Sl st into the next dc, then sl st into the next dc. Now sl st into the first ch-3 space to position your hook. (This helps center you in the space).
- Ch 1 (does not count as a stitch).
- In the first ch-3 space, work (1 sc, ch 3, 1 sc).
- Ch 3.
- Sk the 3 dc cluster.
- In the next ch-3 space, work (1 sc, ch 3, 1 sc).
- Ch 3.
- Sk the 3 dc cluster.
- Repeat steps 6-8 around.
- Sl st into the first sc of the round to join.
- This round creates beautiful little “picot-like” points and more openwork, giving it a delicate, lace-like appearance common in suplas.
Finishing Your Coaster Supla
- Weave in All Ends: This is essential for a clean, durable coaster.
- Thread each yarn tail onto your yarn needle.
- Carefully weave the tail through several stitches on the back of your coaster, going in different directions to secure it firmly.
- Trim any excess yarn close to the fabric.
- Blocking (Highly Recommended):
- Gently wet your coaster (or spray it with water until damp).
- Pin the coaster flat onto a foam blocking mat or a towel-covered surface, gently stretching the points and shaping it into a perfect circle.
- Let it air dry completely. Blocking makes a huge difference in making your coaster lay flat, defines the stitches, and gives it a professional, finished look.
Tips for Beginners:
- Cotton Yarn is Non-Negotiable: For functionality, always use 100% cotton for coasters.
- Consistent Tension: This is key to a flat coaster and a neat-looking border.
- Counting Stitches and Spaces: Especially in the border rounds, ensure you’re skipping the correct number of stitches and working into the correct spaces.
- Visualizing Spaces: If you’re new to working into chain spaces, practice identifying them. They are the “holes” created by the chains.
- Use a Stitch Marker: Mark the first stitch of each round if you find yourself losing your place.
- Video Tutorials: If you’re unsure about specific stitches (like dc or tr) or how to join rounds seamlessly, quick YouTube tutorials can be very helpful.
- Experiment with Colors: Try a solid color for a minimalist look, or use a contrasting color for the last border round to make the pattern pop!
Enjoy your beautiful, functional, and decorative “coaster supla”!