 by
by Creating a Crochet Hook Organizer is one of the most practical and satisfying projects you can make for your craft space. It keeps your hooks sorted by size, prevents them from rolling away or getting lost in your yarn bag, and rolls up neatly for travel. Best of all, you can customize it with your favorite stitches and colors.
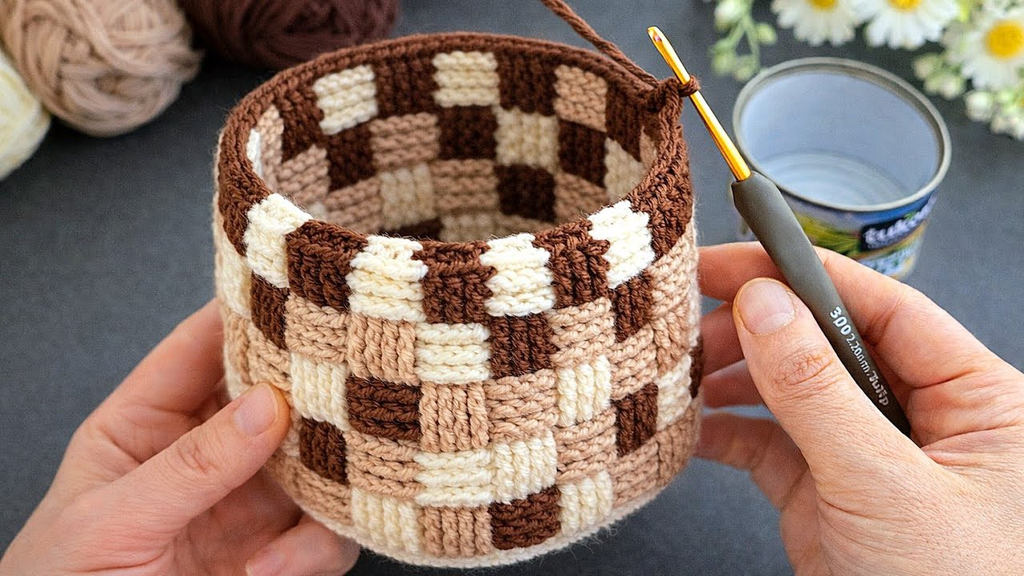
Here is your detailed, step-by-step masterclass on how to crochet a durable, professional-grade hook organizer from scratch.
🧶 The Hook Organizer Toolkit
- Yarn:100% Mercerized Cotton Yarn (Worsted Weight / Weight 4). Cotton is mandatory for hook organizers because it has zero stretch, provides a dense and rigid structure, and won’t sag or stretch out when heavy aluminum or ergonomic hooks are tucked into the pockets.
- Palette: A rich exterior color (such as navy, charcoal, or forest green) for durability, and a contrasting accent color for the inner pockets and trim.
- Hook: 4.5 mm or 5.0 mm. A slightly snug hook creates a tight, firm fabric gauge that holds hooks securely in place without letting them slip through.
- Extra Supplies:
- Tapestry needle for weaving ends.
- A magnetic snap button, a wooden toggle button, or a long cord for tying the roll shut.
- Optional: A strip of thin felt or fabric for inner reinforcement (though a tight crochet gauge works wonderfully on its own).
📏 Step 1: Crafting the Main Body Panel
The base of your organizer is a solid, rectangular fabric panel that will form the spine and back support of your case.
- With your Exterior Color, chain (
ch) 55 stitches (this determines the length/height of your organizer roll, fitting standard and ergonomic hooks comfortably). - Row 1: Starting in the 2nd chain from the hook, work 1 half-double crochet (hdc) in each chain across. Turn (
ch 2does not count as a stitch throughout). - Rows 2 through 30+: Work rows of half-double crochet back and forth until your panel measures approximately 12 to 14 inches wide by 8 to 10 inches high.
- Fasten off, leaving a clean edge. Weave in your ends and block the rectangle flat with steam so it forms a crisp, even sheet.

📂 Step 2: Creating the Pocket Strip
The pocket strip sits at the bottom of your main panel and will be divided into individual vertical slots for each hook size.
- Using your Accent Color, chain 55 stitches (matching the width of your main panel).
- Row 1: Working in hdc, crochet rows back and forth just like the main panel, but for only 10 to 12 rows high (roughly 3 to 4 inches tall—tall enough to cradle the lower halves of your hooks securely).
- Fasten off, leaving a long 24-inch yarn tail for sewing.

📌 Step 3: Assembling and Creating Hook Slots
- Positioning the Pocket Strip: Lay your main rectangular panel flat with the right side facing up. Place your shorter pocket strip directly over the bottom edge of the main panel, aligning the bottom and side edges perfectly.
- Securing the Edges: Using your tapestry needle and the long yarn tail, whip-stitch or mattress-stitch the left, bottom, and right edges of the pocket strip to the main panel.
- Dividing the Pockets:
- Take your set of crochet hooks and lay them out across the pocket strip to determine your spacing (usually leaving about 1 to 1.5 inches per pocket, accommodating everything from tiny steel lace hooks to chunky ergonomic handles).
- Use locking stitch markers to mark your vertical divider lines.
- Using matching yarn and a secure back-stitch, sew straight vertical lines from the top edge of the pocket strip down to the bottom base, creating individual sleeves for each hook.

🧵 Step 4: Adding the Top Flap and Closure
- The Protective Flip Flap: To keep your hooks from sliding out when rolled up, you want a top flap that folds down over the hook heads before rolling. You can either crochet a small 2-inch extension flap directly onto the top edge of the main panel, or fold the top 2 inches of the main panel down over your hooks when loaded.
- The Tie or Button Closure:
- Option A (The Tie Strap): Chain a sturdy 40-stitch cord (
ch 40, work 1 row of slip stitches across) and securely sew one end to the right-hand outer edge of the organizer. When rolled up, you can wrap the cord around the case and tuck it in to tie it securely. - Option B (The Button & Loop): Sew a charming wooden toggle button to the front flap and crochet a small button loop on the outer edge.
- Option A (The Tie Strap): Chain a sturdy 40-stitch cord (
✨ Pro-Tips for Success
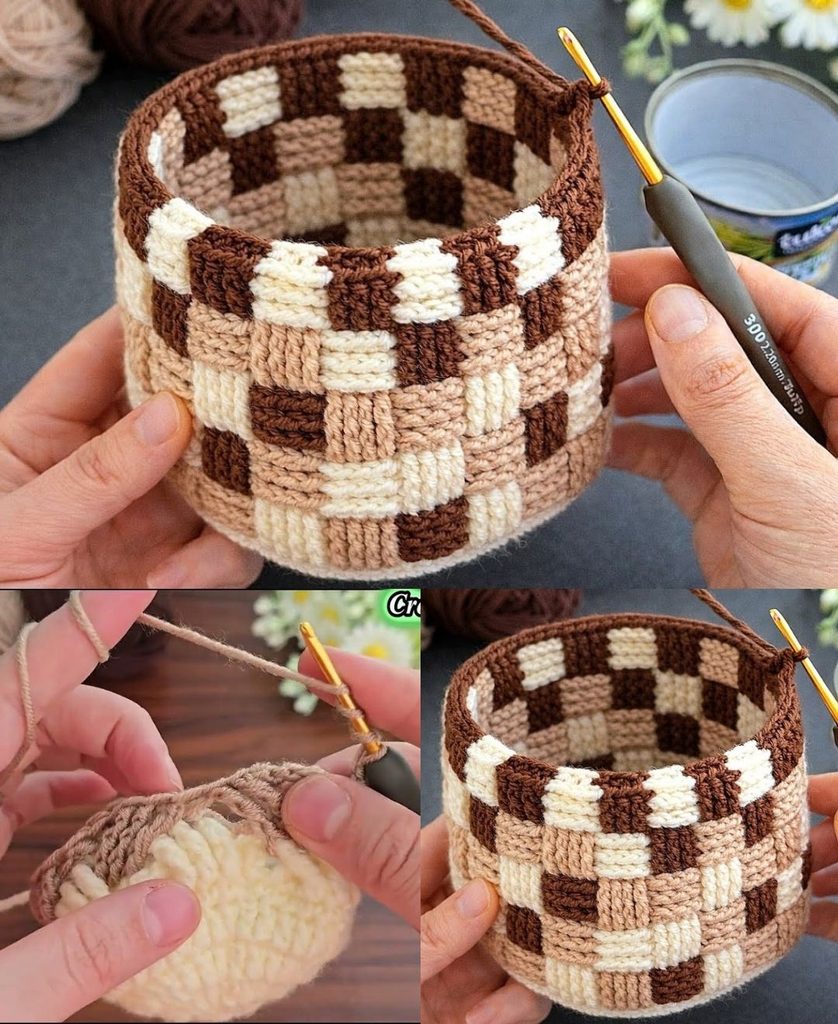
- Test Fit Your Hooks: Before sewing down your vertical pocket dividers, slide your actual hooks into the un-divided pocket strip to double-check that the widths accommodate your specific collection (especially wider ergonomic handles like Clover Amour).
- Custom Labels: Use surface slip stitches or tiny embroidered numbers near the top of each pocket slot to label your hook sizes (e.g., 3.5mm, 4.0mm, 5.0mm) for instant organization!