 by
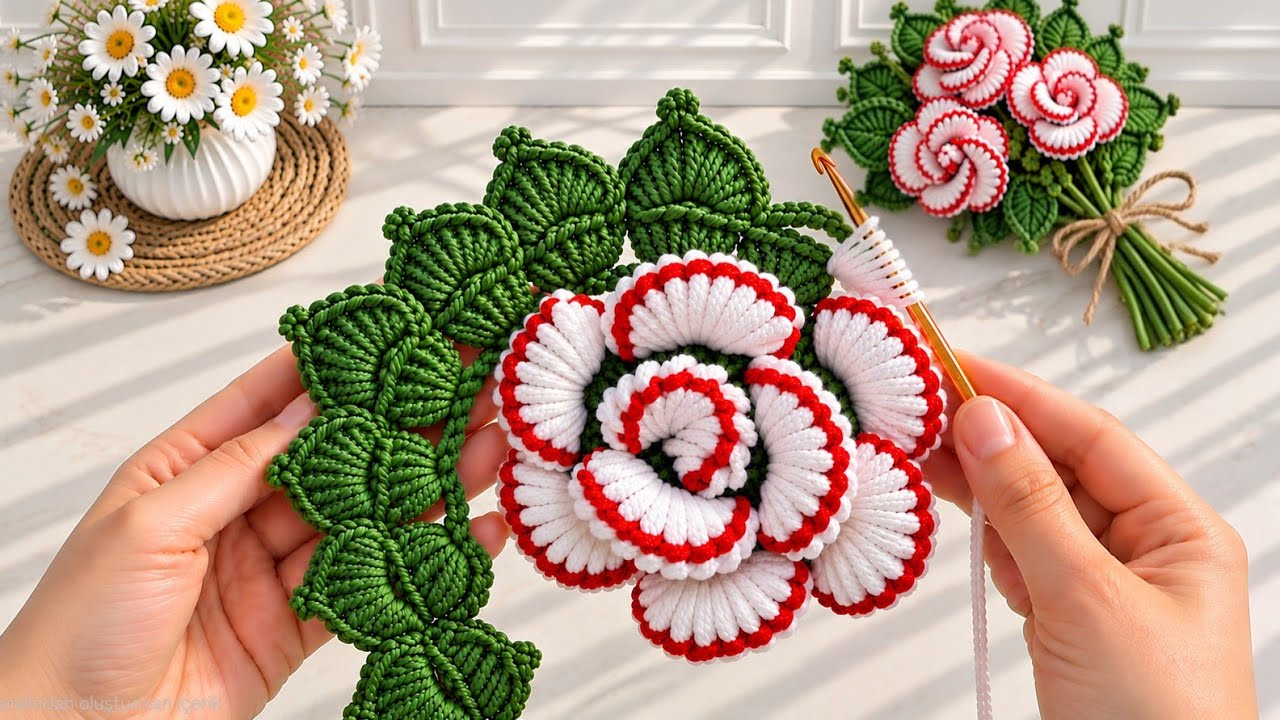
by Creating a Stunning 3D Flower Bouquet is the pinnacle of botanical crochet. Moving beyond flat motifs into fully dimensional, sculptural blooms allows you to craft an everlasting arrangement that captures the intricate beauty, texture, and depth of a fresh florist’s bouquet.
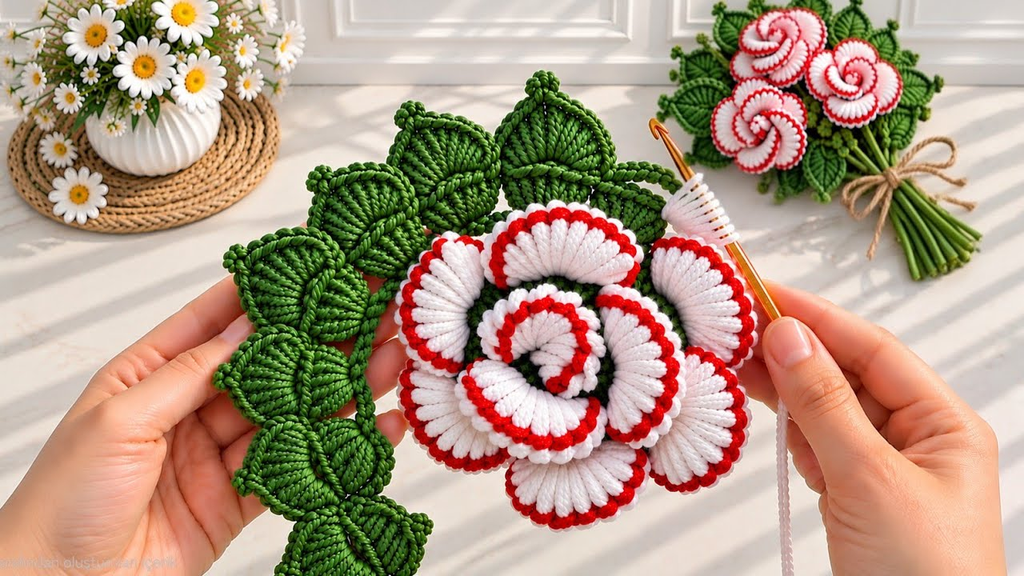
Here is your detailed, step-by-step masterclass on how to crochet a breathtaking 3D mixed-flower bouquet from scratch, complete with realistic wired stems and professional styling.
🧶 The Professional 3D Bouquet Toolkit
- Yarn:100% Mercerized Cotton Yarn (Sport weight or DK). Cotton yarn is mandatory for botanical projects because it yields crisp, rigid stitch definition, ensuring your 3D petals stand upright and never look fuzzy or droopy.
- Palette: A curated mix of garden hues (such as soft lavender, buttercup yellow, cream, and dusty rose) paired with rich botanical green for the leaves, stems, and calyxes.
- Hook: 3.0 mm or 3.5 mm. A slightly snug hook keeps your tension compact, giving the sculptural petals clean architectural form.
- Structural & Realism Supplies:
- 18-gauge floral wire for the main structural stems.
- 28-gauge floral wire for threading and posing individual petals and leaves.
- Green floral tape for wrapping and binding.
- Hot glue gun (or fabric glue) for secure anchoring.
🌸 Step 1: Crocheting the 3D Layered Garden Blossom
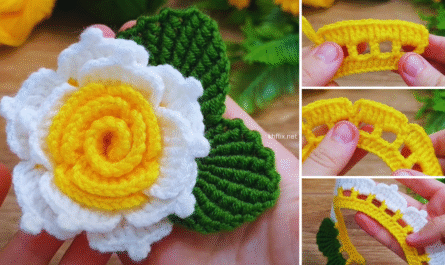
To make a visually stunning bouquet, variety is key. Let’s craft a signature Multi-Layered 3D Garden Flower featuring stacked, overlapping petals.
- The Center Pistil (Round 1):
- With a contrasting yellow yarn,
ch 4and join with asl stto form a ring.ch 1, work 10 sc into the ring. Join and fasten off.
- With a contrasting yellow yarn,
- Layer 1 (The Inner Petals):
- Attach your petal yarn (e.g., lavender) to the back loops of the center round.
ch 3, work(2 dc, ch 2, 3 dc)into the first stitch. Skip the next stitch, and repeat(3 dc, ch 2, 3 dc)in the following stitch all the way around to create 5 dense inner petals. Join and fasten off.
- Layer 2 (The Dramatic Outer Petals):
- Working behind the first layer in the remaining front loops/base loops, attach your yarn and create larger petals:
ch 4, work(2 tr, ch 2, 2 tr)into the base space. Repeat around to form a wider, bolder layer of outer petals that “hug” the inner blossom. Fasten off.
- Working behind the first layer in the remaining front loops/base loops, attach your yarn and create larger petals:
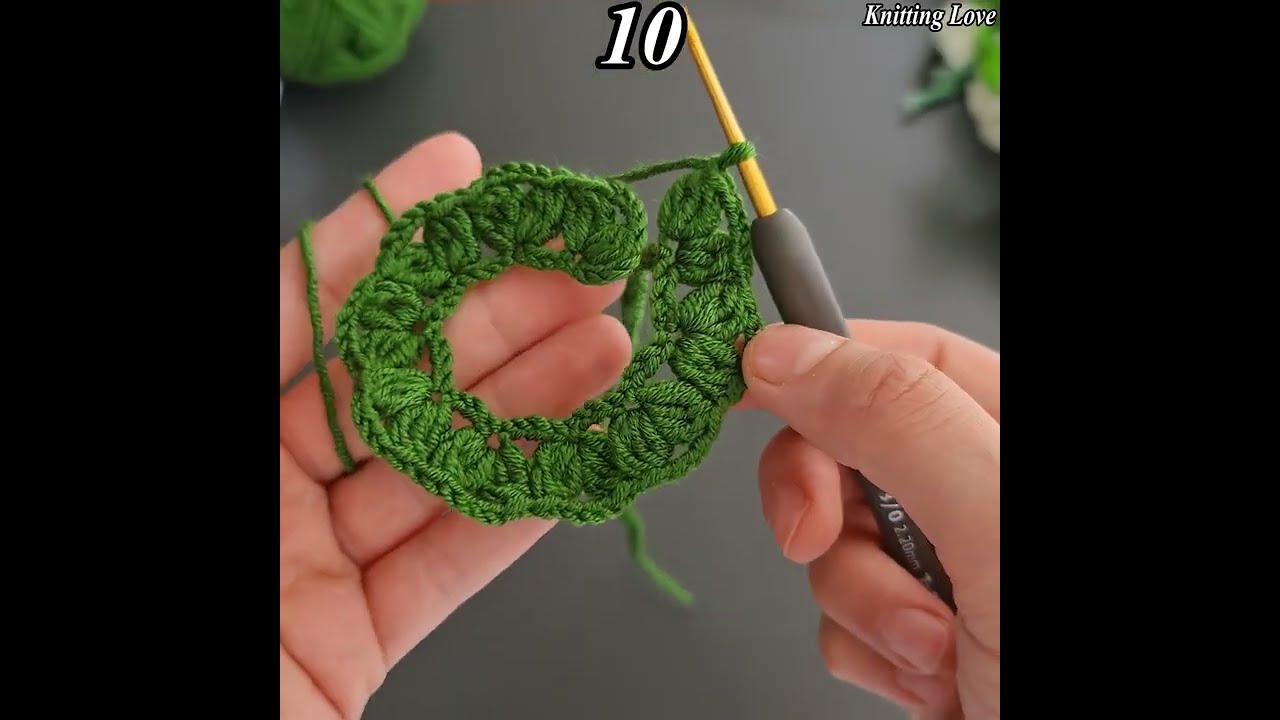
🌿 Step 2: Crafting Poseable Wired Leaves & Calyxes
Real flowers feature dynamic foliage and support cups that give them life-like realism.
- The 3D Green Calyx:
ch 4with green yarn, join to form a ring. Work a round of small pointed sepals(ch 4, 1 tr, ch 2, 1 tr, ch 4, sl st)repeated 4 times to create the star-shaped cup that rests under the flower base. Fasten off.
- The Wire-Supported Poseable Leaf:
ch 12with green yarn. Lay a length of 28-gauge floral wire directly along the center of the chain.- Work
1 sc, 1 hdc, 6 dc, 1 hdc, 1 scdirectly over the chain, trapping the wire securely inside your stitches. - Why wire? This allows you to bend, curve, and twist your leaves into natural, windswept angles that will never sag.
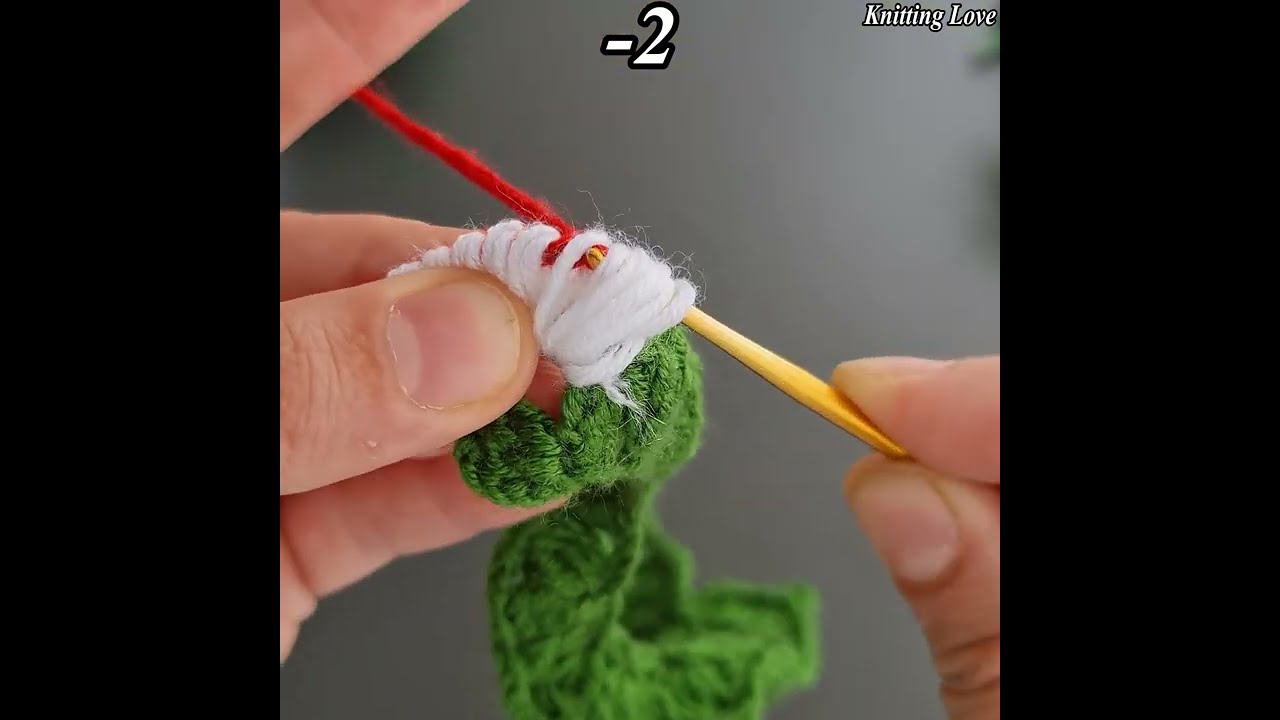
💐 Step 3: Stem Construction and Final Bouquet Assembly
- Mounting the Stem:
- Take a length of 18-gauge floral wire and use pliers to bend a tiny $1/4$-inch safety loop at the top tip so the sharp metal edge never pokes through your crochet work.
- Push the looped wire up through the center hole of your green calyx, apply a drop of hot glue to the top, and press the calyx firmly against the flat underside of your 3D flower.
- Wrapping with Floral Tape:
- Anchor your green floral tape directly under the calyx base and wrap it tightly downward at a $45^\circ$ angle, pulling gently to activate the wax. As you travel down the stem, introduce 2 to 3 wired leaves into the wrap, binding them securely to the main wire.
- Arranging the Bouquet:
- Craft a collection of 5 to 7 distinct 3D blooms (mixing multi-layered garden flowers with roses or tulips).
- Gather them into a balanced, domed arrangement, secure the lower stems with twine, and wrap them in rustic kraft paper or fine satin ribbon for an exquisite, everlasting presentation.
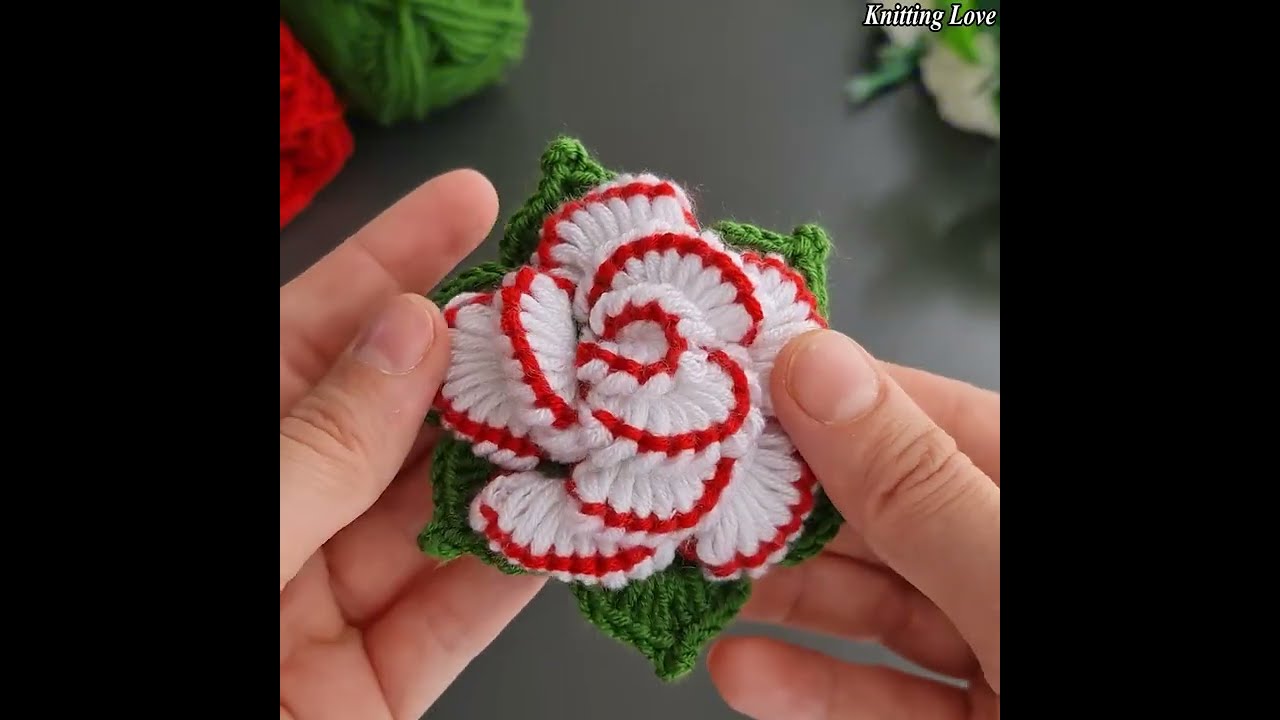
✨ Pro-Tips for a High-End Finish
- Steam Shaping: Hold your completed 3D flowers over the gentle steam of a kettle for a few seconds. While the cotton fibers are warm and relaxed, use your fingers to cup, curl, and flare the petals outward. As they cool, they will lock into that permanent, organic shape.
- Botanical Contrast: Pair deep, moody tones (like plum or burgundy) with soft neutrals (like cream or pale sage) to give your 3D bouquet depth, dimension, and true professional flair.
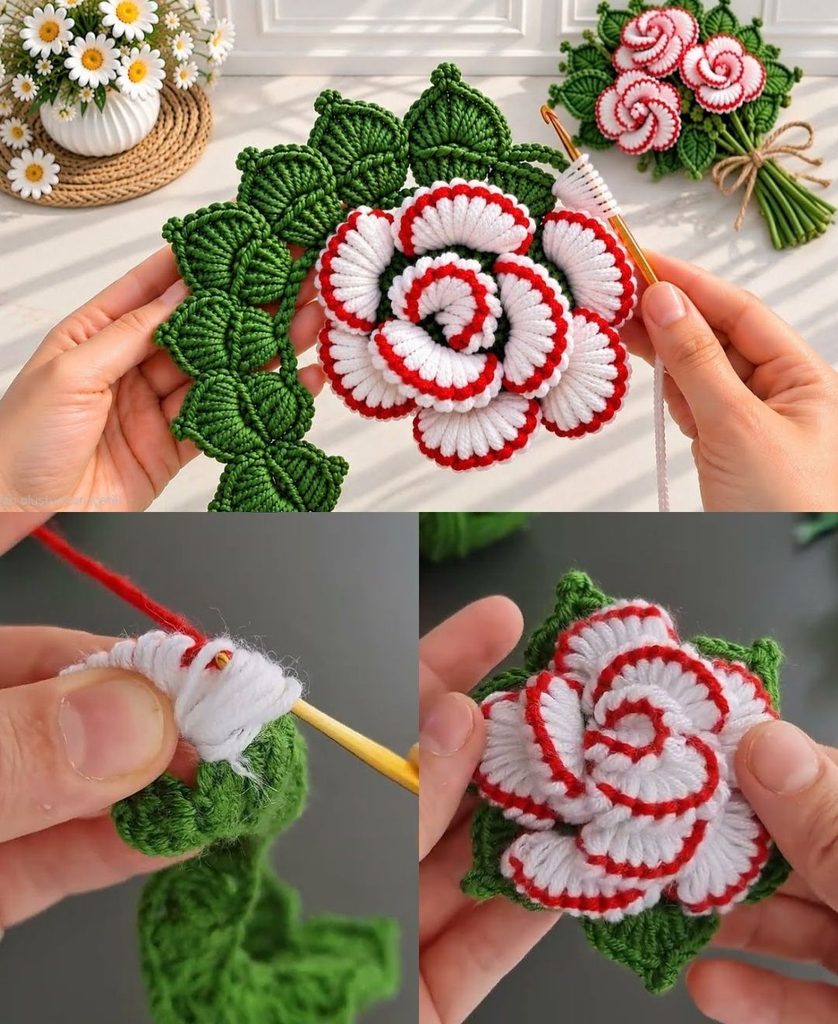
Video tutorial: