 by
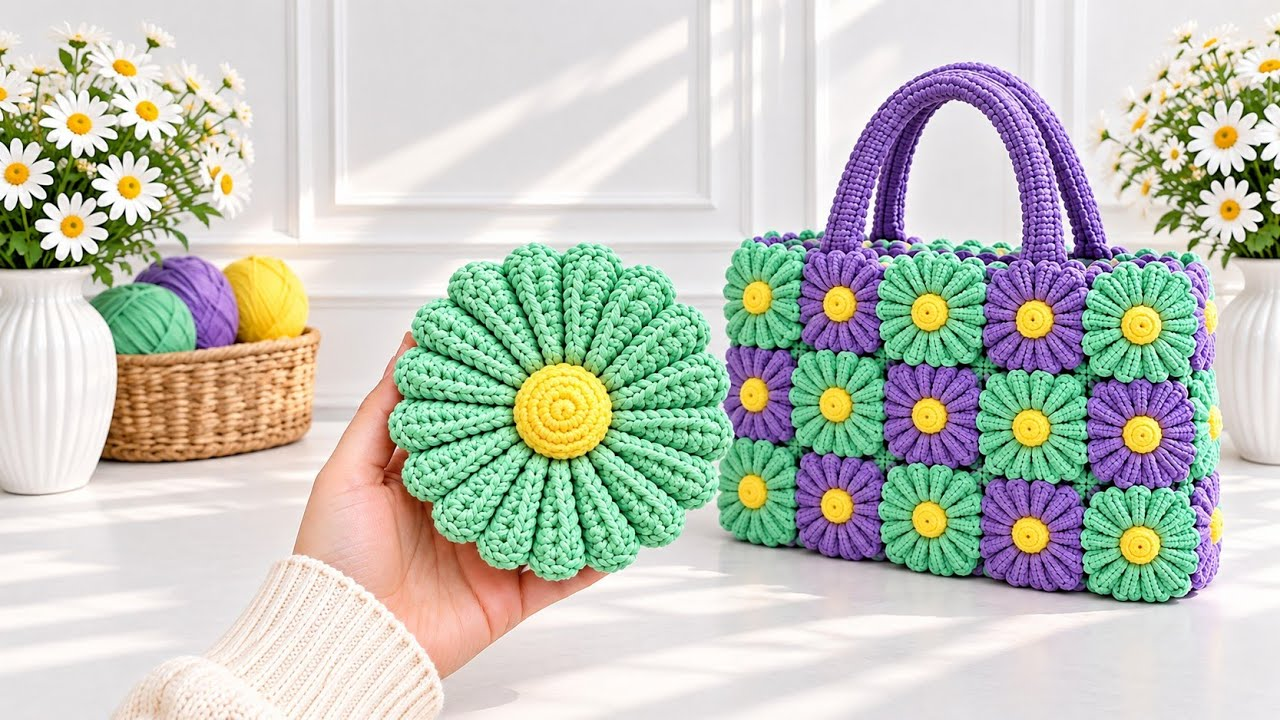
by Creating a Gorgeous 3D Flower Round Bag is a breathtaking project that combines sculptural textile art with high-end architectural fashion. Unlike standard flat bags or square totes, a circular bag featuring a prominent, blooming 3D flower center offers a dramatic, modern silhouette that instantly looks like a designer boutique piece.
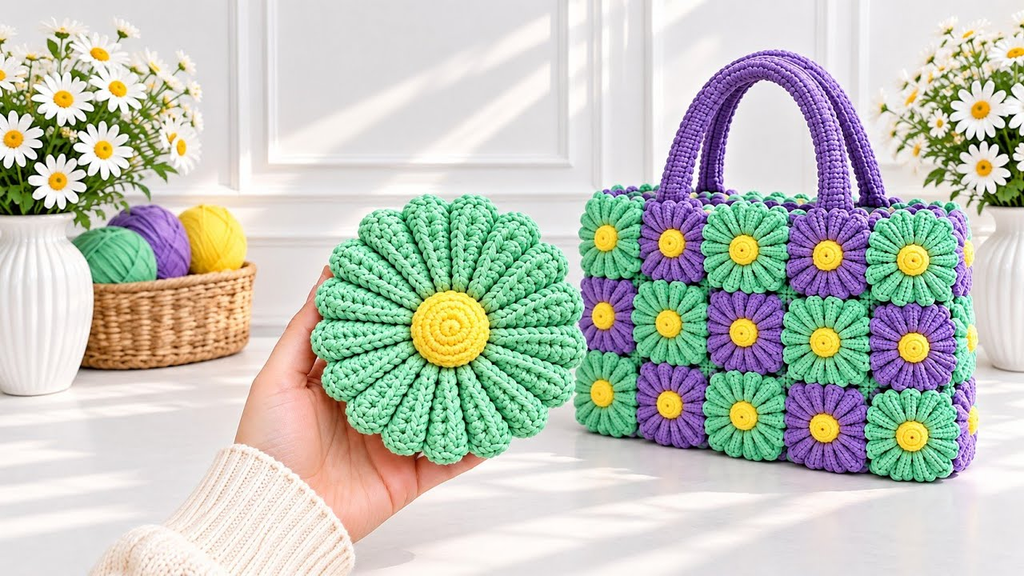
Here is your detailed, step-by-step masterclass on how to crochet a stunning 3D Flower Round Bag from scratch, complete with structural reinforcement and professional finishing.
🧶 The Professional 3D Round Bag Toolkit
- Yarn:100% Mercerized Cotton Yarn (Sport weight, DK, or Worsted weight). Cotton yarn is non-negotiable for structured bags because it has minimal stretch, ensuring your circular panels hold their rigid shape without warping.
- Palette: A vibrant focal color for the 3D flower center (such as blush pink, sunshine yellow, or rich crimson), paired with a striking background color (like cream, charcoal, or saddle brown) for the circular body.
- Hook: 3.5 mm or 4.0 mm. A snug hook size creates a tight, dense gauge, providing the bag with essential structural integrity.
- Structural & Lining Supplies:
- Tapestry needle for weaving ends.
- Custom fabric lining and sew-in plastic mesh/canvas (crucial for keeping a round bag perfectly circular and preventing items from slipping through).
- Optional zipper or magnetic snap closure, plus a matching strap (leather or chain).

🌸 Step 1: Crafting the Central 3D Flower Motif (Front Panel)
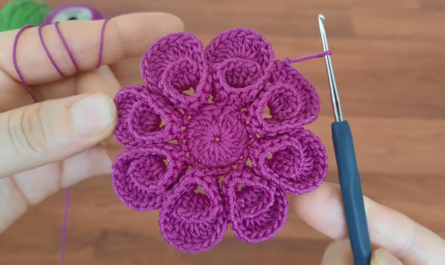
The centerpiece of your bag is a multi-layered, sculptural flower that bursts outward from the center of the front circular panel.
- Round 1 (The Flower Center / Pistil):
- With your center color (e.g., yellow),
ch 4and join with asl stto form a ring. ch 1, work 12 sc (single crochet) into the ring. Join with asl st. Fasten off.
- With your center color (e.g., yellow),
- Round 2 (The Inner Petals):
- Attach your petal yarn (e.g., pink) into the back loop of any stitch.
ch 3(counts as dc), work2 dcin the same stitch,ch 2. Work 3 dc in every stitch around with ach 2space between each petal group to create a dense, ruffled inner cup. Join with asl st. Fasten off.
- Round 3 (The Dramatic Outer 3D Petals):
- Working behind the first layer in the remaining front loops, attach your yarn and create larger petals:
ch 4, work(2 tr, ch 2, 2 tr)into the base space. Repeat around to form a wider, bolder layer of outer petals that “hug” and pop outward from the center. Fasten off.
- Working behind the first layer in the remaining front loops, attach your yarn and create larger petals:
- Round 4 & Beyond (Turning the Flower Into a Circle):
- Attach your background color (e.g., cream) behind the outer petals.
- Work a transition round of half-double crochets (hdc), evenly spacing out increases so that your floral square or circle begins rounding out into a flat, geometric circle. Continue working concentric rounds of hdc with proper mathematical increases until your front panel reaches your desired diameter (typically 8 to 10 inches wide). Fasten off.

⭕ Step 2: Crafting the Back Panel and Side Gusset
To give a round bag depth (turning it from a flat disc into a functional purse), you need a matching back panel and a continuous side gusset.
- The Plain Back Panel:
- Using your background color, crochet a matching flat circle of the exact same diameter as your front floral panel (starting with a magic ring and working outward with standard hdc increases in rounds). Fasten off.
- The Side and Bottom Gusset:
- To give the bag its depth (e.g., 2.5 to 3 inches wide), chain a foundation length that equals the circumference of your circles (or work rows of single crochet/thermal stitch in a long strip roughly 3 inches wide by the full outer length of your circle’s perimeter).

🌟 Step 3: Structural Integrity & Boutique Finishing
Because round bags are prone to collapsing or warping on the sides without proper internal support, these finishing steps are mandatory for a luxury result:
1. The Plastic Canvas Foundation (Non-Negotiable)
- Cut two circular pieces of plastic mesh / plastic canvas to match the exact interior diameter of your crochet circles, and a long rectangular strip for the gusset.
- Sandwich these plastic inserts directly between your crochet exterior and your fabric lining. This acts as an invisible skeleton, ensuring your round bag stays rigidly circular and never sags.
2. The Fabric Lining
- Sew a custom fabric lining pouch that mirrors the exact box/round dimensions of your bag interior. Hand-stitch it securely around the inner rim to conceal all raw edges and the plastic canvas.
3. Assembling and Edging
- Pin your front floral circle, back circle, and side gusset together. Use a tight whip-stitch or slip-stitch join to seam them into a cohesive unit.
- Work 2 to 3 rounds of tight single crochet around the zipper opening or top flap rim, carrying a nylon cord inside the stitches for an unyielding, professional border. Attach your strap tabs securely to the reinforced side gussets.
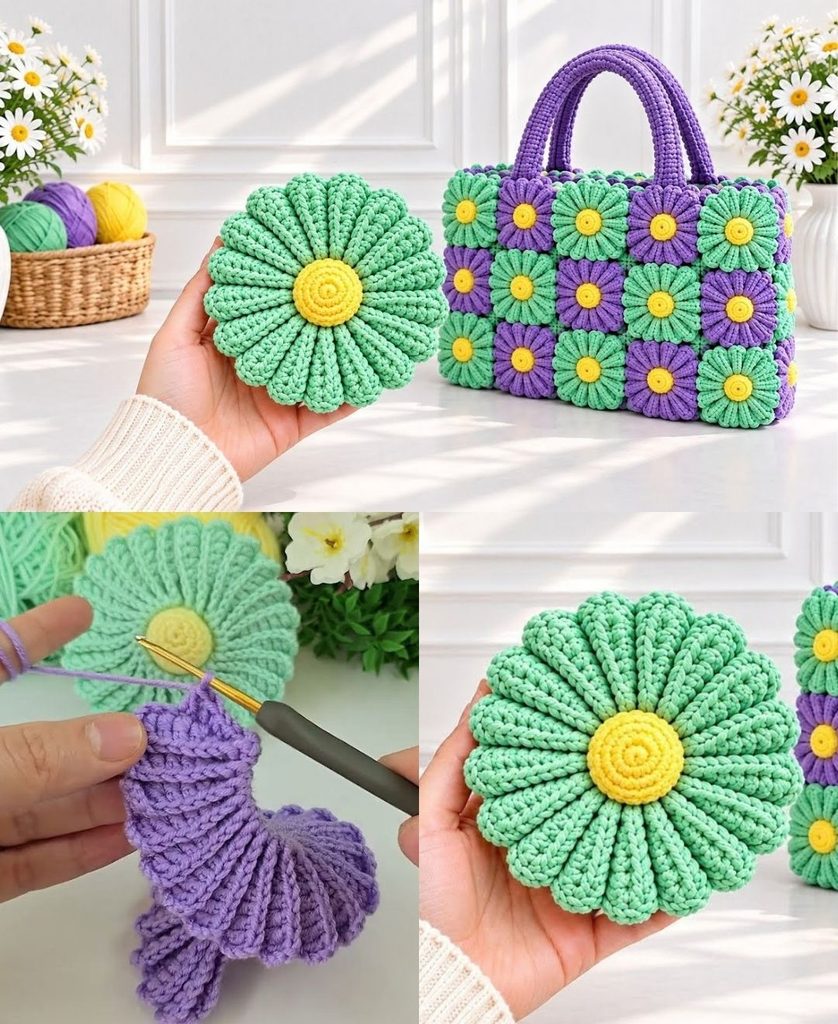
✨ Pro-Tips for Success
- Steam-Set Your 3D Petals: Before assembling the bag, hold your front floral panel over the gentle steam of a kettle. Use your fingers to cup, curl, and flare the 3D petals outward. As the cotton cools, it will lock into a permanent, architectural bloom.
- Monochrome Background: Keep the background color of the front panel, back panel, and side gusset completely identical. This allows the vibrant 3D flower on the front to command all the visual attention, achieving a high-end designer look!
Video tutorial: