by
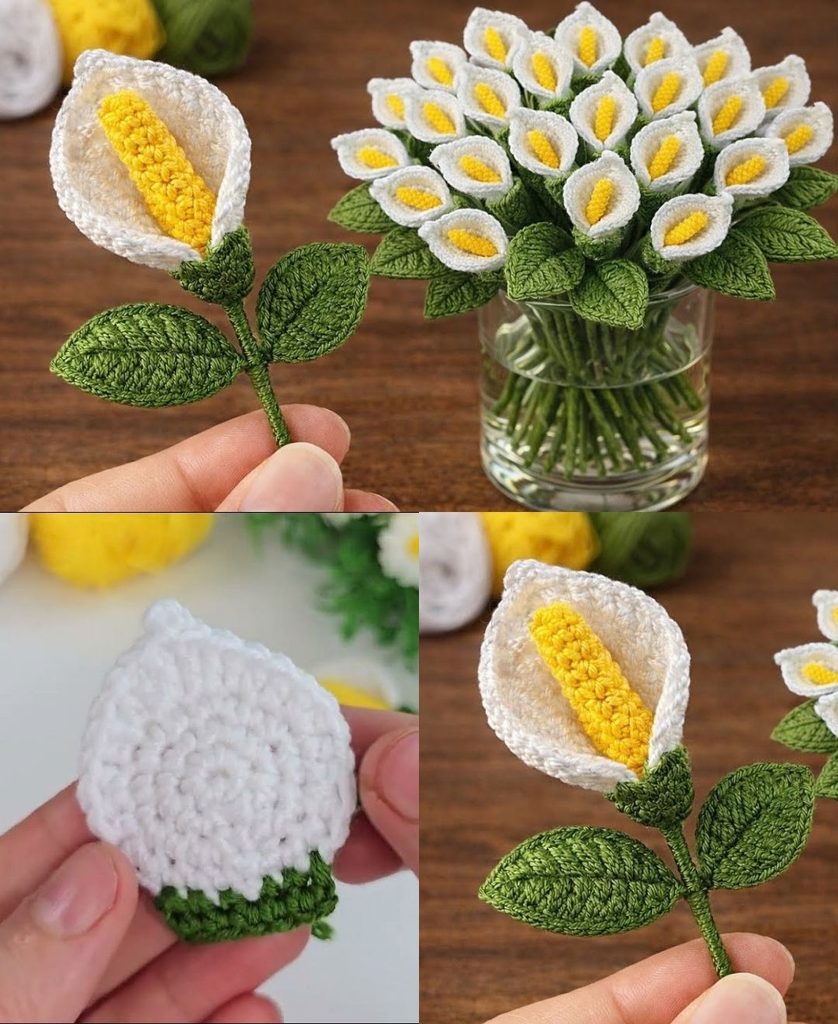
by Creating a Crochet Calla Lily Flower is a masterclass in elegant, minimalist botanical crochet. Unlike ruffled garden roses or dense multi-layered blooms, the calla lily is defined by its smooth, sculptural spathe that gracefully wraps around a contrasting central spadix, capturing the sleek, modern sophistication of real florist calla lilies.
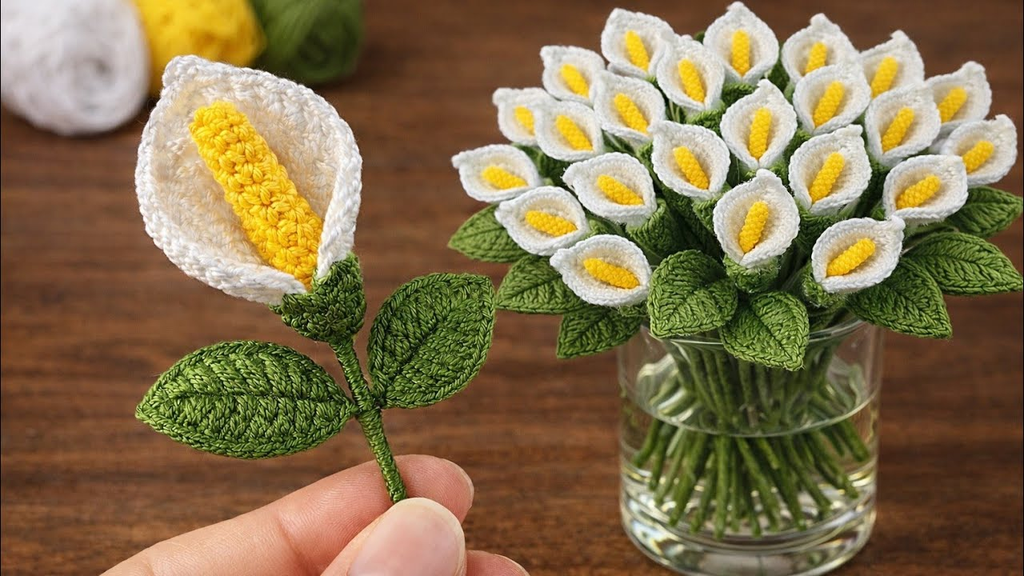
Here is your detailed, step-by-step masterclass on how to crochet a breathtaking calla lily flower from scratch, complete with wire support for crisp, permanent posing.
🧶 The Calla Lily Toolkit
- Yarn:100% Mercerized Cotton Yarn (Sport weight or DK). Cotton is mandatory for botanical projects because it yields crisp, rigid stitch definition, ensuring the lily spathe curls smoothly without sagging or looking limp.
- Palette: A striking color for the main flower spathe (such as classic ivory, soft buttercup yellow, deep plum, or blush pink) paired with a rich, vibrant yellow or gold for the central spadix, and botanical green for the stem.
- Hook: 3.0 mm or 3.5 mm. A snug hook keeps your tension tight and clean.
- Structural & Realism Supplies:
- 18-gauge floral wire for the primary main stem.
- 28-gauge floral wire for shaping and framing the outer edge of the lily spathe.
- Green floral tape for wrapping and binding.
- Hot glue gun (or fabric glue) for secure anchoring.
🟡 Step 1: Crafting the Central Spadix (The Pollen Core)
The calla lily’s signature feature is the bright, tactile yellow spike that stands proudly inside the open petal.
- Foundation: With your bright yellow yarn,
ch 8. - Working the Spadix:
- Starting in the 2nd chain from the hook, work
1 scin each chain down to the end (7 stitches). - Fasten off, leaving a 6-inch tail.
- Roll or wrap this small strip tightly around the top tip of your 18-gauge floral wire (which has a tiny safety loop bent at the end), and secure it tightly with your yarn tail and a drop of hot glue so it resembles a dense, textured yellow column.
- Starting in the 2nd chain from the hook, work
🤍 Step 2: Crocheting the Sculptural Lily Spathe
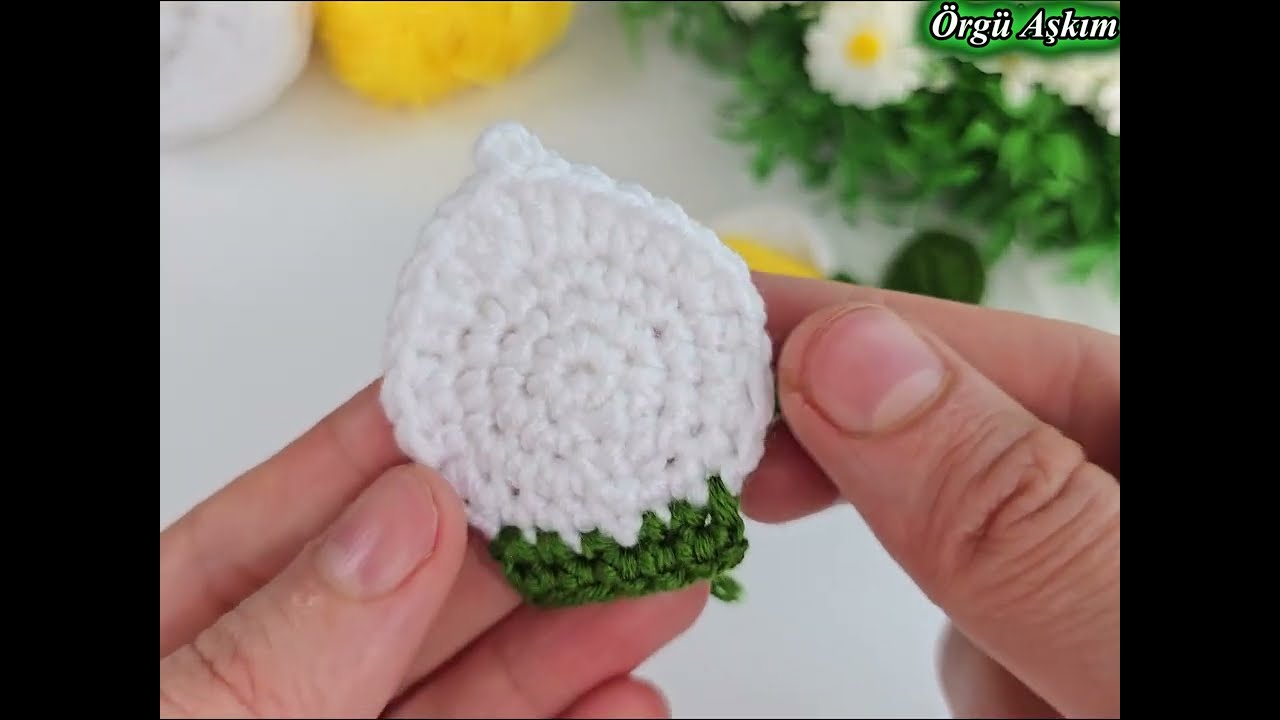
The spathe is worked from the bottom base up to the flared, elegant tip, incorporating a wire frame around the perimeter so you can flare or cup it into any organic shape you desire.
- The Foundation Chain:
- With your main lily color (e.g., ivory or pink),
ch 13.
- With your main lily color (e.g., ivory or pink),
- Row 1 (The Base & Shaping):
- In the 2nd chain from the hook, work
1 sc, then1 hdc,1 dc, work 3 dc in the next chain (to widen the petal body),1 dc,1 hdc, and1 scdown to the final chain. - The Tip: Work
(2 sc, ch 1, 2 sc)into the very last chain to turn the corner cleanly and create a soft, tapered peak. - Work back down the opposite side of the chain mirroring your stitches:
1 sc,1 hdc,1 dc,3 dcin the center expansion stitch,1 dc,1 hdc,1 sc. Join with asl st.
- In the 2nd chain from the hook, work
- Adding the Wire Frame (Row 2):
- Take a length of 28-gauge floral wire and lay it completely around the outer perimeter of your petal shape.
- Work a final round of Slip Stitch (sl st) or Crab Stitch (reverse single crochet) all the way around the edge while trapping the floral wire directly inside your stitches.
- Why wire? This allows you to roll the sides of the lily inward around the yellow spadix and flare the top lip outward into that iconic calla lily trumpet curve that never loses its shape. Fasten off and weave in ends.

🍃 Step 3: Assembly and Stem Finishing
- Wrapping the Spathe:
- Take your finished wired lily spathe and wrap the lower base tightly around the base of your yellow spadix (which is already mounted on the 18-gauge stem wire).
- Overlap the bottom edges slightly into a smooth, seamless funnel shape and secure them with a dab of hot glue or matching whip stitches.
- Creating the Stem and Leaves:
- Anchor your green floral tape right beneath the base of the lily flower and wrap it smoothly down the 18-gauge wire stem at a $45^\circ$ angle.
- If desired, crochet 1 or 2 long, arrow-shaped green leaves (working over a 28-gauge wire) and bind them into the stem wrap as you travel down.
✨ Pro-Tips for a Luxury Finish
- Steam Shaping: Hold the finished calla lily over the steam of a kettle for a few seconds. While the cotton fibers are warm, use your fingers to gently flare the upper rim backward and roll the lower tube snugly around the center spadix. As it cools, the wire and steam-set cotton will lock into a striking, professional floral sculpture.
Video tutorial: