 by
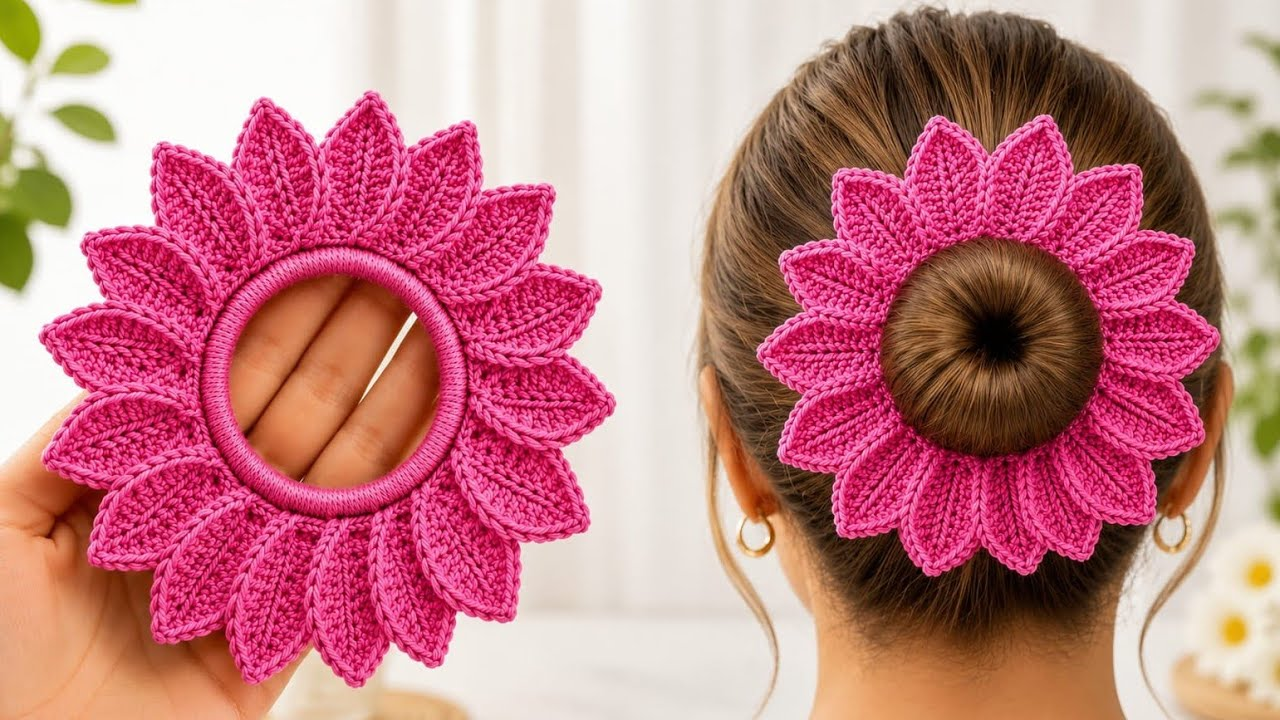
by Creating a Crochet Flower Hair Tie is one of the most delightful, lightning-fast projects you can make. It transforms an ordinary, plain hair elastic into a gorgeous, boutique-quality botanical accessory that looks stunning in ponytails, buns, or half-up hairstyles.
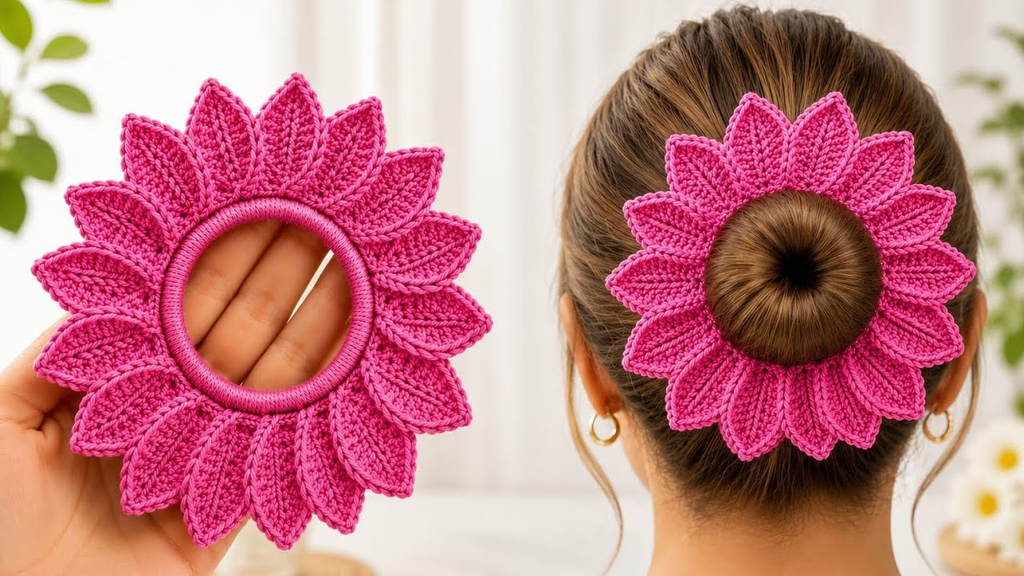
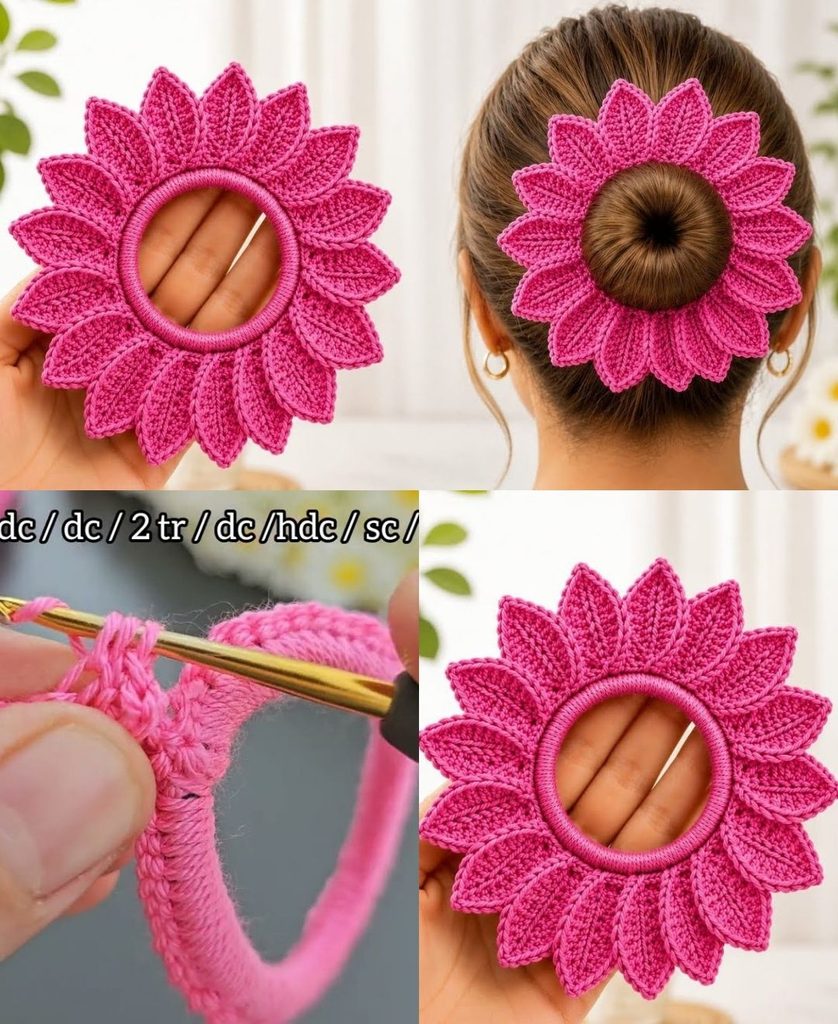
Here is your detailed, step-by-step masterclass on how to crochet a breathtaking, professional-grade flower hair tie from scratch.
🧶 The Hair Tie Toolkit
- Yarn:100% Mercerized Cotton Yarn (Sport weight or DK). Mercerized cotton is essential for hair accessories because it has zero stretch, resists fuzzing, holds its shape against hair friction, and provides crisp, clean stitch definition.
- Palette: A sunny yellow or soft cream for the center pistil, and a romantic floral hue for the petals (such as dusty rose, lavender, soft peach, or crisp white).
- Hook: 3.0 mm or 3.5 mm. A snug hook keeps your tension tight so the flower maintains its architectural structure.
- Extra Supplies:
- A seamless, durable hair elastic (hair tie) in a matching neutral color.
- A tapestry needle for weaving ends and sharp scissors.
🟡 Step 1: Anchoring the Flower Directly to the Elastic
The secret to a professional hair tie is working your foundation round directly around the elastic band, ensuring the flower can never slip, slide, or detach during wear.
- Take your hair elastic and your Center Color yarn (e.g., yellow).
- Hold the yarn tail behind the elastic, insert your hook under the elastic, yarn over, and pull up a loop.
ch 1to secure the yarn to the elastic.- Work 30 single crochets (sc) directly over the hair elastic, packing the stitches tightly side-by-side until the elastic is completely wrapped and hidden along a 1-to-1.5-inch section.
- Join with a slip stitch (
sl st) to the first single crochet. Fasten off your center color, leaving a short tail to weave in. (You now have a firm, stable base ring of stitches securely wrapped around your hair tie!)

🌸 Step 2: Crocheting the Blooming Petals
Now we bring the flower to life by building lush, rounded petals right off your base ring.
- Attach your Petal Color (e.g., rose pink) into any stitch along your wrapped base.
ch 2(counts as your first half-double crochet).- In that exact same stitch, work 2 double crochets (dc).
ch 2, and work 1 slip stitch (sl st) right back into that same stitch to finish your first petal.- Forming the Next Petal:
- Slip stitch (
sl st) into the next stitch on the base ring. ch 2, work 2 dc in that same stitch,ch 2, and work 1 sl st in that same stitch.
- Slip stitch (
- Repeat this exact sequence (
sl stinto next stitch,ch 2,2 dc,ch 2,sl st) into every 2nd or 3rd stitch around your base ring (or work continuously into every stitch if you want a ruffled, multi-petaled dahlia effect). You will end up with 6 to 8 gorgeous, plump petals framing your hair tie. - Join with a slip stitch to the base of the first petal and fasten off your petal yarn.

✂️ Step 3: Finishing and Polishing
- Thread your starting and ending yarn tails onto a tapestry needle.
- Weave the tails neatly through the back side of the stitches right above the hair elastic, securing them tightly with a small hidden knot. Trim any excess thread.
- Gently fluff and arrange your petals outward so they frame the elastic cleanly.
✨ Pro-Tips for Boutique Appeal
- The Double-Layer Flower: To make your hair tie look even more luxurious, crochet a second, smaller tier of petals directly into the front loops of your base ring before fastening off, creating a dramatic 3D rosette effect!
- Add a Center Bead: Hand-sew a small pearl bead or a sparkling crystal securely into the center yellow core of your flower for an instant upscale finish that looks incredible under evening lights.