 by
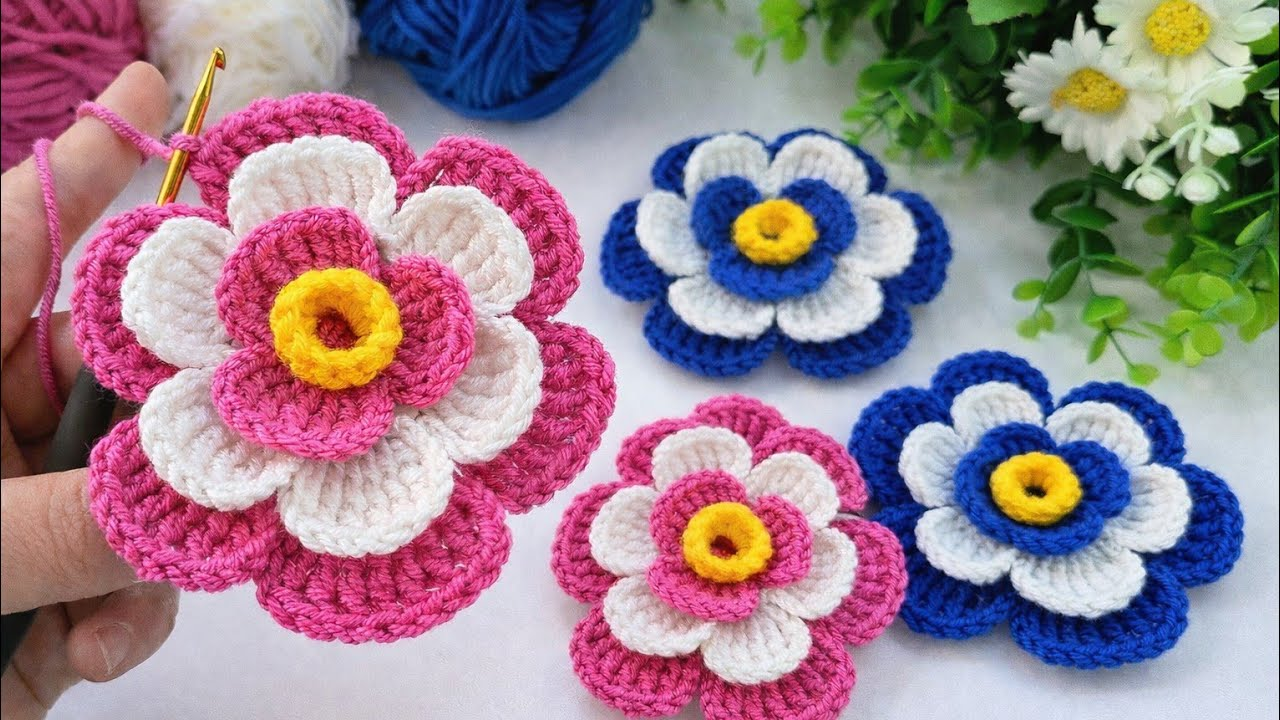
Creating cute, quick, and charming crochet flowers is one of the most satisfying projects for both beginners and experienced crafters. These miniature blooms work up in just a few minutes and are endlessly versatile—you can sew them onto headbands, turn them into keychains, glue them to greeting cards, or scatter them across blankets and bags.
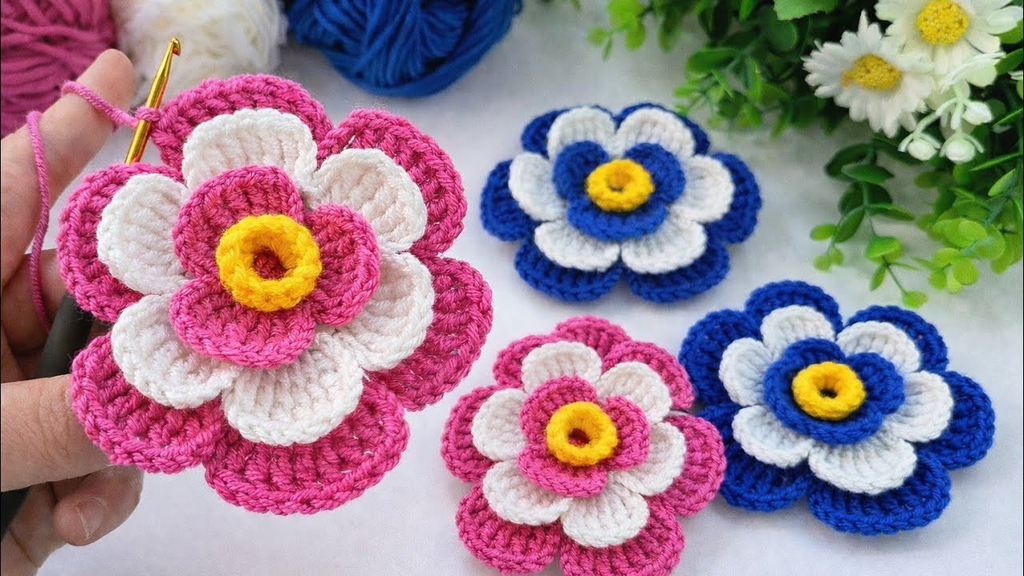
Here is your detailed, step-by-step masterclass on how to crochet an adorable, classic 5-petal or 6-petal cute flower from scratch.
🧶 The Cute Flower Toolkit
- Yarn:100% Cotton Yarn (Sport weight, DK, or Worsted weight). Cotton is ideal because it holds its shape crisply without fraying or fuzzing.
- Palette: A bright sunny yellow for the center core, and a fun, vibrant color for the petals (like pastel pink, sky blue, lavender, or mint green).
- Hook: 3.0 mm or 3.5 mm. A slightly smaller hook helps the stitches stay compact and neat.
- Extra Supplies: Tapestry needle for weaving ends and a pair of sharp embroidery scissors.
🟡 Step 1: Crafting the Flower Center (The Core)
We begin with a tiny, tight center ring that acts as the heart of your flower.
- Start with your Center Color (e.g., yellow).
- Make a Magic Ring (or alternatively,
ch 4and join with a slip stitch to form a small loop). ch 1(does not count as a stitch), and work 10 single crochets (sc) directly into the center of the ring.- Pull the tail of your magic ring tightly to close the hole completely.
- Join with a slip stitch (
sl st) to the very first single crochet. Fasten off your center color, leaving a 4-inch tail to weave in later.

🌸 Step 2: Crocheting the Cute Petals
Now we transform your little yellow circle into a blooming flower by building rounded petals around it.
- Attach your Petal Color (e.g., pink) into any stitch around the center ring.
ch 2(counts as your first half-double crochet or height builder).- In that exact same stitch, work 2 double crochets (dc).
ch 2, and work 1 slip stitch (sl st) right back into that same stitch. (You have just completed your very first petal!)- Moving to the Next Petal:
- Slip stitch (
sl st) into the next stitch on the center ring. ch 2, work 2 dc in that same stitch,ch 2, and work 1 sl st in that same stitch to form your second petal.
- Slip stitch (
- Repeat this exact sequence (
sl stinto next stitch,ch 2,2 dc,ch 2,sl st) into each stitch around the center ring. - Depending on how many stitches you used in your center, you will end up with 5 or 6 plump, perfectly shaped petals.

✂️ Step 3: Fastening Off and Finishing
- Once you have completed your last petal, slip stitch into the base of the first petal to secure everything neatly.
- Fasten off your petal yarn, leaving a 6-inch tail.
- Thread your yarn tail onto a tapestry needle. Pass the needle invisibly through the back of the stitches to pull the final tail to the rear of the flower.
- Tie a secure little knot with the starting and ending tails on the back side, and trim any excess yarn.
✨ Pro-Tips for Cute Customizations
- Make Them Tiny: Use a 2.0 mm or 2.5 mm hook with embroidery floss or fine crochet thread (Size 10) to create microscopic, delicate flowers perfect for jewelry, doll clothes, or tiny hair clips.
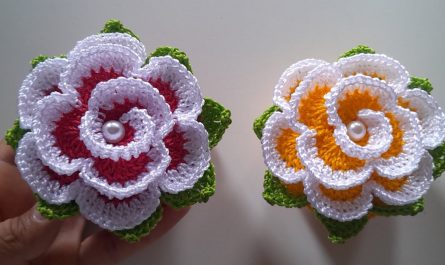
- Add a Sparkle: Sew a small pearl bead, a shiny sequin, or a French knot using embroidery floss right into the center of your yellow core for an instant boutique upgrade!
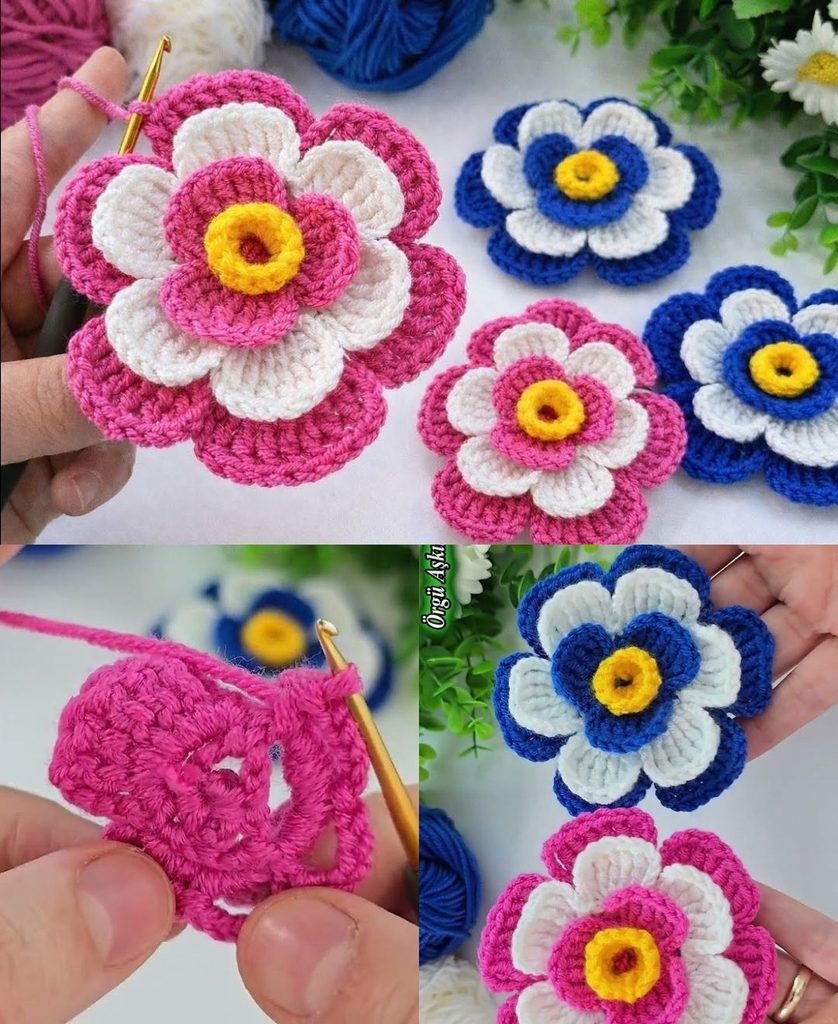
- Layer for 3D Effect: Make two identical flowers—one slightly larger (using double crochets) and one smaller (using single crochets or half-double crochets)—and stack them on top of each other, stitching them through the center for a rich, multi-layered dimensional blossom.