 by
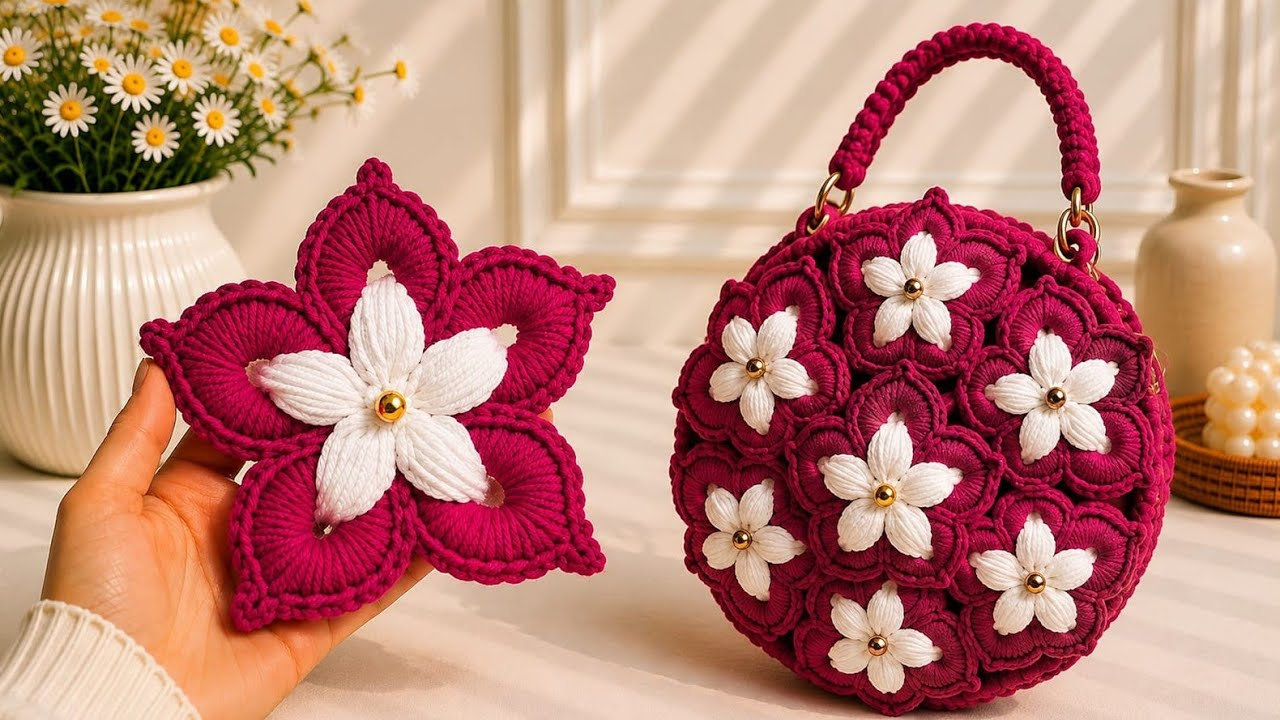
by Creating a Flower Motif Round Bag is a masterclass in blending circular geometry with charming botanical artistry. By crocheting intricate floral motifs and framing them into sturdy round panels, you can craft a stunning, boutique-quality circle handbag (often called a tambour bag or circle crossbody) that stands out from standard rectangular totes.
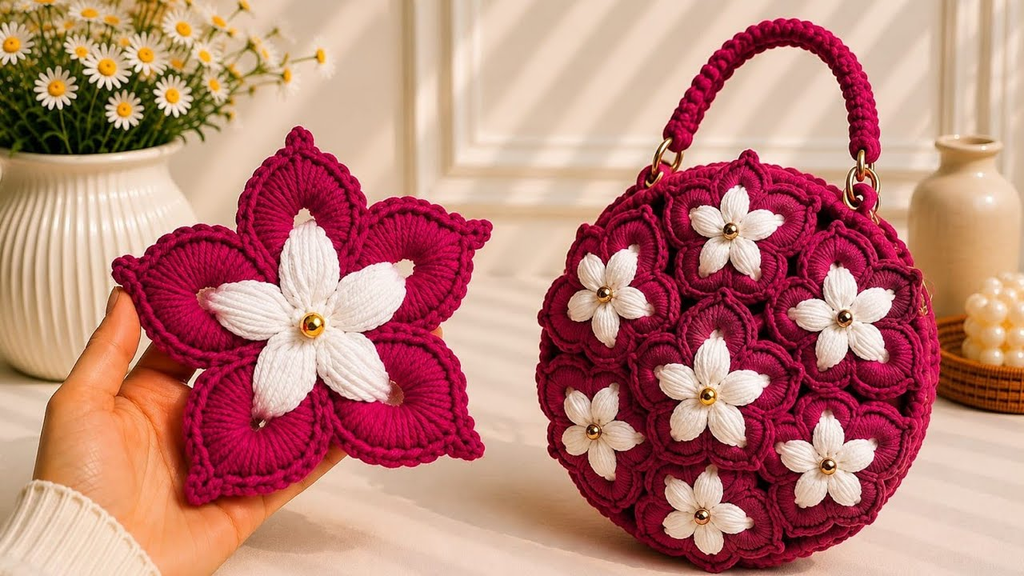
Here is your detailed, step-by-step masterclass on how to crochet a breathtaking Flower Motif Round Bag from scratch, complete with structural lining and professional assembly.
🧶 The Professional Round Bag Toolkit
- Yarn:100% Mercerized Cotton Yarn (Sport weight or DK). Cotton is mandatory for motif bags because it has zero stretch, ensuring your circular panels and floral centerpieces hold their shape and never sag under weight.
- Palette: A vibrant focal color for the flower centers (such as sunny yellow), a romantic petal hue (such as blush pink or cream), a background framing color (such as beige or charcoal), and a rich accent color for the side gusset and strap.
- Hook: 3.5 mm or 4.0 mm. A snug hook creates a tight, dense gauge, providing the bag with essential structural integrity.
- Structural & Lining Supplies:
- Tapestry needle and stitch markers.
- Sew-in plastic mesh canvas (cut to circular templates to act as an invisible armature).
- Custom fabric lining and a coordinating zipper or magnetic snap closure.
🌸 Step 1: Crafting the Center Floral Motif (The Bag Face)
You will need to make 2 identical circular panels (one for the front face of the bag and one for the back). Each panel begins with a blooming flower motif that is gradually squared or expanded into a perfect circle.

- Round 1 (The Flower Core):
- With your center color (e.g., yellow),
ch 4and join with asl stto form a ring. ch 1, work 12 sc (single crochet) into the ring. Join with asl st. Fasten off yellow.
- With your center color (e.g., yellow),
- Round 2 (The Blooming Petals):
- Attach your petal color (e.g., pink) into any stitch.
ch 3(counts as first dc), work2 dcin the same stitch,ch 2. Work 3 dc in every stitch around with ach 2space between each petal group (12 petals total). Join with asl st. Fasten off petal color.
- Round 3 & Beyond (Expanding into a Circle):
- Attach your background framing color (e.g., beige) into any
ch-2space. - Work a round of half-double crochets (hdc) or double crochets, increasing evenly across the round (e.g., work 2 hdc in each space) so the piece lays completely flat without ruffling or cupping.
- Continue working circular increase rounds until your panel reaches 8 to 10 inches in diameter. Fasten off. Make 2 identical panels.
- Attach your background framing color (e.g., beige) into any

👝 Step 2: Crafting the Side Gusset (The Bag Depth)
To give your round bag width and storage capacity, you need a long, continuous side strip (gusset) that wraps around the perimeter of the two circles.
- The Gusset Foundation:
- Chain a length that matches the desired depth of your bag (e.g.,
ch 12for a 3-inch wide bag, using your accent color).
- Chain a length that matches the desired depth of your bag (e.g.,
- Working the Band:
- Starting in the 2nd chain from the hook, work rows of single crochet (sc) or extended moss stitch back and forth.
- Continue rows until the strip is long enough to wrap all the way around the circumference of your circular flower panels (minus the top opening if you are adding a zipper, or full perimeter if installing a wraparound zipper).
🌟 Step 3: Structural Integrity & Assembly
Round bags are prone to warping if they aren’t properly reinforced. Internal structure is non-negotiable for a professional finish:
- The Plastic Canvas Armature:
- Cut two plastic mesh circles matching the exact diameter of your floral panels, and cut a long rectangular strip of plastic mesh for the gusset. Slip these plastic inserts inside your crochet pieces.
- The Fabric Lining:
- Sew a custom fabric lining matching your circular panels and gusset. Hand-stitch it securely over the plastic mesh to conceal raw edges and give the inside a clean, boutique look.
- Joining the Panels:
- Pin your front floral panel, back floral panel, and side gusset together using stitch markers.
- Use a Flat Slip Stitch Join working through the back loops only to attach the gusset smoothly around both circular flower faces.

🎒 Step 4: Adding the Strap and Closure
- The Crossbody Strap:
- Crochet a sturdy multi-row strap (working 3 to 4 rows of sc over a
ch 6foundation) or attach a pre-made leather strap using heavy-duty metal D-rings sewn securely to the sides of the gusset.
- Crochet a sturdy multi-row strap (working 3 to 4 rows of sc over a
- The Closure:
- Install a fabric-encased zipper along the top half of the gusset, or attach a magnetic snap closure at the top interior rim if you prefer an open-top circle tote design.
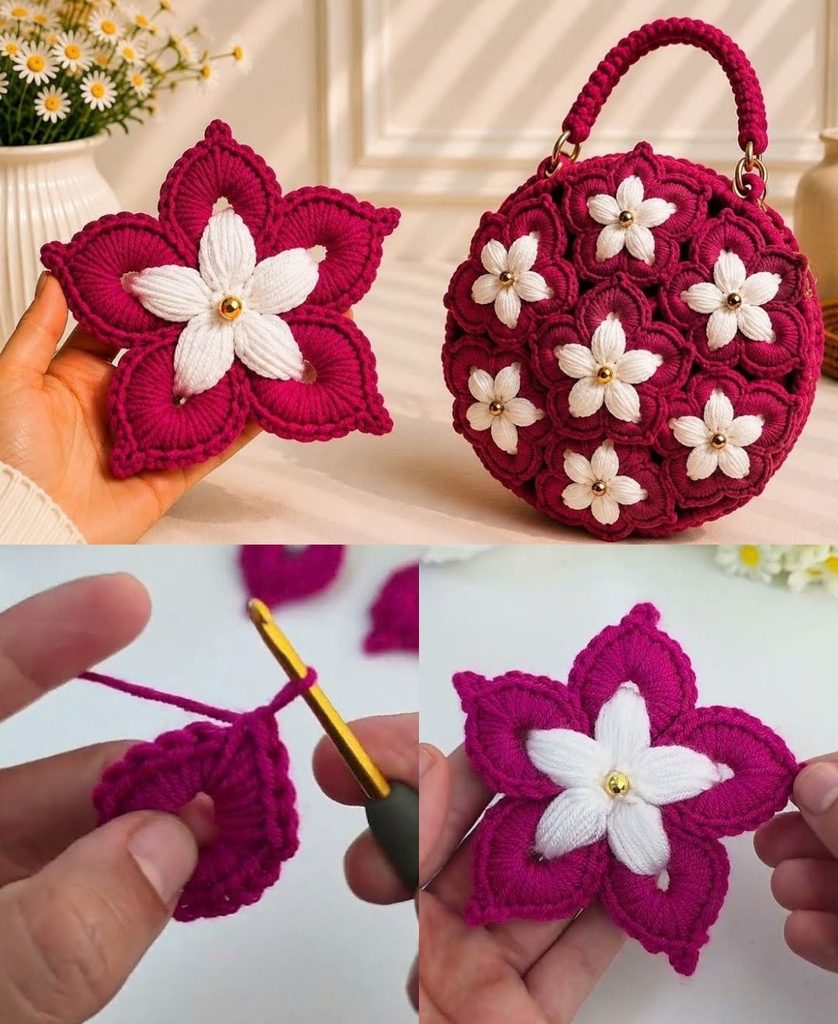
✨ Pro-Tips for Success
- Block Your Circles: Before assembling, pin your circular flower panels to a blocking board, mist them lightly, and let them dry flat. This guarantees your circles are perfectly symmetrical before joining.
- Piping Detail: Work a round of slip stitches in a contrasting accent color right along the outer edge of your circular panels before attaching the gusset to create a crisp, professional piped frame around your floral motif!