 by
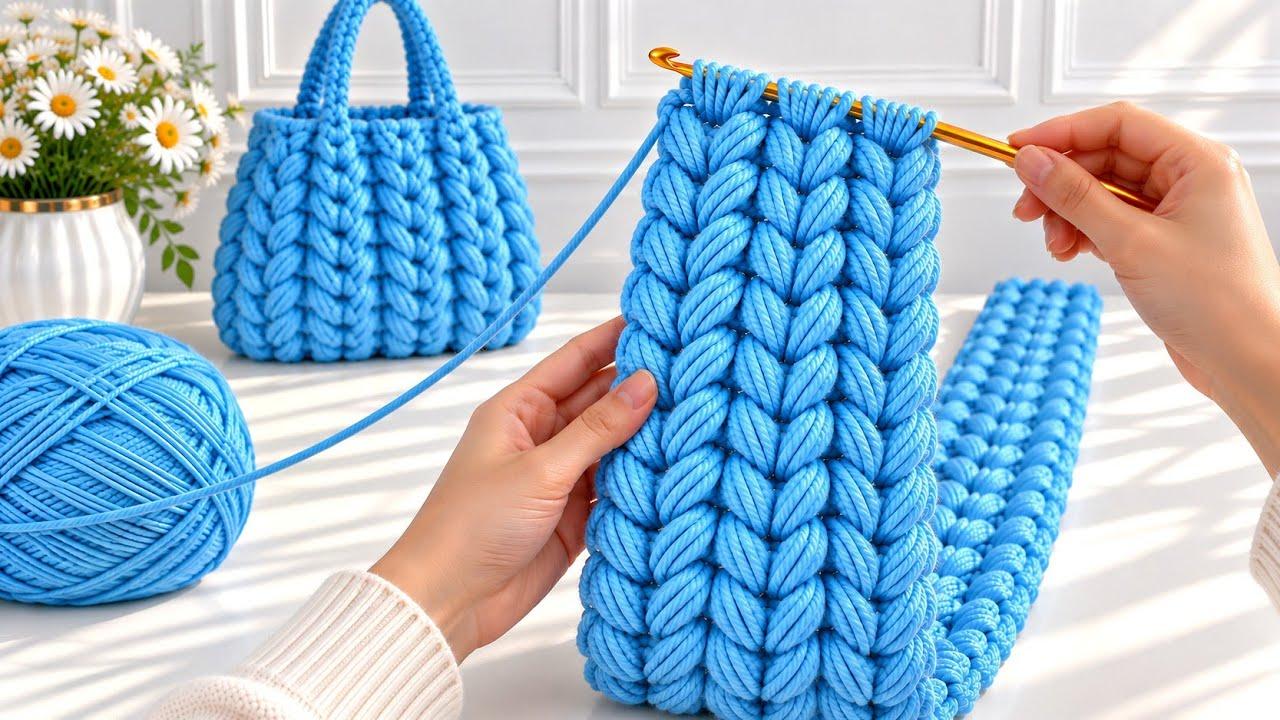
by Creating a Beautiful Easy Textured Stitch is the ultimate secret weapon for any crocheter. When you find a stitch that works up quickly, looks deceptively complex, and creates a rich, squishy fabric, you can use it to create an entire coordinated collection of accessories and home decor.
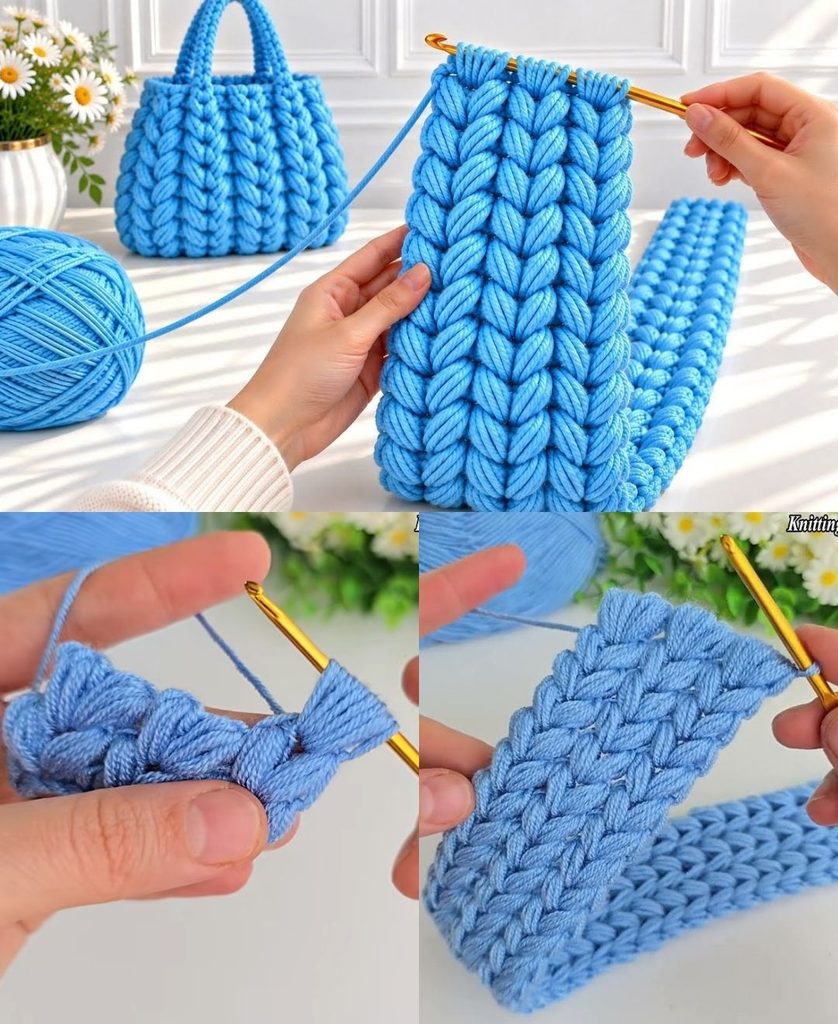
For this masterclass, we will focus on the Extended Moss Stitch (or Linen Stitch Variation)—a gorgeous, beginner-friendly stitch that produces a modern, woven look with incredible drape and zero awkward gaps.

Here is your detailed, step-by-step masterclass on how to master this stunning stitch and adapt it into a cozy headband, a functional everyday bag, and a luxurious throw blanket.
🧶 The Master Stitch Toolkit
- Yarn:
- For the Headband & Bag: 100% Cotton Yarn (Sport weight, DK, or Worsted weight) for durability and stitch definition.
- For the Blanket: Super Soft Acrylic or Cotton-Blend Yarn (Worsted or Aran weight) for cozy, washable drape.
- Hook: 4.0 mm to 5.0 mm (depending on your project’s desired drape and firmness).
- Extra Supplies: Tapestry needle for weaving ends, and stitch markers.
🪡 Step 1: Mastering the Extended Moss Stitch (The Foundation)
This stitch creates a beautiful woven texture by alternating simple stitches with chain spaces, stacking them so they offset each other in every row.
- Multiple: Any even number of chains.
- Foundation Row:
chan even number to your desired width.- Work
1 scin the 4th chain from the hook (the skipped chains count as your firstch-1space plus a turning space). ch 1, skip 1 chain,1 scin the next chain. Repeat across to the end of the row. Turn.
- Work
- Row 2 (The Pattern Row):
ch 2(counts as first sc and ch-1 space).- Work
1 scdirectly into the firstch-1 spacefrom the previous row. ch 1, skip the sc, work1 scin the nextch-1 space.- Repeat this across the row, ending with
1 scin the turning chain space. Turn.
- Repeat Row 2 for your entire pattern. You will immediately see a gorgeous, modern woven grid emerge!

🎀 Step 2: Adapting the Stitch Into Three Beautiful Projects
Once you master the rhythm of this easy stitch, you can scale it across three distinct items:
Project 1: The Quick Winter Headband
- Dimensions: Roughly 4 inches wide by 18 to 20 inches long.
- Construction: Chain a foundation of 14 stitches. Work rows of the Extended Moss Stitch until the strip wraps comfortably around your head with a slight stretch.
- Finishing: Seam the two short ends together (or twist them first for a chic twisted-headband look). The textured stitch gives the headband fantastic elasticity and wind-blocking warmth.
Project 2: The Everyday Market Tote Bag
- Construction: Work in flat panels or seamless rounds using durable cotton yarn. Because the stitch creates a slightly open, airy grid, it makes a phenomenal, lightweight market bag that expands easily when filled.
- Boutique Enhancements: Work 3 rounds of tight single crochet around the top opening, carrying a nylon cord inside the stitches to reinforce the rim. Pair it with sturdy handles, and optionally line it with cotton fabric if you plan to carry small items.

Project 3: The Heirloom Throw Blanket
- Construction: Chain a wide foundation (e.g., 120 chains) using a cozy, soft yarn and a slightly larger hook. Work row after row of the stitch.
- Boutique Finish: Frame the entire blanket with a simple 3-round border of half-double crochets. The stitch creates a reversible, squishy fabric that looks equally stunning on both sides and drapes effortlessly over a sofa.
✨ Pro-Tips for Success
- Maintain Even Tension: Because this stitch relies on alternating chains and single crochets, keeping your chain spaces uniform ensures your finished headband, bag, or blanket maintains straight, professional edges.
- Color Pooling Play: This stitch looks magnificent when worked in a self-striping variegated yarn or long-gradient cake, as the offset pattern creates a subtle, watercolor-like shift in color!
Video tutorial: