 by
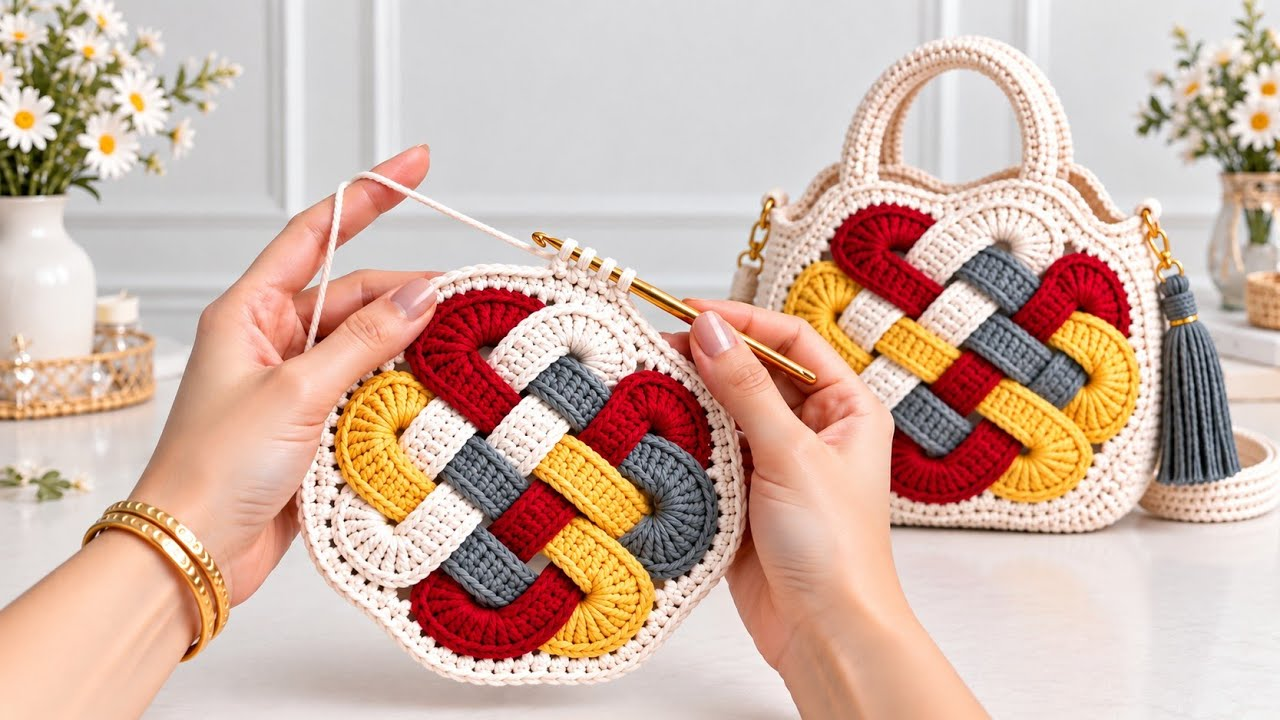
by Creating a Celtic Knot Crochet Bag is the ultimate expression of artistic fiber architecture. By employing interlocking raised stitches (such as post stitches and interwoven cables), you can craft a sophisticated handbag featuring the legendary, continuous loops of ancient Celtic knotwork. This creates a mesmerizing, textured geometric masterpiece that looks like a high-end luxury boutique treasure.
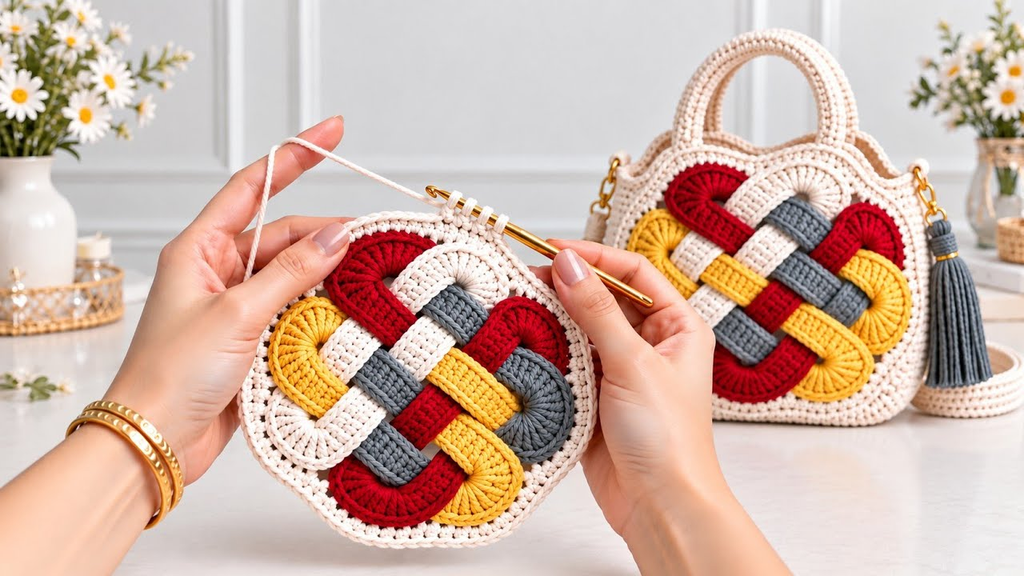
Here is your detailed, step-by-step masterclass on how to crochet a stunning Celtic Knot bag from scratch, complete with professional structural lining and hardware finishing.
🧶 The Professional Celtic Knot Bag Toolkit
- Yarn:100% Mercerized Cotton Yarn (Sport weight, DK, or Worsted weight). Cotton is mandatory for textured cabled bags because it has minimal stretch, allowing the raised post stitches to hold their crisp, three-dimensional definition without sagging.
- Palette: A rich, solid color that showcases shadow play and stitch depth (such as emerald green, deep navy, rich oxblood, or antique cream). Solid neutrals or jewel tones work best to highlight the intricate knotwork.
- Hook: 3.5 mm or 4.0 mm. A snug hook size creates a dense, sturdy gauge, giving the cabled bag fabric exceptional structural rigidity.
- Structural & Lining Supplies:
- Tapestry needle and stitch markers.
- Custom fabric lining and sew-in plastic canvas / mesh (essential for cabled bags to maintain structure and prevent items from slipping through raised stitch gaps).
- Magnetic snap or zipper closure, plus sturdy leather handles or a chain strap.

🔗 Step 1: Understanding the Celtic Knot Foundation
Unlike standard flat crochet, Celtic knotwork is built on a grid of front post treble crochets (fptr) and back post treble crochets (bptr) that cross over and under one another across multiple rows to mimic woven ribbon.
- The Foundation Base:
- Start by crocheting a sturdy oval or rectangular base using rows of single crochet (sc) or half-double crochet (hdc) until your base measures roughly 3 to 4 inches wide by 9 to 10 inches long. Fasten off or transition directly into the body.
- Setting Up the Cable Grid:
- Work a transition round of plain single crochets, establishing a stitch count that is a multiple of your cable repeat (typically groups of 12 or 16 stitches per knot section).

🪢 Step 2: Crocheting the Interlocking Celtic Cable Body
The secret to the “knot” effect is working long post stitches that skip several stitches ahead, and then crossing back over them in subsequent rows to create an over-and-under woven appearance.
- Row 1 (The Crossing Posts):
- Skip 3 or 4 stitches, and work towering Front Post Treble Crochets (fptr) around the posts of stitches further down in your work.
- Come back to the skipped stitches and work fptr in front of or behind your previous posts to create the iconic braid or crossing intersection.
- Row 2 (The Background Mesh):
- Work standard background stitches (like single crochet or extended moss stitch) behind your cabled loops to make the raised Celtic knot stand out in sharp relief.
- Repeating the Motif:
- Continue working these alternating crossover rows for 6 to 8 inches, building the striking, continuous interwoven knot pattern upward until your bag body reaches your desired height.

🌟 Step 3: Structural Integrity & Luxury Boutique Finishes
Because cabled fabrics are heavy and feature architectural relief, incorporating internal reinforcement ensures your bag maintains its stunning shape under weight.
1. The Plastic Canvas Foundation (Non-Negotiable)
- Cut pieces of plastic mesh / plastic canvas to match the interior dimensions of your bag body and base.
- Slip these plastic inserts inside your crochet work. They act as an invisible skeleton, preventing the heavy cabled fabric from slumping or bowing outward.
2. The Fabric Lining Pouch
- Sew a matching cotton or satin fabric lining pouch that fits snugly over your plastic canvas skeleton. Hand-stitch it securely around the inner rim of the bag to conceal all raw edges and protect your items.
3. The Reinforced Top Rim & Straps
- Work 3 rounds of tight single crochet around the top opening of the bag, carrying a piece of nylon cord inside the stitches to create an unyielding rim.
- Attach professional leather handles or metal ring tabs securely to the reinforced side rims, ensuring the weight is distributed evenly across the structure.
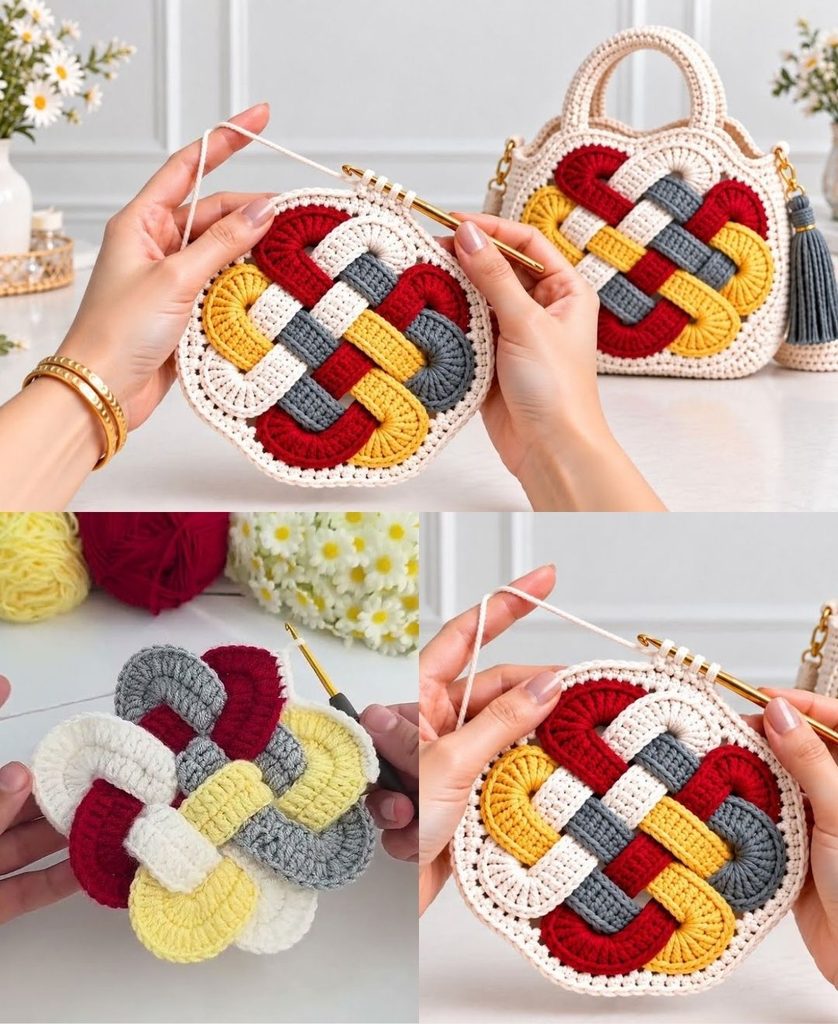
✨ Pro-Tips for Success
- Block Before Lining: Before inserting your plastic canvas and fabric lining, pin your completed cabled body to a blocking board, mist it heavily with steam, and let it dry flat. Steam-blocking relaxes the cotton fibers, making the intersecting Celtic twists pop with dramatic, crisp precision.
- Choose the Right Lighting for Working: Because Celtic cable stitches require you to count skipped posts and look behind your work, use a bright task light or daylight when stitching to easily track your crossovers!
Video tutorial: