 by
by Here is a comprehensive guide to crocheting a simple, practical, and lightweight bag, specifically designed with beginners in mind. This long-form article will walk you through every step, from selecting your materials to finishing your project, with a focus on clear and easy-to-follow instructions.
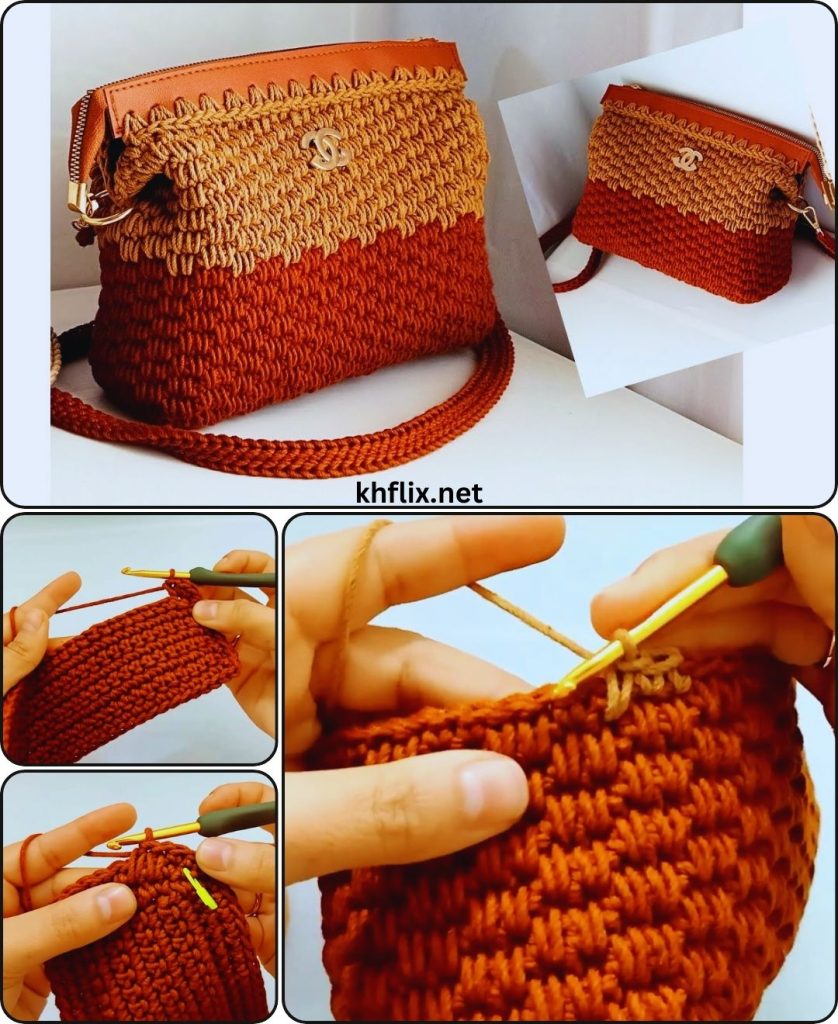
DIY Crochet Bag: A Simple, Practical, and Lightweight Tote for Beginners
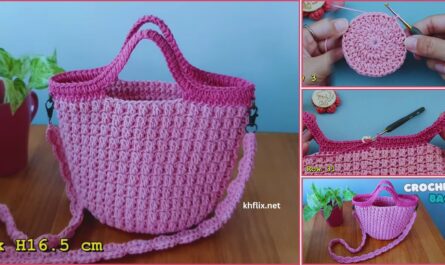
Welcome to the wonderful world of crochet! Creating your own bag is an incredibly rewarding project. It’s a chance to make a custom accessory that reflects your style, and it’s a great way to practice and build your crochet skills. This guide is designed for absolute beginners, focusing on a straightforward pattern that uses only a few basic stitches. The result is a clean, modern, and sturdy tote bag that you’ll be proud to carry everywhere.
Why This Pattern is Perfect for Beginners
- Simple Stitches: We’ll be using only the single crochet stitch, one of the most fundamental and versatile stitches in crochet.
- No Complex Shaping: The bag is worked in a simple rectangular shape and then built upwards, eliminating the need for complicated increases or decreases.
- Seamless Construction: The body of the bag is crocheted in one continuous piece, meaning less seaming and a faster finish.
- Customizable: Once you understand the basic construction, you can easily adjust the size, add new colors, or experiment with different yarn types.
Materials You Will Need
- Yarn: Approximately 250-300 yards of worsted weight (or medium/size 4) yarn.
- Recommendation: Cotton or a cotton blend is highly recommended. It’s durable, holds its shape well, and creates a sturdy fabric that is perfect for a bag. Acrylic yarn also works well and is a good, affordable option.
- Crochet Hook: A size H/8 (5.0 mm) crochet hook. Using a hook slightly smaller than what’s recommended for your yarn will help you create a tighter, denser fabric, which is ideal for a bag’s structure.
- Scissors: A small pair for cutting your yarn.
- Tapestry Needle: For weaving in the loose ends at the end of the project.
- Stitch Marker: (Optional, but highly recommended) A stitch marker is a small clip or ring used to mark the first stitch of each round. This is especially helpful when working in a spiral so you don’t lose your place.
Essential Crochet Abbreviations (US Terms)
- ch: chain
- st(s): stitch(es)
- sl st: slip stitch
- sc: single crochet
- blo: back loop only
Part 1: The Foundation – Creating the Base of the Bag
A strong, flat base is essential for a bag that can stand on its own. We will start with a rectangular foundation.
Step 1: The Starting Chain Create a slip knot and chain 21. This will be the length of your bag’s base. You can adjust this number to make your bag wider or narrower.
Step 2: The First Row Single crochet (sc) into the second chain from your hook. Then, sc in each chain across the row. You should have 20 single crochet stitches. (Count your stitches to make sure you have the right number.)
Step 3: Building the Base Chain 1 and turn your work. Single crochet in each stitch across the row (20 stitches). Repeat this step for a total of 10 rows. This will create a sturdy rectangle.
Step 4: Working Around the Base Now, we will work in a continuous round to create the edges of the base and prepare for the body.
- After your last stitch of the 10th row, turn your work to the side. Single crochet 10 times evenly down the side of the rectangle (one sc for each row).
- Turn your work again to the bottom edge (where your starting chain is). Single crochet 20 times across the bottom edge.
- Turn your work to the final side edge. Single crochet 10 times evenly up the side.
- Join with a slip stitch (sl st) to the very first single crochet stitch you made in this round. You should have a total of 60 stitches.
Part 2: Building the Body of the Bag
The body of the bag is worked in simple, continuous rounds of single crochet. This creates a durable and consistent fabric.
Step 1: The Transition from Base to Body
- Chain 1 (this does not count as a stitch).
- Single crochet in the back loop only (blo) of each stitch around. This creates a defined edge or “ridge” between the base and the body of your bag, giving it a neat, professional look.
- Join with a sl st to the first sc of the round. (60 stitches)
Step 2: Crocheting the Main Body
- Chain 1.
- Single crochet in each stitch around.
- Join with a sl st to the first sc of the round. (60 stitches)
- Repeat this step for 25-30 rounds, or until your bag reaches your desired height.
- Beginner Tip: Place your stitch marker in the first stitch of each new round to help you keep track of your progress and ensure you are working in the correct spot.
Part 3: Creating the Handles
The handles are integrated into the final rounds of the bag for a seamless and strong finish.
Step 1: Placing the Handles
- Lay your bag flat. We will create two handle openings, one on the front and one on the back.
- You should have 60 stitches in total. We will work 10 stitches for the front, chain for the handle, skip 20 stitches for the opening, work 10 stitches for the back, chain for the handle, and skip the last 20 stitches.
- The Handle Round (Round 1):
- Chain 1. Single crochet in the first 10 stitches.
- Chain 30 (or more for a longer handle).
- Skip the next 20 stitches. Single crochet in the next 10 stitches.
- Chain 30.
- Skip the next 20 stitches. Slip stitch to the first single crochet stitch of the round to join.

Step 2: Working the Handle Stitches
- Round 2:
- Chain 1. Single crochet in the first 10 stitches.
- Now, single crochet 30 stitches along the chain you just created (one stitch in each chain).
- Single crochet in the next 10 stitches.
- Single crochet 30 stitches along the second chain.
- Slip stitch to the first single crochet to join. You should now have 80 stitches.
Step 3: Finishing the Handles
- Round 3:
- Chain 1. Single crochet in each stitch around (80 stitches).
- Join with a sl st to the first sc.
- Repeat this step for 1-2 more rounds to add more stability to the top edge of your bag.
Part 4: Finishing Your Project
Step 1: Fasten Off
- After your final round, cut your yarn, leaving a tail of about 6 inches.
- Yarn over and pull the tail completely through the loop on your hook to create a secure knot.
Step 2: Weave in the Ends
- Thread your tapestry needle with the loose yarn tail.
- On the inside of the bag, carefully weave the tail through a few stitches. Then, change direction and weave back through the stitches in the opposite direction. Do this a few times to make sure the end is secure and won’t come undone.
Congratulations, you have made a beautiful, handmade crochet bag!
Tips for Customization
- Different Yarn Weights: Use a bulky or chunky yarn for a quick, oversized bag, or a finer yarn for a smaller, more delicate pouch.
- Stitch Variations: Once you’re comfortable with single crochet, try substituting it with half-double crochet or double crochet for a different texture.
- Color Blocking: Change colors every few rows for a striped effect. This is a great way to use up leftover yarn.
- Adding a Liner: To make your bag even more durable and keep small items from slipping through, you can sew a fabric lining on the inside.
Enjoy your new, practical, and lightweight tote. This simple pattern is a fantastic starting point for your crochet journey, and you can apply these basic techniques to countless other projects.