 by
by Here is a detailed, tutorial for a beginner-friendly, striped bucket hat. This article breaks down the process into simple, step-by-step instructions, making it easy for new crocheters to follow along and create a stylish, functional hat.
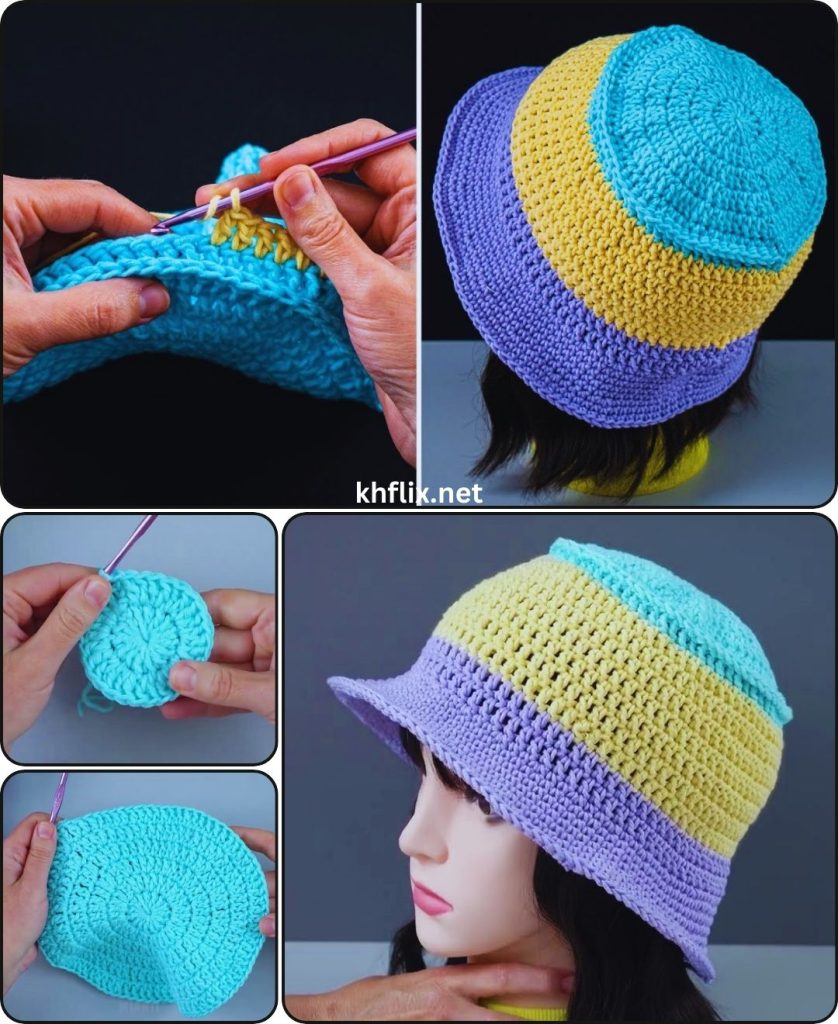
How to Crochet a Striped Bucket Hat: A Beginner’s Tutorial
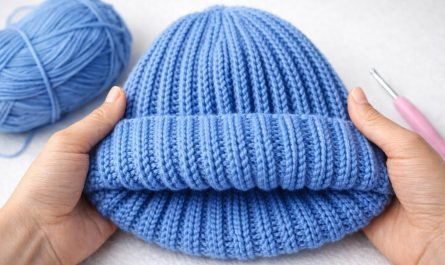
Bucket hats are a fun and fashionable accessory that you can wear all year round. They’re also a fantastic crochet project for beginners! This tutorial will guide you through creating a classic striped bucket hat using simple stitches and a straightforward pattern. You’ll learn how to work in the round, create perfect stripes, and shape your hat for a comfortable and stylish fit.
Why This Pattern is Perfect for Beginners
- Basic Stitches: We will primarily use two fundamental crochet stitches: the single crochet (sc) and the half-double crochet (hdc).
- Working in the Round: This project is a perfect introduction to working in a spiral, a technique used for many amigurumi and hat patterns.
- Simple Shaping: The hat is built in three easy-to-manage sections: the crown (top), the body, and the brim.
- Color Changes: Learning how to change colors seamlessly is a key skill, and a striped pattern is the perfect way to practice!
Materials You Will Need
- Yarn: Approximately 100-150 yards of worsted weight (medium/size 4) yarn in two different colors (Color A and Color B).
- Recommendation: Cotton yarn is highly recommended for its stiffness and breathability, which helps the hat hold its shape. Acrylic yarn is also a good, affordable alternative.
- Crochet Hook: A size H/8 (5.0 mm) crochet hook.
- Scissors: For cutting yarn.
- Tapestry Needle: For weaving in ends.
- Stitch Marker: (Essential for this project) A stitch marker is a must-have for working in a continuous spiral. It marks the beginning of each round so you don’t lose your place.
Essential Crochet Abbreviations (US Terms)
- ch: chain
- st(s): stitch(es)
- sl st: slip stitch
- sc: single crochet
- hdc: half-double crochet
- inc: increase (2 stitches in the same stitch)
- Rnd: round
Let’s Get Started! The Pattern
We will create the hat in three main sections: the flat, circular crown; the straight body; and the floppy brim.
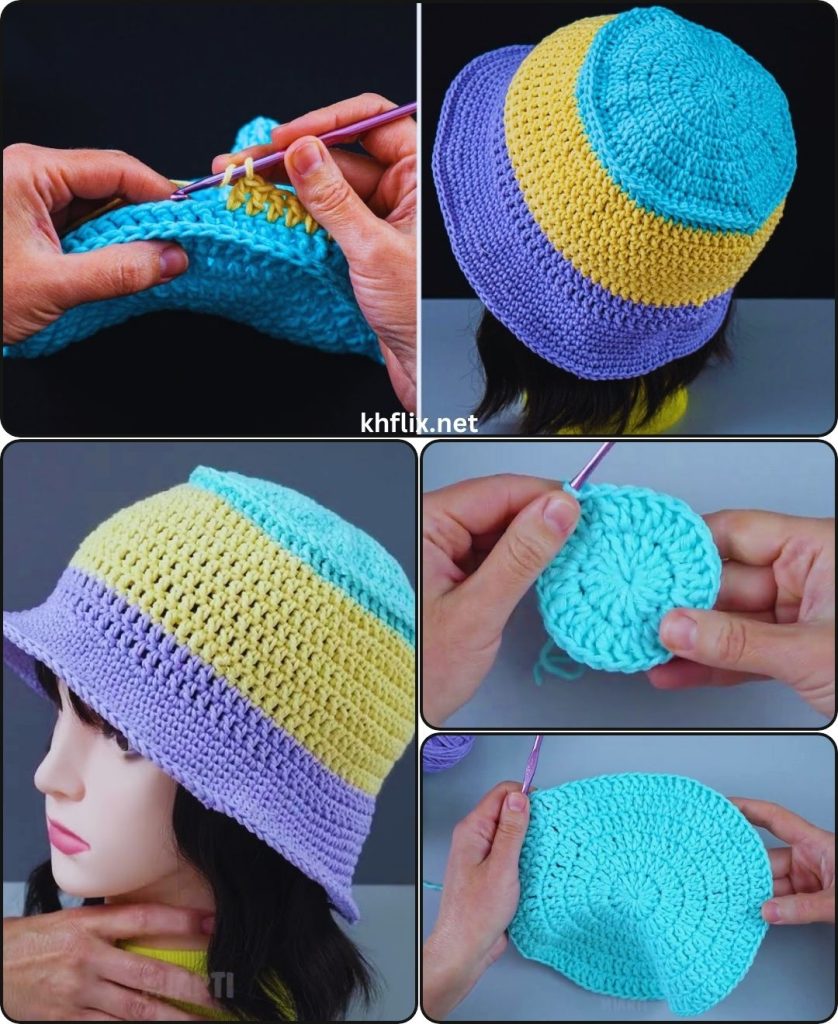
Part 1: The Crown (The Top of the Hat)
We will start with the crown, which is worked in a continuous spiral.
Set-Up (Starting with Color A)
- Create a magic ring (or chain 4 and sl st to the first ch to form a ring). This is a flexible starting point that prevents a hole at the top of your hat.
Rnd 1:
- Ch 1 (does not count as a stitch).
- Make 8 half-double crochet (hdc) stitches into the magic ring.
- Pull the tail of the magic ring tight to close the hole.
- Do not join. Place your stitch marker in the first hdc of the round. (8 stitches)
Rnd 2:
- Hdc increase (2 hdc in the same st) in each stitch around.
- Move your stitch marker up to the first stitch of this round. (16 stitches)
Rnd 3:
- [Hdc in the next st, hdc inc in the next st]. Repeat this sequence 8 times around.
- Move your stitch marker up. (24 stitches)
Rnd 4:
- [Hdc in the next 2 sts, hdc inc in the next st]. Repeat 8 times around.
- Move your stitch marker up. (32 stitches)
Rnd 5:
- [Hdc in the next 3 sts, hdc inc in the next st]. Repeat 8 times around.
- Move your stitch marker up. (40 stitches)
Rnd 6:
- [Hdc in the next 4 sts, hdc inc in the next st]. Repeat 8 times around.
- Move your stitch marker up. (48 stitches)
Rnd 7:
- [Hdc in the next 5 sts, hdc inc in the next st]. Repeat 8 times around.
- Move your stitch marker up. (56 stitches)
Rnd 8:
- [Hdc in the next 6 sts, hdc inc in the next st]. Repeat 8 times around.
- Move your stitch marker up. (64 stitches)
Your crown should now be about 6.5 to 7 inches in diameter. You can add or subtract rounds to adjust the hat’s size. For a larger hat, continue the pattern: [Hdc in the next 7 sts, hdc inc], and so on.
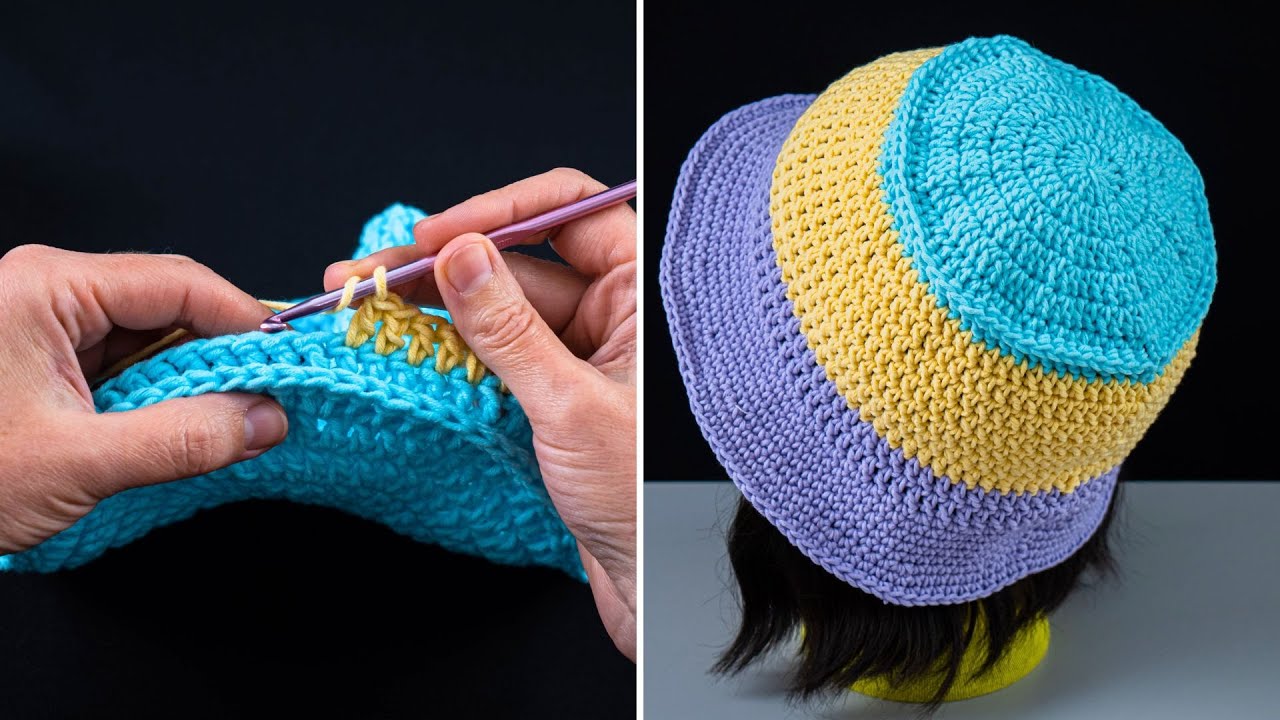
How to Change Colors for the Stripes This is a simple technique to create a clean stripe.
- When you are on the last stitch of the round you want to finish with your current color, work the stitch as usual, but stop before the final yarn over.
- You will have two loops on your hook. Drop the current color.
- Pick up your new color (Color B), yarn over with the new color, and pull through the two loops on your hook. This completes the stitch and changes colors at the same time.
- Continue working the next round with your new color. Cut the old color yarn, leaving a 6-inch tail to weave in later.
Part 2: The Body (Sides of the Hat)
Now we will work without increases to create the straight sides of the hat.
Rnd 9 (Starting with Color B):
- Work one hdc in each stitch around.
- Move your stitch marker up. (64 stitches)
Rnd 10 (Color B):
- Hdc in each st around.
- Change to Color A on the last stitch of the round. (64 stitches)
Rnd 11 (Color A):
- Hdc in each st around. (64 stitches)
Rnd 12 (Color A):
- Hdc in each st around.
- Change to Color B on the last stitch of the round. (64 stitches)
Repeat this pattern of two rounds per color until you have created 8-10 rounds for the body of your hat, or until it reaches your desired depth. The hat should now be deep enough to cover the top of your head comfortably.
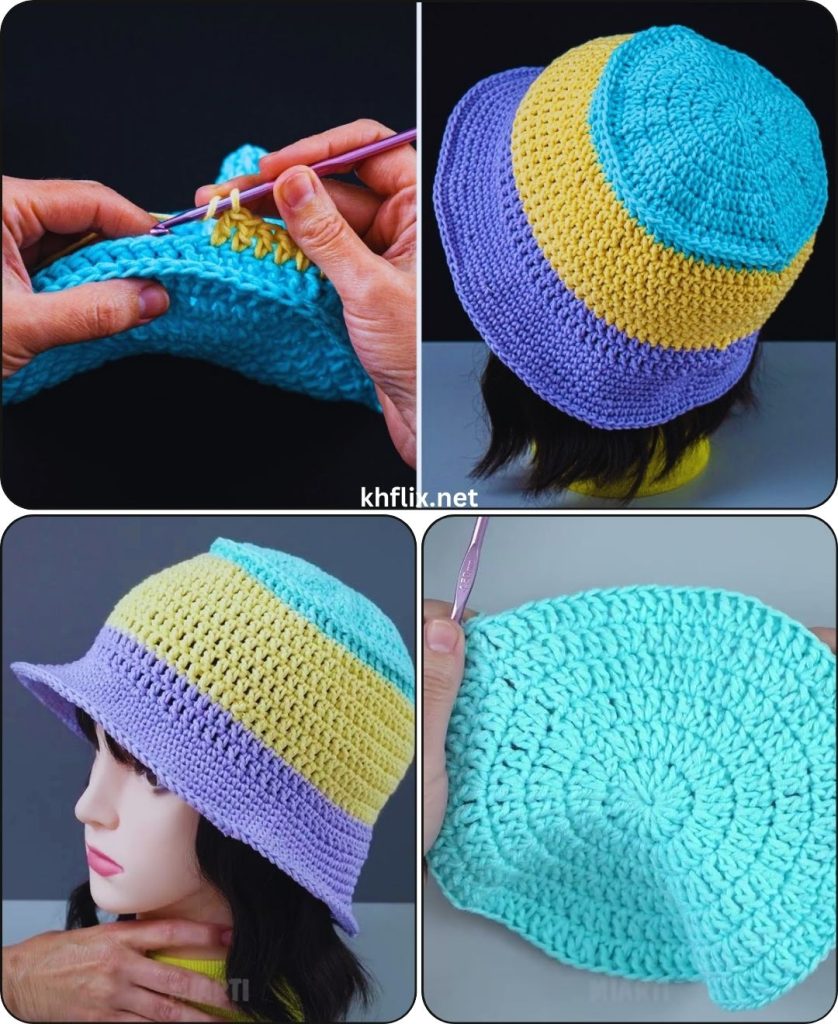
Part 3: The Brim
The brim is worked by increasing stitches again, which makes the fabric flare out.
Rnd 1 (Color B – the last color you used):
- Work this round in the front loop only (flo). This creates a neat ridge that separates the body from the brim.
- [Hdc in the next 7 sts, hdc inc in the next st]. Repeat 8 times around.
- Change to Color A on the last stitch of the round. (72 stitches)
Rnd 2 (Color A):
- [Hdc in the next 8 sts, hdc inc in the next st]. Repeat 8 times around.
- Change to Color B on the last stitch of the round. (80 stitches)
Rnd 3 (Color B):
- Hdc in each st around. (80 stitches)
Rnd 4 (Color B):
- Hdc in each st around.
- Change to Color A on the last stitch of the round. (80 stitches)
Rnd 5 (Color A):
- Hdc in each st around. (80 stitches)
Rnd 6 (Color A):
- Hdc in each st around.
- Join with a sl st to the first stitch of the round. This will finish the spiral and create a neat edge.
- Fasten off, leaving a 6-inch tail.
Part 4: Finishing Touches
Step 1: Weave in All the Ends
- Use your tapestry needle to carefully weave in all the loose yarn tails on the inside of the hat.
- To secure them, weave the tail through a few stitches, then change direction and weave back through the stitches. This prevents the ends from coming loose.
Step 2: Blocking (Optional but Recommended)
- Blocking helps your hat hold its shape and gives it a professional, finished look.
- Wet Blocking: Submerge your hat in lukewarm water. Gently squeeze out the excess water. Place the hat on a towel and shape it by hand. Let it air dry completely.
- Steam Blocking: Lay the hat on a towel. Using a steamer or an iron with a steam setting, hold the steamer/iron a few inches away from the hat and gently steam it. While steaming, you can shape the hat with your hands.
Congratulations! You have now completed your very own handmade, striped crochet bucket hat. It’s a fun and practical accessory that you can now customize with different colors and stitch patterns for future projects. Enjoy!