 by
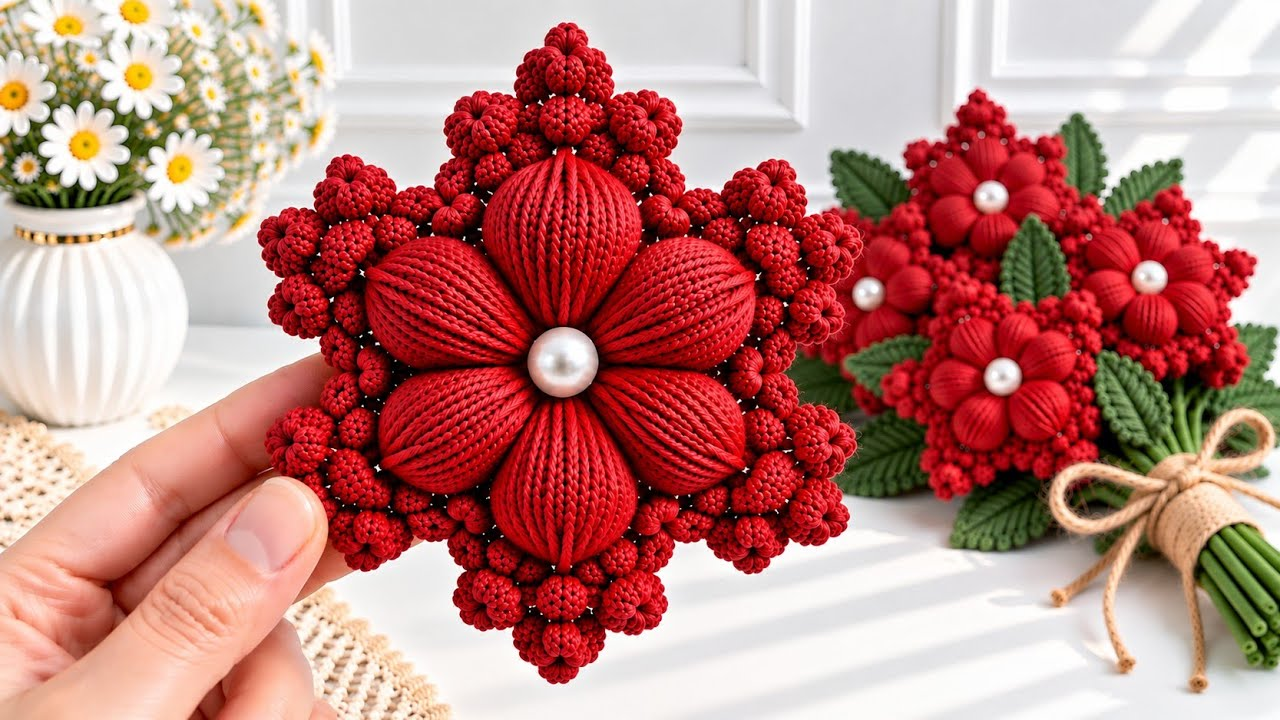
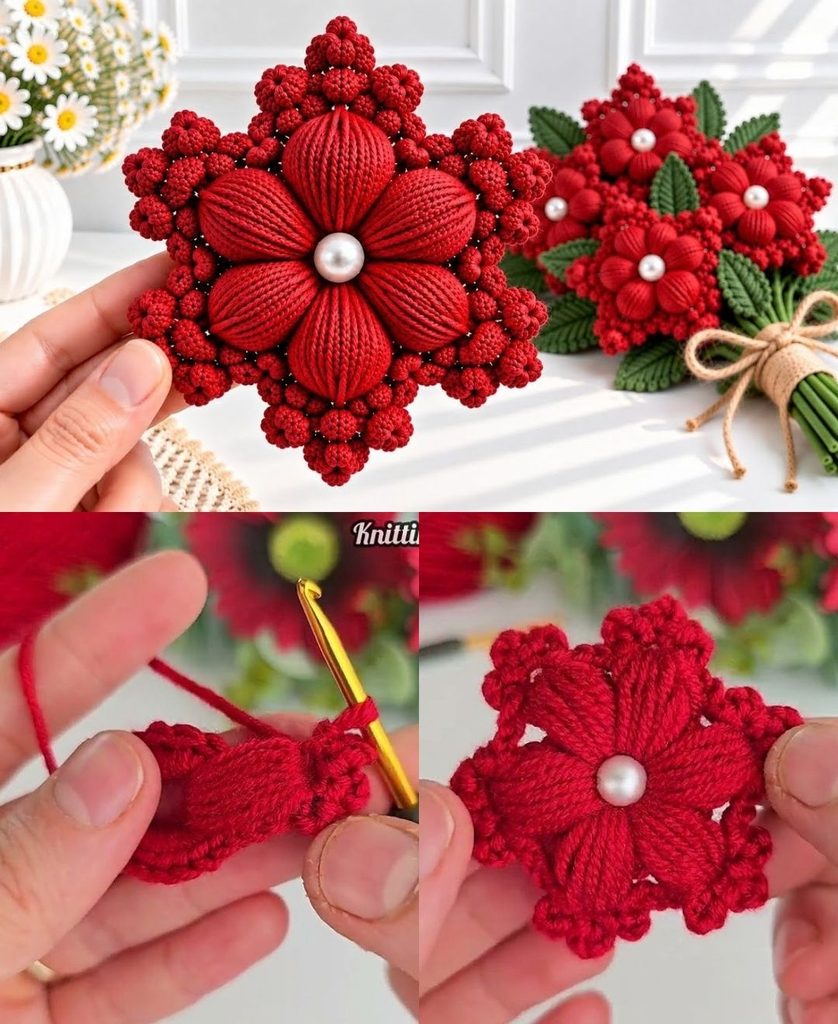
by Creating a Stunning 3D Flower is one of the most rewarding and versatile techniques in crochet. Moving beyond flat appliques, a multi-layered 3D flower uses clever placement—such as working into separate loops or staggering petal rounds—to achieve rich, realistic depth, botanical structure, and boutique-quality charm.

Here is your detailed, step-by-step masterclass on how to crochet a breathtaking, multi-layered 3D flower from scratch.
🧶 The Master 3D Flower Toolkit
- Yarn:100% Mercerized Cotton Yarn (Sport weight or DK). Cotton is mandatory for botanical projects because it yields crisp, rigid stitch definition, ensuring your petals stand upright and never look fuzzy or droopy.
- Palette: A vibrant contrast color for the center core/pistil (such as sunny yellow or rich gold) and a gorgeous floral hue for the petals (such as blush pink, lavender, or cream).
- Hook: 3.0 mm or 3.5 mm. A slightly snug hook keeps your tension compact, giving the sculptural petals clean architectural form.
- Extra Supplies: Tapestry needle for weaving in ends, and sharp scissors.

🌸 Step 1: Crafting the Center Core (The Pistil)
We will begin with a tight, textured center that mimics the natural pollen core of a fresh garden blossom.
- With your Center Color (e.g., yellow),
ch 4and join with asl stto form a tiny ring. ch 1, and work 10 sc (single crochet) directly into the center of the ring.- Join with a
sl stto the first sc. Fasten off your center color, leaving a short tail to weave in later.

🌿 Step 2: Crocheting Layer 1 (The Inner Petals)
Now, we will build the first tier of delicate inner petals directly off the back loops of the center round, leaving the front loops free for later.
- Attach your Petal Color (e.g., pink) into the back loop only of any stitch from the center round.
ch 3(counts as the first double crochet), work2 dcin that same back-loop stitch.- Skip the next stitch, and work
3 dcin the following back loop. - Repeat around the entire circle. You will have 5 dense, rounded inner petal clusters.
- Join with a
sl stto the top of the initialch 3. Fasten off your first petal layer, leaving a short tail.

🌺 Step 3: Crocheting Layer 2 (The Dramatic Outer Petals)
To give the flower its signature 3D depth and volume, we will work a second, larger layer of petals behind the first one by anchoring into the unused front loops of Round 1.
- Turn your flower so the back is facing you. Attach your Petal Color into any remaining unworked front loop from the center pistil round.
ch 4(counts as the first treble crochet), work(2 tr, ch 2, 2 tr)into that same loop space to create a bold, wide petal.- Move to the next available unworked front loop, and work
(2 tr, ch 2, 2 tr)into it. - Repeat this process all the way around the back of the flower. This creates 5 larger, dramatic outer petals that “hug” and frame the inner layer.
- Join with a
sl stto the top of the initialch 4. Fasten off and weave in all remaining yarn tails securely on the back side.
✨ Pro-Tips for a High-End Finish
- Steam Shaping (Crucial for 3D Realism): When you finish your flower, the petals might naturally bunch together. Hold the completed flower over the gentle steam of a kettle for a few seconds to relax the cotton fibers. While warm, use your fingers to cup, curl, and flare the petals outward. As it cools, the flower will permanently lock into an open, organic 3D bloom.
- Adding a Green Calyx (Optional): If you plan to mount your 3D flower onto a stem or use it as a standalone piece, you can work a quick 5-point green star base (a calyx) behind Layer 2 using green cotton yarn to give it an authentic botanical finish.
Video tutorial: