 by
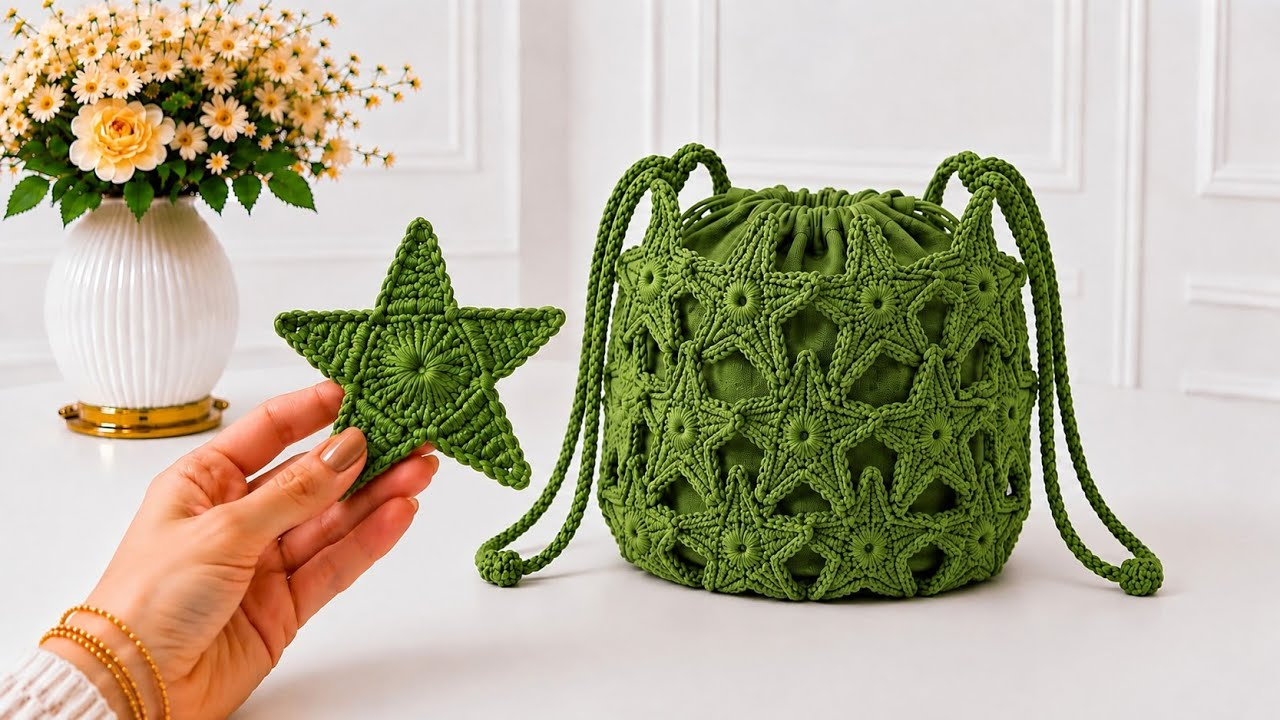
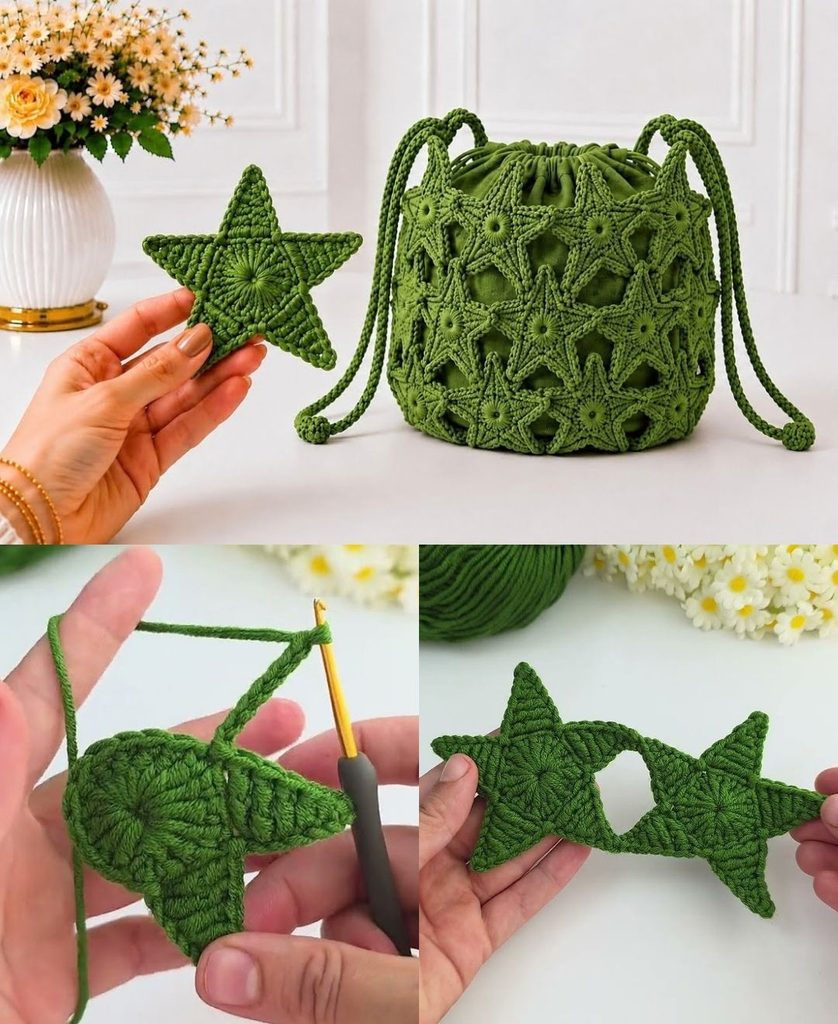
by Creating a Crochet Star Bag is a fun, trendy project that results in an eye-catching, geometric accessory. The most popular version of this bag is constructed by making two identical flat star panels (expanding a 5-pointed star over several rounds), joining them together along their outer edges, and adding a sturdy custom strap.
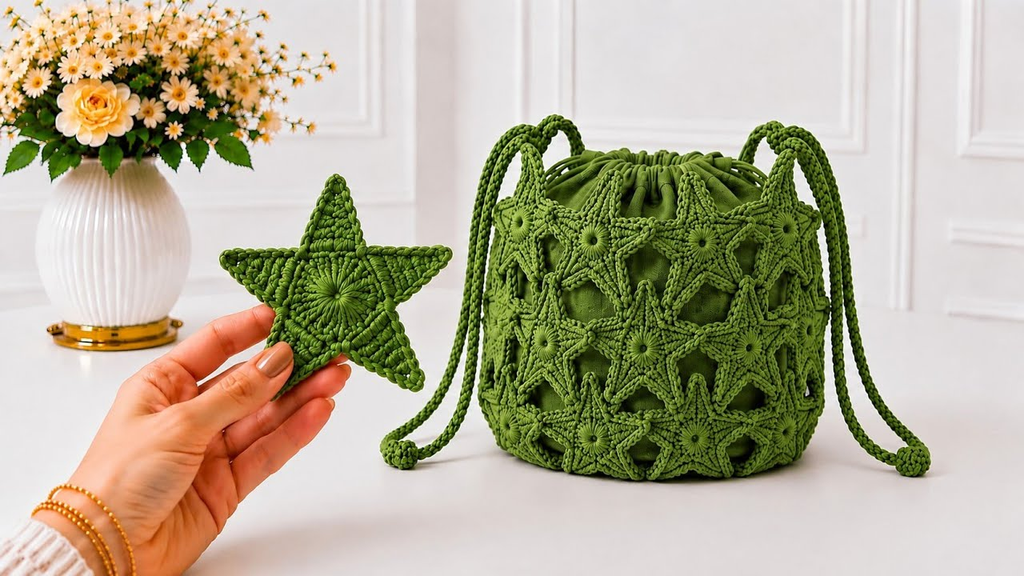
Here is your detailed, step-by-step masterclass on how to crochet a stunning star bag from scratch.
🧶 The Star Bag Toolkit
- Yarn: 100% Mercerized Cotton Yarn or Worsted Weight (Weight 4) Acrylic. Cotton yarn is ideal if you want a clean, structured bag that resists sagging, while acrylic offers a softer drape. You can use a single solid color or alternate colors every 2 rows for a vibrant, striped look.
- Hook: 4.5 mm to 5.0 mm. Using a slightly snug hook keeps your tension tight, preventing large gaps between stitches so your belongings won’t fall out.
- Extra Supplies: Tapestry needle for sewing and weaving ends, scissors, and stitch markers.
⭐ Step 1: Crocheting the Two Star Panels
You will need to make two identical star panels to form the front and back of your bag. Each star features 5 distinct points.

Round 1: The Center Core
- Create a Magic Circle.
ch 2, then work an unfinished double crochet cluster or a sequence of double crochets directly into the ring to establish your base foundation.- Alternative beginner-friendly start: Work 20 double crochets (dc) directly into the magic ring, and join with a slip stitch (
sl st).
Round 2: Establishing the 5 Star Points
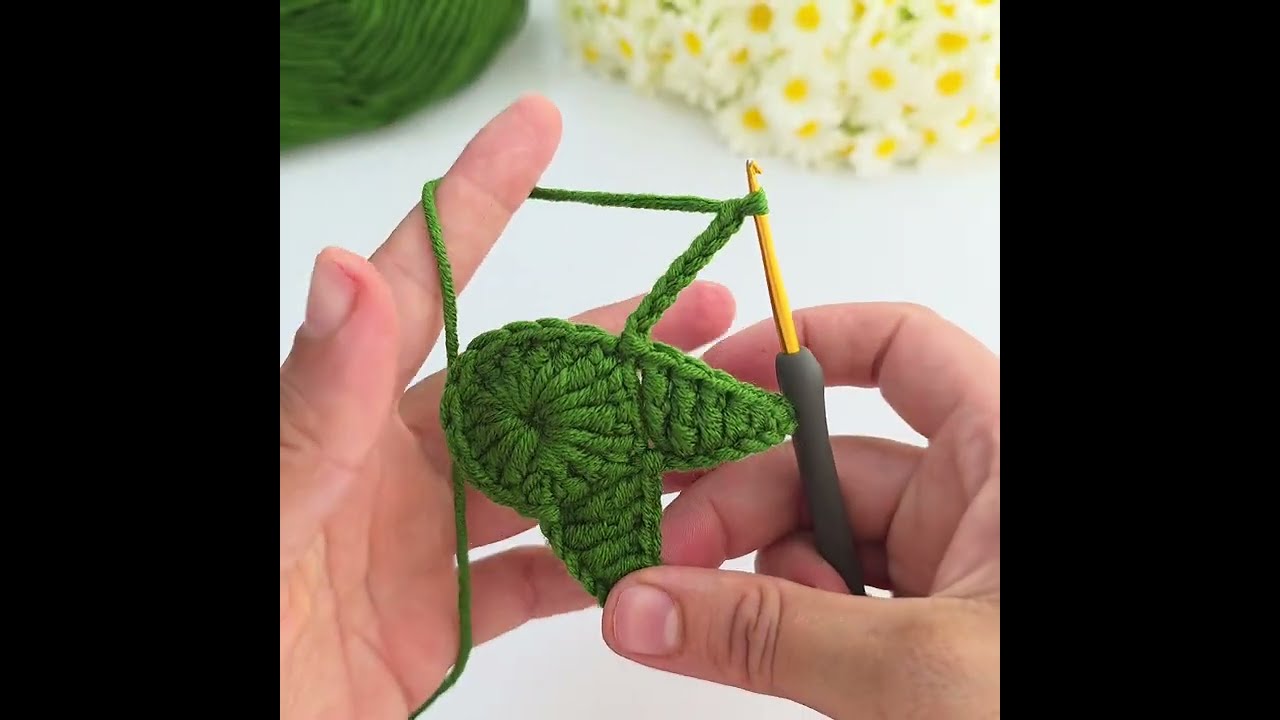
ch 2(does not count as a stitch).- In the first stitch, work 3 dc, ch 2, 3 dc all in the same space. This forms your first sharp star point corner.
- Skip the next 3 stitches, and work (3 dc, ch 2, 3 dc) in the following stitch.
- Repeat this sequence 4 more times around the circle (for a total of 5 points). Join with a
sl stto the top of the first dc.
Rounds 3 through 6+: Expanding the Star
- To grow your star while keeping the points sharp, start each round with
ch 2. - Work along the sides by placing regular double crochets into the stitches between points, and always work your point increases—(3 dc, ch 2, 3 dc)—directly into the
ch-2 space(the tip of each star point from the previous row). - Continue expanding outward for 5 to 6 rounds (or more, depending on how large you want your bag to be).
- Fasten off on the first panel, leaving a long tail for sewing. Complete your second star panel, but do not cut your yarn if you plan to use it for joining.
👜 Step 2: Assembling the Bag
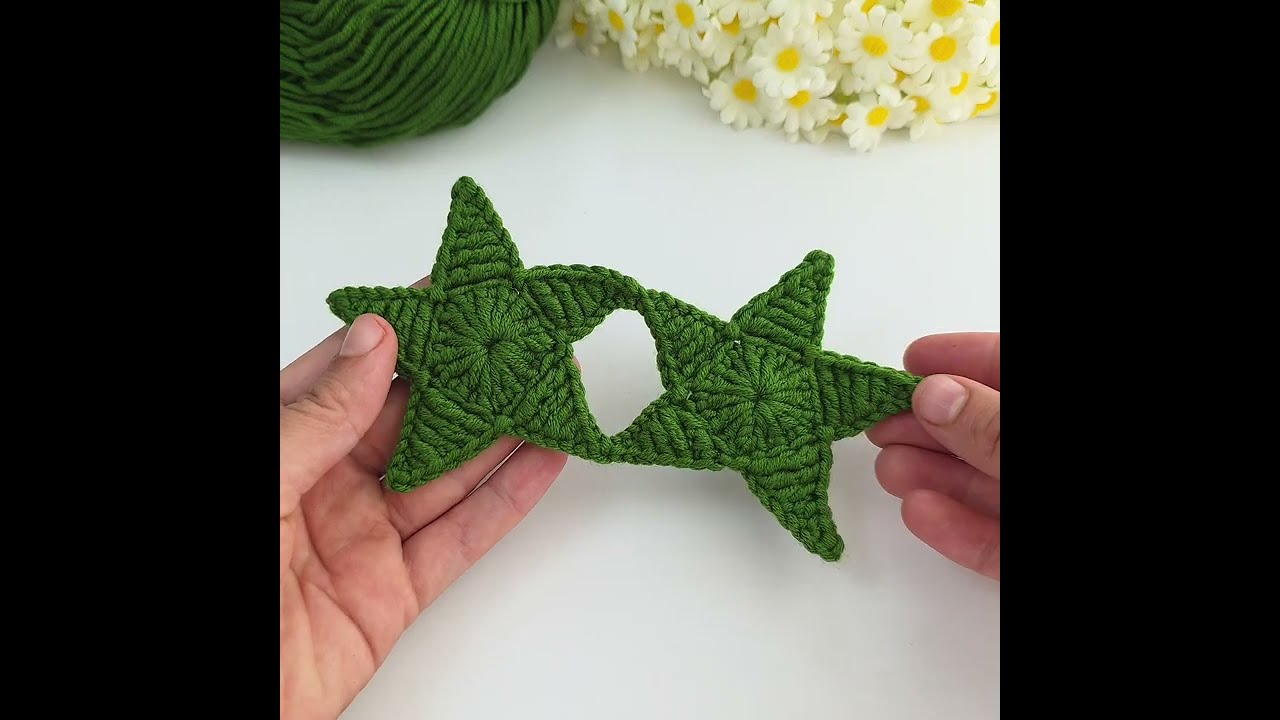
- Aligning the Panels: Lay your two finished star panels flat on top of each other with the right sides facing outward, ensuring the 5 points of both stars line up perfectly.
- Seaming the Edges: Using your long yarn tail (or a separate strand of yarn), sew or slip-stitch the outer edges of the two star panels together.
- Important: Leave the top opening between two of the upper star points unstitched so you can access the interior of your bag.
- Closing Gaps: Ensure your seams are secure and tight so that small items won’t slip through the side joints.
🎒 Step 3: Crafting and Attaching the Sturdy Strap
A common pitfall with star bags is a stretchy, thin strap. To make a high-end, comfortable handle:
- The Chain Foundation: Chain (
ch) until you reach your desired strap length (typically between 100 to 130 chains, depending on whether you want a shoulder bag or a crossbody). Make sure the chain isn’t twisted. - Building Width and Stability:
- Row 1: Starting from the 2nd chain from the hook, work 1 single crochet (sc) or double crochet (dc) in every chain across.
- Rows 2 to 4: Turn your work,
ch 1, and work several rows of single crochets back and forth. Creating a multi-row thick strap prevents it from stretching out and digging into your shoulder.
- Attaching the Strap: Firmly sew both ends of your finished thick strap to the top two upper points of your star bag using reinforced whip stitches.
✨ Pro-Tips for Success
- Block Your Panels: Before sewing the two star panels together, pin them to a blocking board and steam them lightly. This flattens the points and ensures crisp, symmetrical geometry.
- Fabric Lining: Because star bags have an open geometric shape, consider sewing a simple fabric inner pouch to match the star interior. It adds professional structure and keeps small items secure.