 by
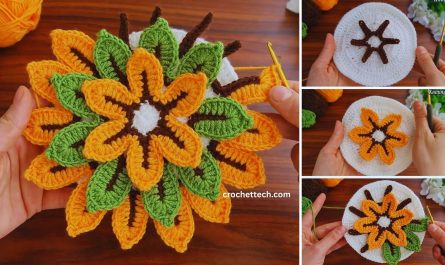
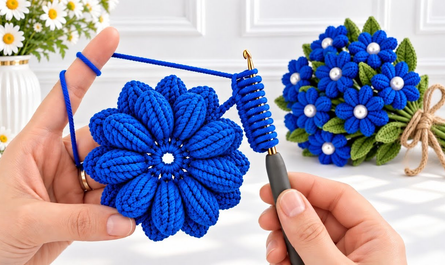
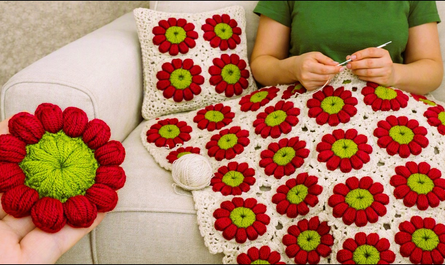
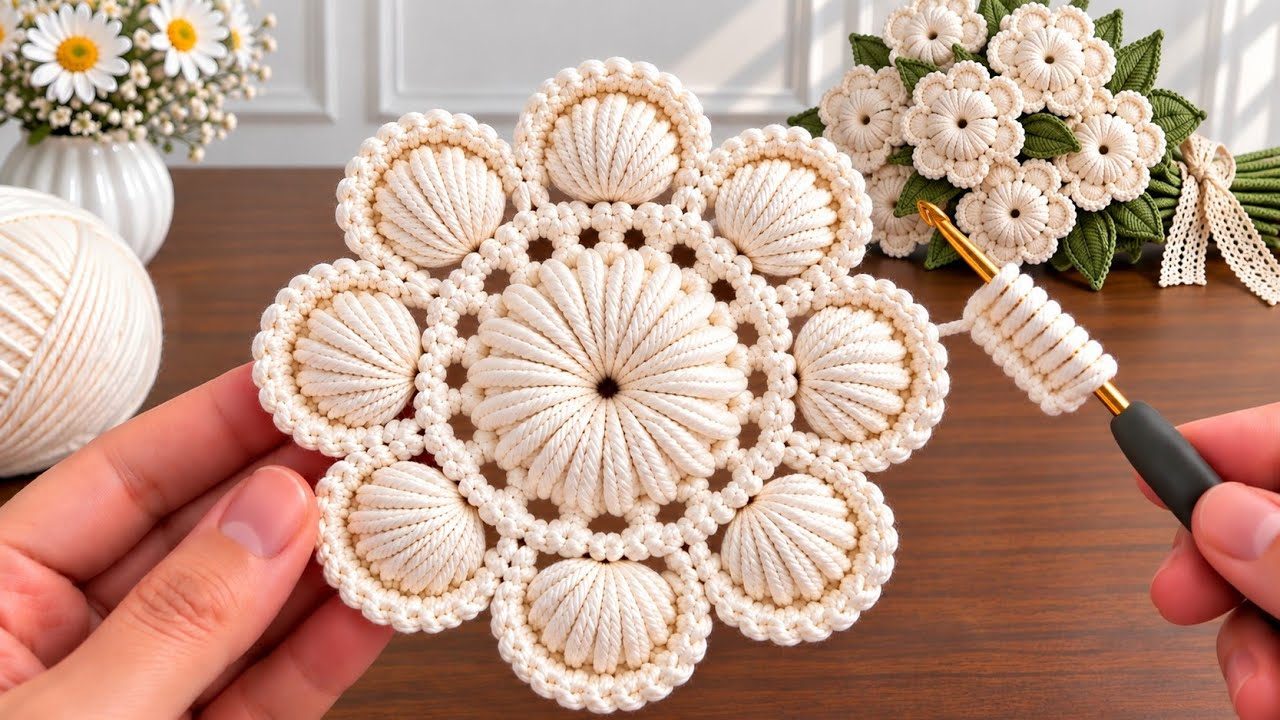
by Creating a Beautiful Flower Motif is one of the most rewarding and versatile techniques in botanical crochet. Whether you want to piece them together into an heirloom blanket, join them into a boutique tote bag, or use them individually as statement coasters and appliques, mastering a classic floral motif opens the door to endless design possibilities.
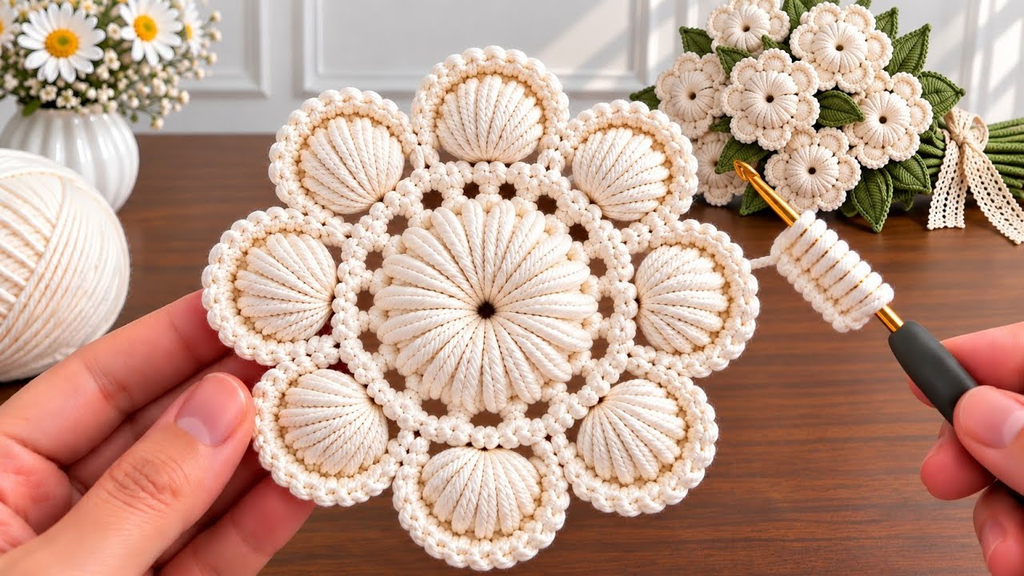
Here is your detailed, easy step-by-step masterclass on how to crochet a stunning, crisp flower motif from scratch.
🧶 The Master Flower Motif Toolkit
- Yarn:100% Mercerized Cotton Yarn (Sport weight, DK, or Worsted weight). Cotton yarn is mandatory for geometric motifs because it has zero stretch and provides exceptional stitch definition, ensuring your finished squares hold their sharp, rigid shape without warping.
- Palette: A vibrant focal color for the flower center (such as sunny yellow or golden marigold), a rich floral hue for the petals (such as blush pink, lavender, or cream), and a clean neutral background color (like soft beige, white, or charcoal) to square off the motif.
- Hook: 3.5 mm or 4.0 mm. A slightly snug hook creates a tight, dense gauge, keeping your stitches neat and professional.
- Extra Supplies: Tapestry needle for weaving in ends and sharp scissors.

🌸 Step 1: Crafting the Center Flower Core (Round 1)
We begin with a compact, textured center ring that mimics the vibrant pistil of a blooming garden flower.
- With your Center Color (e.g., yellow),
ch 4and join with asl stto form a tiny ring. ch 1, and work 12 sc (single crochet) directly into the center of the ring.- Join with a
sl stto the first sc. Fasten off your center color, leaving a short tail to weave in later.

🌺 Step 2: Crocheting the Blooming Petals (Round 2)
Now, we bring the flower to life by building lush, rounded petals directly off the stitches of the center core.
- Attach your Petal Color (e.g., pink) into any stitch around the center ring.
ch 3(counts as your first double crochet), work2 dcin that same stitch. (This creates a 3-dc cluster).ch 2(creates the space between petals).- Skip the next stitch, and work
3 dcin the following stitch, thench 2. - Repeat this pattern all the way around the circle until you have 6 petal clusters separated by ch-2 spaces.
- Join with a
sl stto the top of the initialch 3. Fasten off your petal color, leaving a tail to weave in.

🔲 Step 3: Squaring the Motif (Round 3)
To turn your round flower into a versatile, geometric square that can be easily joined with other pieces, we introduce the background neutral frame.
- Attach your Background Neutral Color (e.g., cream or white) into any
ch-2space between the petals. - Forming the First Corner:
ch 3(counts as first dc), work(2 dc, ch 2, 3 dc)all in that same ch-2 space. This creates your first sharp, 90-degree corner. - Working the Side Transition:
- Move to the next ch-2 space between petals and work 3 hdc (half double crochet) to bridge the side gap.
- Move to the next ch-2 space and work 3 hdc again.
- Forming the Next Corner: In the following ch-2 space, work
(3 dc, ch 2, 3 dc)to create your second corner. - Completing the Square: Repeat this sequence around the entire motif (corners get
3 dc, ch 2, 3 dc, and the two intermediate side spaces each get3 hdc). - Join with a
sl stto the top of the initialch 3. Fasten off and weave in all remaining ends on the back.
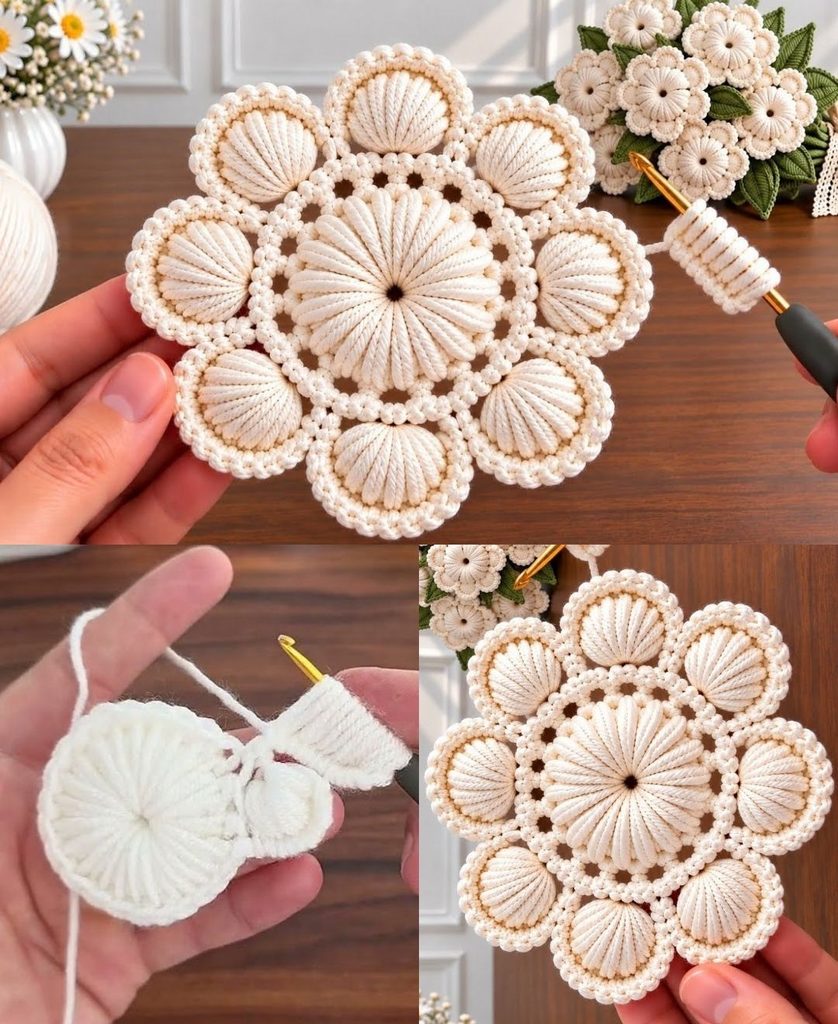
✨ Pro-Tips for a Boutique-Quality Finish
- Block Every Motif: Before joining your squares together for a bag, blanket, or table runner, pin every single piece to a blocking board, mist them lightly with water or steam, and let them dry completely flat. Blocking relaxes the cotton fibers and guarantees that every square matches in exact size and sharp geometry.
- The Flat Slip Stitch Join: When you are ready to connect multiple motifs into a larger project, use a Flat Slip Stitch Join working exclusively through the back loops only. This keeps your seams completely flat, flexible, and visually seamless, elevating your handmade creation to professional boutique standards!