 by
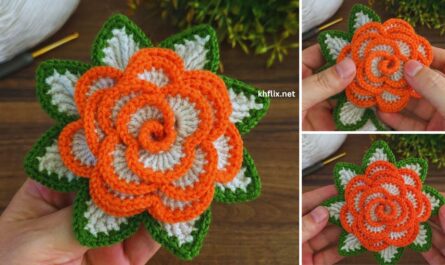
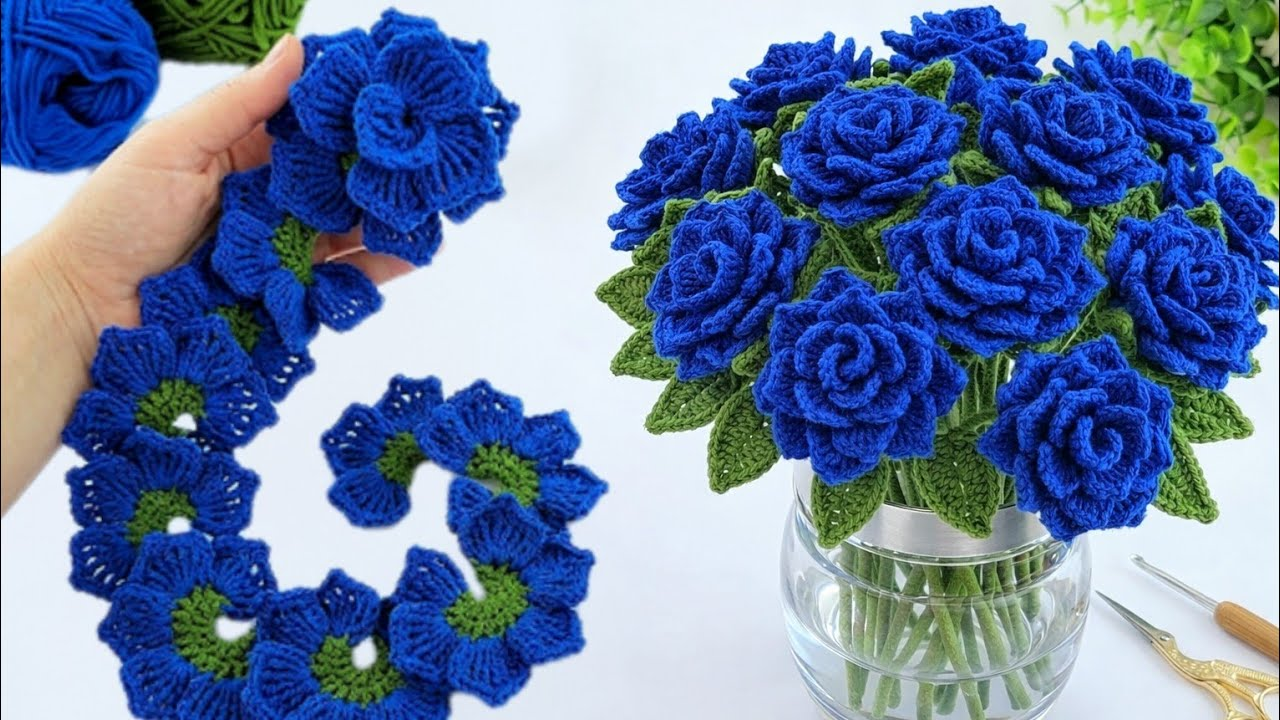
by Creating a Crochet Rose is one of the most classic and elegant techniques in floral fiber art. Unlike traditional flowers that are worked in the round from a center magic ring, a realistic crochet rose is built from a long foundational strip of petals that is simply rolled up and secured at the base. This ingenious construction allows you to control how tight or open your bloom is, resulting in a stunning, romantic rosette every time.
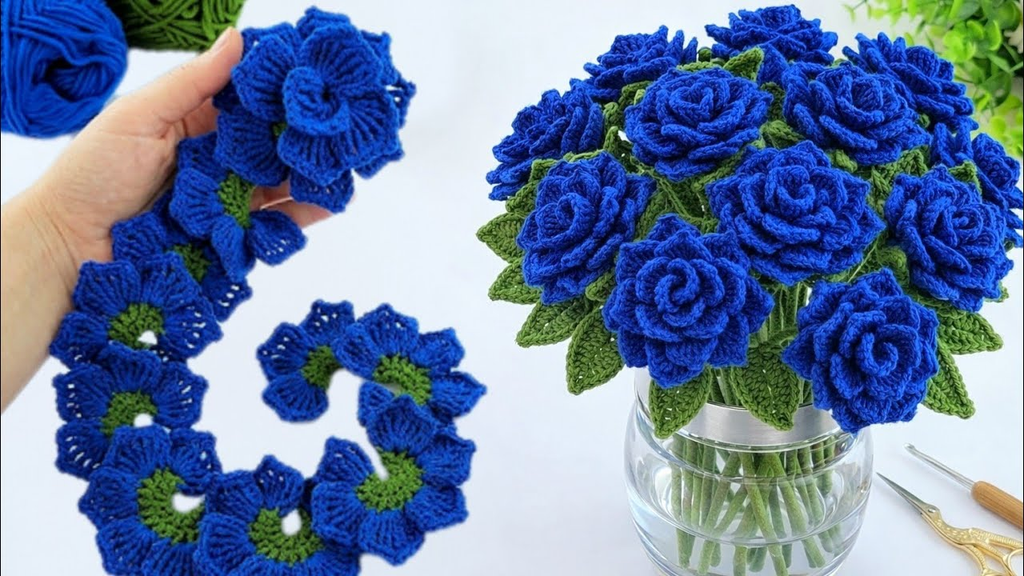
Here is your detailed, step-by-step masterclass on how to crochet a breathtaking, boutique-quality rose from scratch.
🧶 The Master Crochet Rose Toolkit
- Yarn:100% Mercerized Cotton Yarn (Sport weight, DK, or Worsted weight). Cotton is mandatory for dimensional flowers because it provides crisp stitch definition and a firm structure, ensuring your rolled petals hold their shape permanently without looking limp or fuzzy.
- Palette: Classic rose hues (such as blush pink, deep crimson, vintage peach, or ivory), paired with a rich sage or forest green for the optional calyx base.
- Hook: 3.0 mm or 3.5 mm. A snug hook creates a tight, dense gauge, keeping your rolled petal layers neat and structured.
- Extra Supplies: Tapestry needle for sewing/weaving, sharp scissors, and a hot glue gun or matching sewing thread to lock the base of the rose.
📏 Step 1: Crafting the Petal Foundation Strip
We begin by crocheting a long, straight strip that contains the mathematical spacing for our expanding petals.
- With your Rose Petal Color, start with a foundation chain (
ch) of 51 stitches (or any multiple of 3 plus 6 if you want to adjust the size). - Row 1 (Setting the Petal Spaces):
- Starting from the 4th chain from the hook (counts as your first stitch), work 1 double crochet (dc).
ch 2, skip 2 chains, and work 1 dc in the next chain.- Repeat the sequence (
ch 2, skip 2 chains, 1 dc) all the way down the foundation chain. Turn your work. (You now have a series of neat little square arches that will act as the skeleton for your petals).

🌹 Step 2: Building the 3D Petal Ruffles
Now we transform the simple foundation strip into a rich, ruffled wall of petals by working directly into those arches.
ch 1(does not count as a stitch).- In the very first
ch-2 arch space, work your first set of petals: (1 sc, 1 hdc, 3 dc, 1 hdc, 1 sc) all packed into that single arch. - Move directly to the next arch space and repeat that exact same petal cluster: (1 sc, 1 hdc, 3 dc, 1 hdc, 1 sc).
- Continue working this petal cluster into every single arch space all the way down the strip.
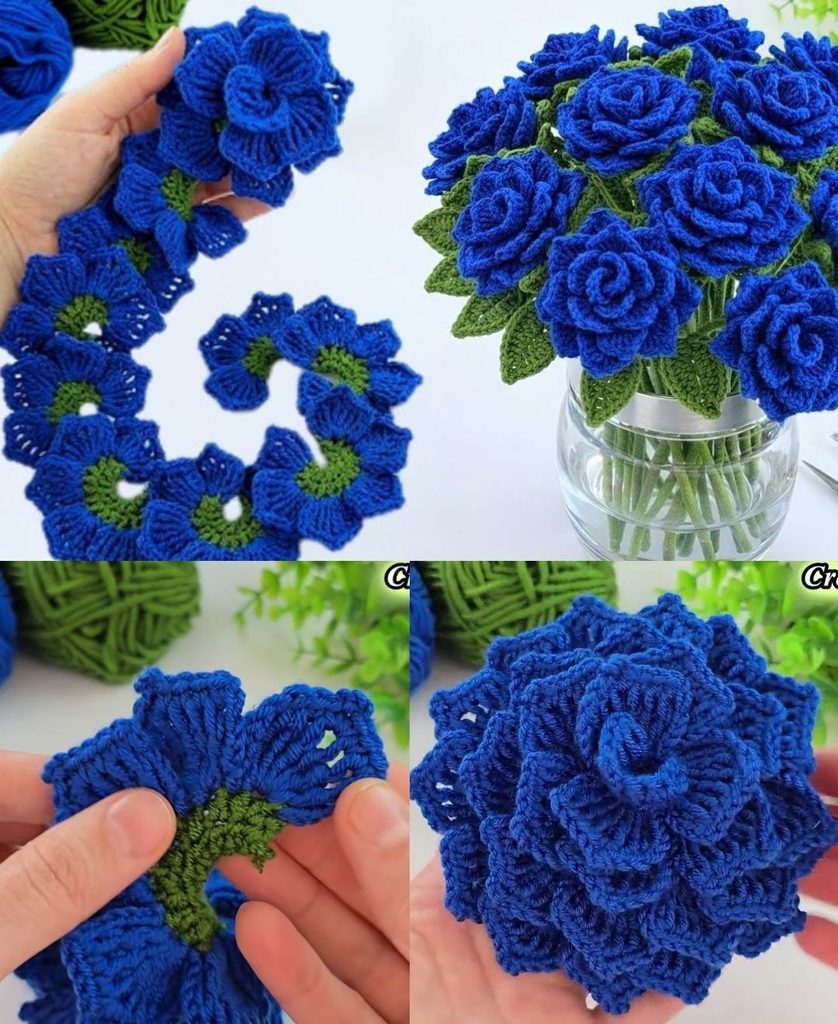
- As you work, you will notice the strip naturally curling and twisting into a long, wavy ruffle. Fasten off your yarn, leaving a generous 10-to-12-inch tail for assembly.
🌀 Step 3: Rolling and Shaping the Rose
The magic happens here as you assemble the flat ruffle into a 3D blooming rose.
- The Tight Center Bud: Take one end of your ruffled strip (start at the beginning tail) and begin rolling it tightly upon itself like a cinnamon roll. This tight inner core forms the closed bud of the rose.
- Expanding the Outer Petals: As you continue rolling the strip around the center core, gently allow the outer petal ruffles to flare and cascade slightly downward. This creates the natural, unfolding depth of a fully bloomed garden rose.
- Securing the Base: Flip your rolled rose over so you are looking at the flat bottom base where all the raw tail ends meet. Pass your tapestry needle (threaded with your long yarn tail) back and forth horizontally and vertically through the entire bottom stack of layers, anchoring every single row securely together.
- Tie a strong, secure knot and trim any excess yarn. (Alternatively, you can apply a generous drop of hot glue directly to the bottom base to lock the petals in place instantly).

🍃 Step 4: Adding a Leafy Calyx (Optional)
To give your rose a professional, finished look—especially if you plan to mount it onto a stem or hair accessory—add a simple green star base:
- With Green Cotton Yarn,
ch 4and join with asl stto form a tiny ring. ch 1, and work a round of small pointed sepals (ch 4, work 1 sc down the chain, sl st back into the ringrepeated 5 times).- Fasten off and glue or sew this green star calyx directly onto the bottom flat base of your finished rose.
✨ Pro-Tips for Perfection
- Vary the Sizes: To create a realistic floral arrangement or bouquet, make multiple rose strips of varying lengths (e.g., chain 35 for a tight rosebud, chain 51 for a medium bloom, and chain 65 for a giant, dramatic statement rose).
- Steam-Setting: Hold your finished cotton rose over the gentle steam of a kettle for a few seconds to soften the fibers, then use your fingers to gently roll open the outer petals. As it cools, the cotton will permanently hold its romantic, open-bloom shape!