 by
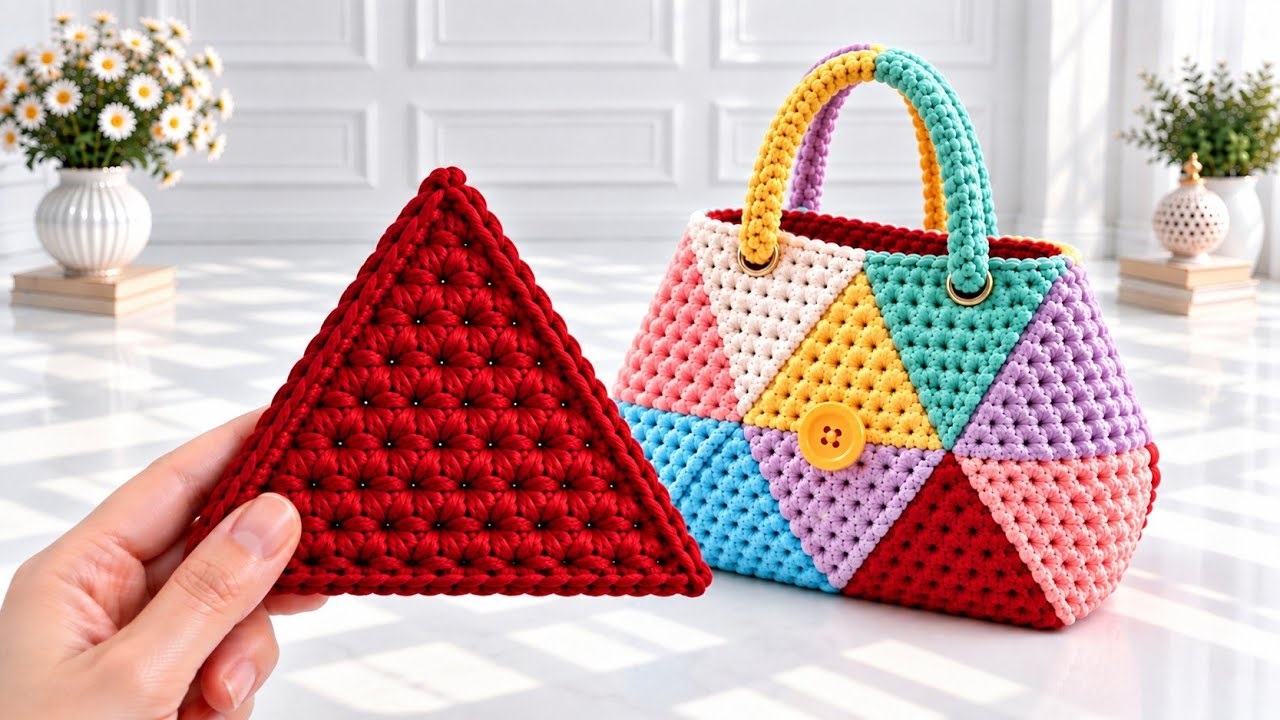
by Creating a Triangle Motif Bag is an exceptional way to blend geometric modern design with practical handbag construction. By arranging modular triangular motifs (often called “triangle squares” or geometric modules) and joining them together, you form a striking, structural tote or shoulder bag that stands out with a boutique, designer finish.
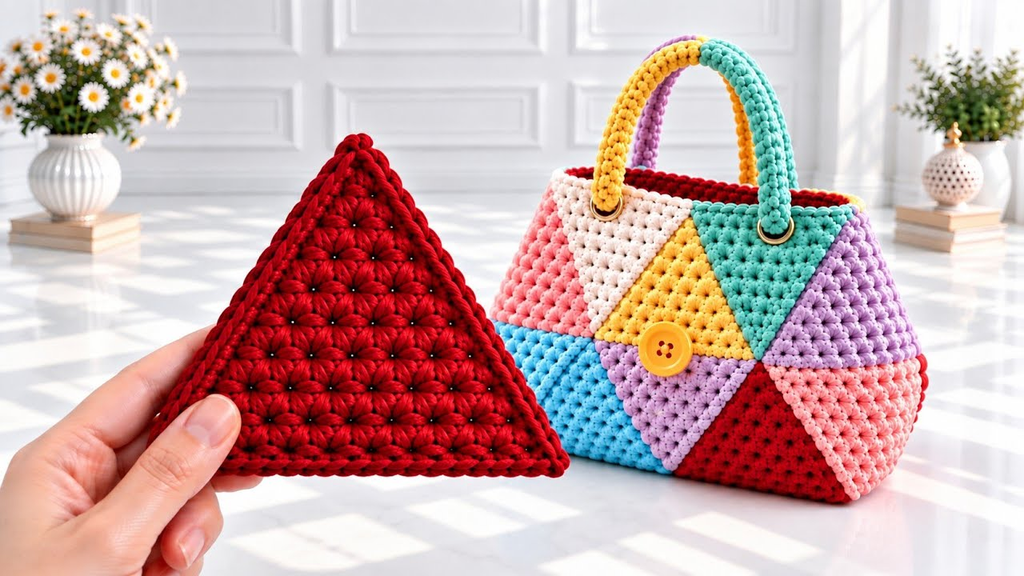
Here is your detailed, step-by-step masterclass on how to crochet a stunning triangle motif bag from scratch.
🧶 The Professional Triangle Bag Toolkit
- Yarn: 100% Cotton (Worsted weight or DK). Cotton is essential for bags because it has minimal stretch, ensuring your geometric triangles hold their sharp angles and don’t distort under weight.
- Hook: 3.5 mm or 4.0 mm. Using a slightly smaller hook ensures a tight, dense gauge, keeping the structural integrity crisp.
- Extra Supplies:
- Tapestry needle for weaving ends.
- Cotton fabric for an interior lining (mandatory for geometric open-work or multi-motif bags).
- Magnetic snap or zipper closure.
- Strap (leather, chain, or a sturdy crocheted strap).
📐 Step 1: Crafting the Master Triangle Motif
The foundation of your bag is a perfectly flat, equilateral or right-angled triangle. A classic granny-style triangle or a solid double crochet triangle works best. Here is how to make a Solid & Crisp Geometric Triangle:
- The Center Ring:
ch 4, join with asl stto form a ring.
- Round 1 (The Inner Core):
ch 3(counts as first dc), work 2 dc into the ring,ch 2(first corner), work 3 dc into the ring,ch 2. Repeat from * once more so you have three 3-dc clusters separated by threech-2corners. Join with asl stto the top of the initial chain. Fasten off if changing colors.
- Round 2 (Expanding the Triangle):
- Join your yarn in any
ch-2corner space. - The Corner:
ch 3, work(2 dc, ch 2, 3 dc)in that same corner space. - The Side: Work
3 dcin the space between clusters from the previous row. - Next Corner: Work
(3 dc, ch 2, 3 dc)in the next corner space. - Repeat this pattern around all three sides, working corners into corners and side blocks into side gaps. Join with a
sl st.
- Join your yarn in any
- Round 3 and Beyond:
- Continue expanding by adding
3 dcgroups along the expanding flat sides and(3 dc, ch 2, 3 dc)in each of the three sharp corners until your triangle reaches your desired size (usually 4 to 6 inches along each flat edge). Fasten off.
- Continue expanding by adding
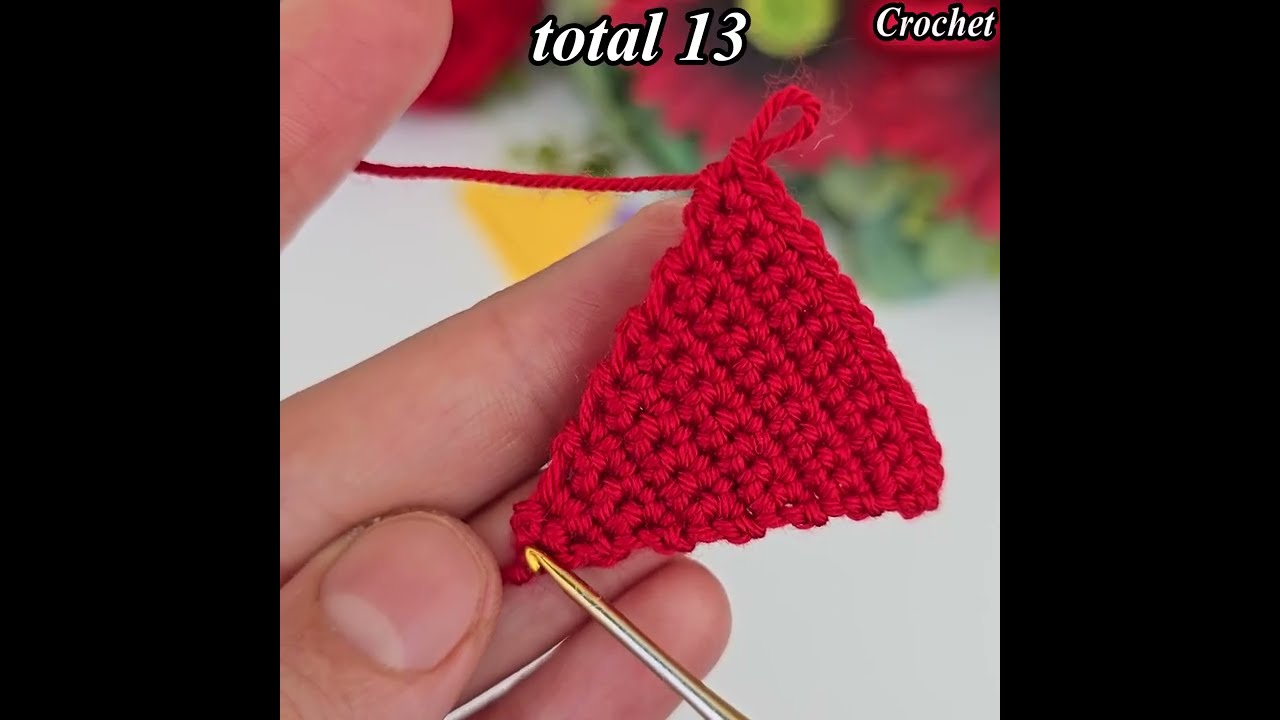
🧩 Step 2: Assembling the Bag Layout
The magic of triangle motifs is how they tessellate to form multi-dimensional shapes.
- The Motif Count: To build a standard square-base tote or a hexagonal bucket bag, you will need a specific number of identical triangles. For a classic flat tote, you typically need 12 to 16 triangles (configured to make the front and back panels).
- The Professional Join: Avoid bulky, awkward seams. Use the Flat Slip Stitch Join working through the back loops only of your triangle edges. This lays the seams completely flat and gives the geometric lines of your bag a clean, high-end definition.
- Arranging the Panels: Join your triangles together to form large squares or diamond panels. For example, joining 4 triangles base-to-base creates a larger, dramatic square panel with a central pinwheel effect.

🌟 Step 3: Structural Integrity & “Boutique” Finishes
Because geometric motif bags can flex along their seams, incorporating professional structural elements ensures your bag looks store-bought rather than homemade.
1. The Non-Negotiable Fabric Lining
- Cut a cotton fabric to match the exact interior dimensions of your assembled bag structure.
- Sew the lining pouch, fold the top edge over by half an inch, and meticulously hand-stitch it to the inner rim of your crochet opening using a matching thread.

2. The Reinforced Top Rim
- Work 2 to 3 rounds of tight single crochet (sc) right along the top opening of your bag.
- Pro-Trick: Lay a piece of nylon cord or thick twine inside your stitches (“carrying the cord”) as you work your final top border. This creates an unyielding rim that stops the bag from stretching or sagging when carried by the handles.
3. Professional Straps & Hardware
- Attach sleek leather handles or a sturdy strap by crocheting small, dense 4-stitch-wide tabs around your strap rings and anchoring them securely into the reinforced top rim of the bag.
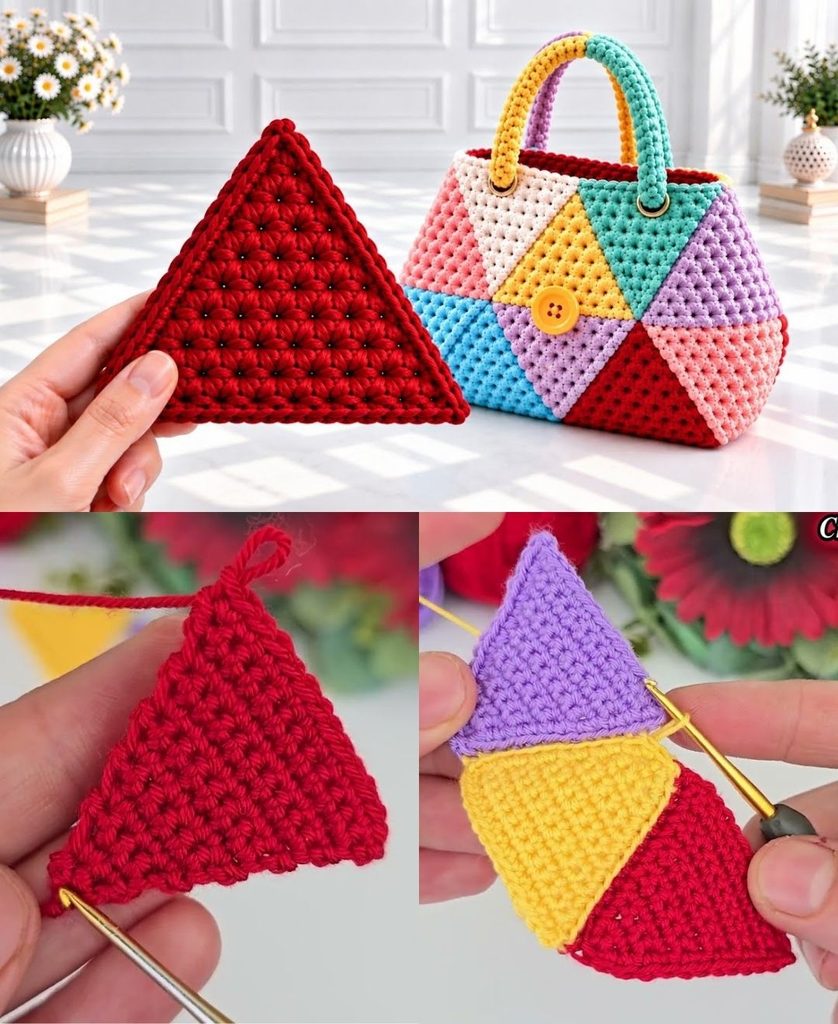
✨ Pro-Tips for Success
- Block Every Triangle: Before joining your triangles together, pin every single piece to a blocking board, mist them with water or steam, and let them dry flat. Sharp, blocked corners make assembly significantly easier and keep the geometry exact.
- Color Blocking: Triangle motif bags look breathtaking when you use a monochromatic gradient (e.g., light gray, medium gray, and charcoal) or pair a bold accent color on the final border of each triangle against a consistent neutral background yarn.
Video tutorial: