 by
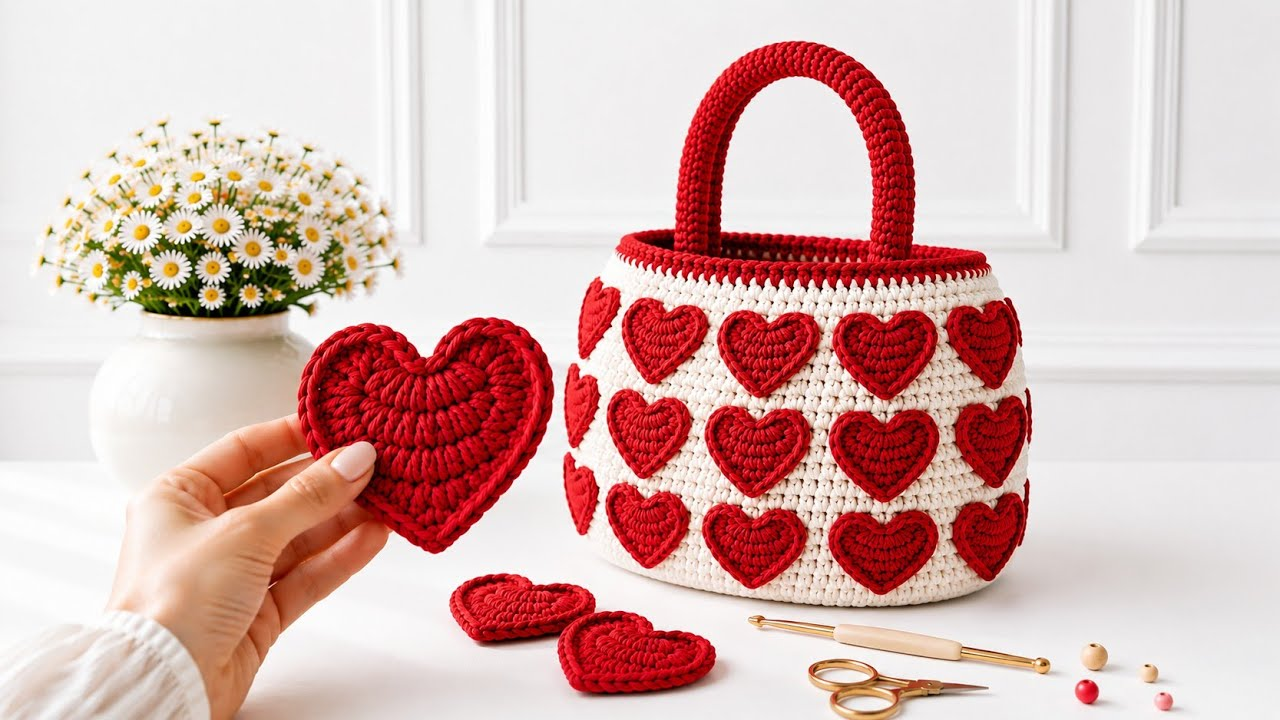
by Creating a Heart Bag Basket is a wonderfully charming project that combines the functional structure of a basket with a lovely romantic heart motif. Whether you use it as a tabletop storage basket, a Valentine’s Day decor piece, or adapt it into a novelty handbag, this beginner-friendly tutorial will guide you through crafting a sturdy, beautiful heart-shaped creation.
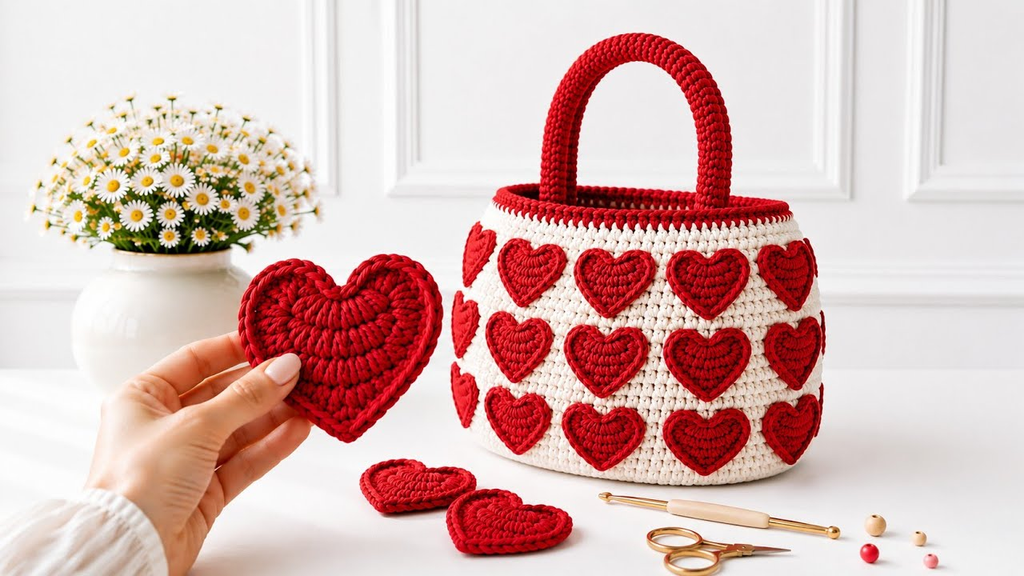
Here is your detailed, step-by-step masterclass on how to crochet a heart bag basket from scratch.
🧶 The Heart Basket Toolkit
- Yarn: T-shirt yarn, 3mm–5mm braided cotton cord, or Worsted weight 100% cotton yarn. For baskets, a thick, rigid cord or t-shirt yarn is ideal because it allows the walls to stand tall without collapsing.
- Hook: 5.0 mm to 6.0 mm (or 1.0 mm smaller than your yarn label recommends to keep your stitches exceptionally tight and structured).
- Stitch Key (US Terms):
- ch: Chain
- sl st: Slip Stitch
- sc: Single Crochet
- hdc: Half Double Crochet
- dc: Double Crochet
- inc: Increase (work 2 stitches in the same stitch)
🛠 Phase 1: Crafting the Flat Heart Base
To make a heart-shaped basket or bag, everything starts with a flat, rigid heart foundation.
- The Foundation Chain:
ch 10.
- Round 1 (Shaping the Heart):
- Work around the chain to build an oval/heart contour: Work
3 scin the 2nd chain from the hook. Work1 scin the next 3 chains,1 hdcin the next 2 chains, and3 dcin the final end chain. - Rotate to work along the opposite side of the foundation chain: Work
1 hdcin the next 2 chains,1 scin the next 3 chains, and3 scin the final corner. Join with asl st.
- Work around the chain to build an oval/heart contour: Work
- Round 2 & 3 (Expanding and Squaring the Top Lobes):
- To make the bottom point sharp and define the two top lobes of the heart, use strategic increases. Work
inc(2 sc or 2 hdc) at the sharp bottom point and at the centers of the two top curves, with even stitches in between. - Continue increasing each round until your flat heart base reaches your desired size (usually about 6 to 8 inches wide). Lay it flat to ensure it doesn’t cup or ripple.
- To make the bottom point sharp and define the two top lobes of the heart, use strategic increases. Work

🛠 Phase 2: Building the Basket Walls Upward
Once your flat heart base is complete, it is time to transition from a flat shape into 3D walls.
- The Turning Round:
- Work one round of
scby inserting your hook into the Back Loop Only (BLO) of the final base round. This creates a crisp, folded edge (or “hinge”) that forces your crochet stitches to turn upward rather than expanding outward.
- Work one round of
- The Wall Height:
- Work continuous rounds of Single Crochet (sc) or Waistcoat Stitch (knit stitch) straight up without any increases.
- Continue building the walls until your basket reaches your desired height (e.g., 4 to 5 inches deep).

👜 Phase 3: Transforming It Into a Bag (Optional)
If you want to wear your heart basket as a novelty Heart Bag, you can easily add straps and a closure:
- The Handles: On your final round, skip 6–8 stitches on each of the upper lobes of the heart,
ch 10, and anchor back down to create two sturdy top-handle loops. Work a round of single crochet over the chain spaces to thicken them. - The Closure: Sew a small magnetic snap or a cute loop-and-button closure right between the two upper lobes of the heart opening.

✨ Pro-Tips for a Boutique Finish
- The Steam Trick: If your heart shape looks a little soft or uneven, place your finished basket over a cardboard template cut into a heart shape, and steam it heavily with a garment steamer. As the cotton fibers cool, they will “lock” into a crisp, permanent heart contour.
- Rigid Support: For a basket that holds heavy items without flexing, cut a piece of thick cardboard or plastic canvas matching the exact shape of your heart base and slip it inside the bottom of your basket before finishing the walls.
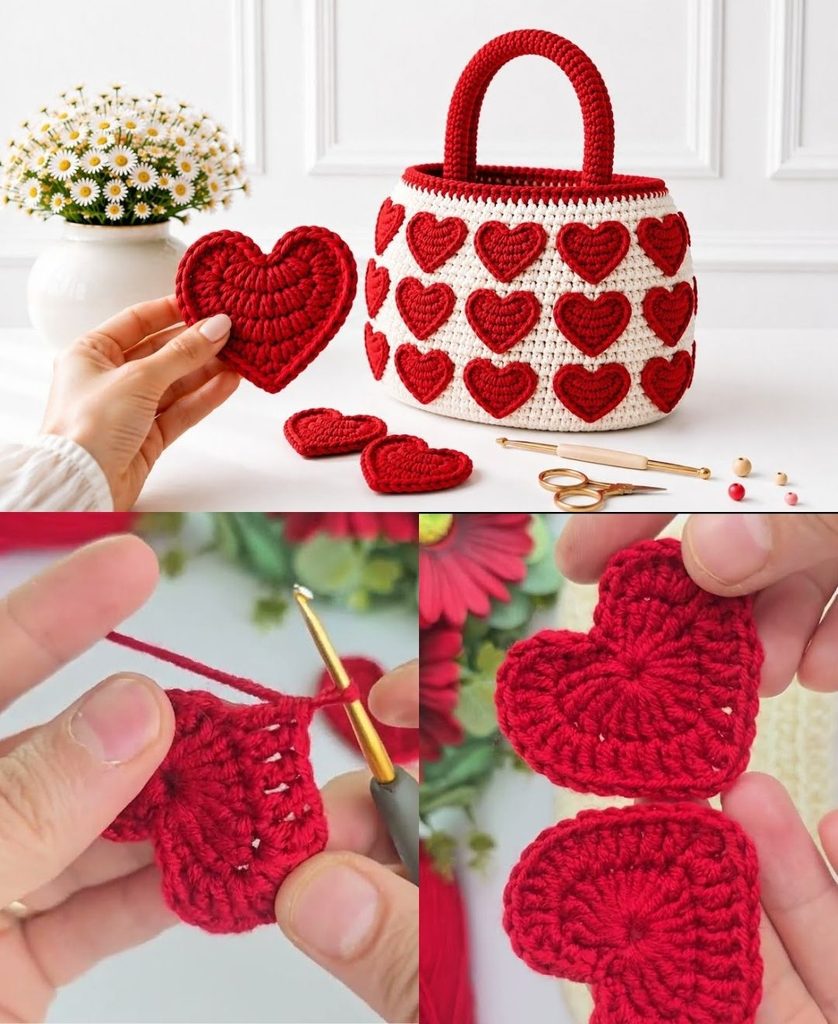
Video tutorial: