 by
by Creating a Beautiful Lace Clutch Bag is an exquisite way to combine delicate, airy stitchwork with high-end evening fashion. By using fine crochet thread and a structured internal framework, you can craft a sophisticated, boutique-quality accessory that looks remarkably professional.
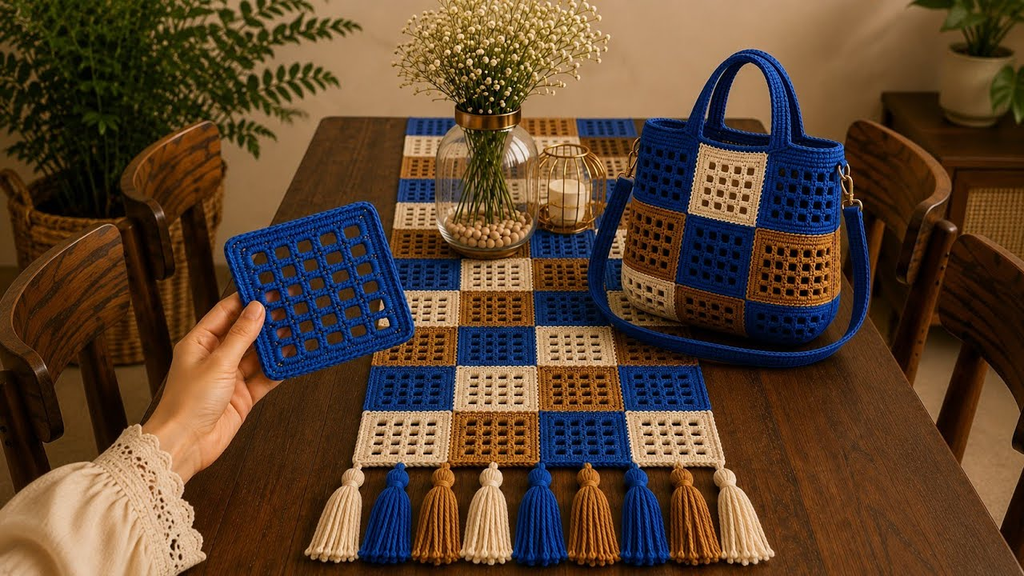
Here is your detailed, step-by-step masterclass on how to crochet a stunning lace clutch bag from scratch.
🧶 The Lace Clutch Toolkit
- Yarn: Size 3 or Size 10 Cotton Crochet Thread (or a fine mercerized bamboo-cotton blend). Thread gives lace stitches crisp, sharp definition that acrylic or bulky yarns simply cannot achieve.
- Hook: 2.0 mm to 2.5 mm. A small hook is essential to keep the lace open-work neat and structured.
- Extra Supplies:
- A metal clutch frame (purse frame) with sew-in holes or a zipper tape and fabric lining.
- Matching sewing thread and a tapestry needle.
- Stiff iron-on interfacing or plastic canvas mesh (crucial to prevent a lace bag from flopping).
🪡 Step 1: Crocheting the Lace Body Panel
Lace bags are typically worked in a flat rectangular panel that is later folded or joined to form the pouch, or worked directly in the round depending on the pattern. Let’s create a classic Open Pineapple or V-Stitch Lace Panel:
- The Foundation:
ch 51(or a multiple of stitches required for your chosen lace repeat plus turning chains).
- Row 1 (Base Mesh):
- Work
1 dcin the 4th chain from the hook,ch 2, skip 2 chains,1 dcin the next chain. Repeat across to create a foundational filet mesh row. Turn.
- Work
- Row 2 (The Lace Pattern / V-Stitch or Shells):
ch 3(counts as dc), work(1 dc, ch 2, 2 dc)into the first mesh space (shell created). Skip the next space, and work another shell in the following space. Repeat across the row to create a gorgeous, airy texture. Turn.
- Growing the Panel:
- Continue repeating your lace rows until the panel reaches the desired dimensions for your clutch (typically a rectangle measuring about 10–12 inches wide by 14–16 inches long, so it can be folded in half). Fasten off.

🌟 Step 2: Structural Reinforcement (The Secret to High-End Clutches)
Because lace is inherently soft and stretchy, a lace clutch will not hold its shape on its own when filled with a phone and keys.
- The Interfacing Layer: Cut a piece of firm sew-in or iron-on interfacing (or clear plastic canvas mesh) to match the exact dimensions of your crocheted lace rectangle.
- The Fabric Lining: Cut a piece of high-end silk, satin, or tight cotton fabric slightly larger than your mesh.
- Sandwiching: Layer your structural backing behind your fabric lining, and hand-stitch or machine-stitch your crocheted lace panel securely over the front of the lined structure. This allows the intricate lace pattern to pop against the colored fabric background while keeping the bag completely rigid.

👜 Step 3: Assembly & Adding the Closure
- Forming the Pouch:
- If using a fold-over design, fold your reinforced rectangle in half and slip-stitch or whip-stitch the left and right side seams closed using matching thread.
- Attaching the Frame or Zipper:
- Option A (Metal Kiss-Lock Frame): Align the top open edges of your lined lace pouch inside the channel of a metal purse frame. Using a double-strand of strong matching thread and a sturdy needle, whip-stitch tightly through the pre-drilled holes of the frame and all layers of your bag (lace, lining, and interfacing).
- Option B (Zipper Closure): Pin a matching zipper tape along the top inner opening of the bag and meticulously hand-sew it in place so the lace edges meet cleanly at the center teeth.
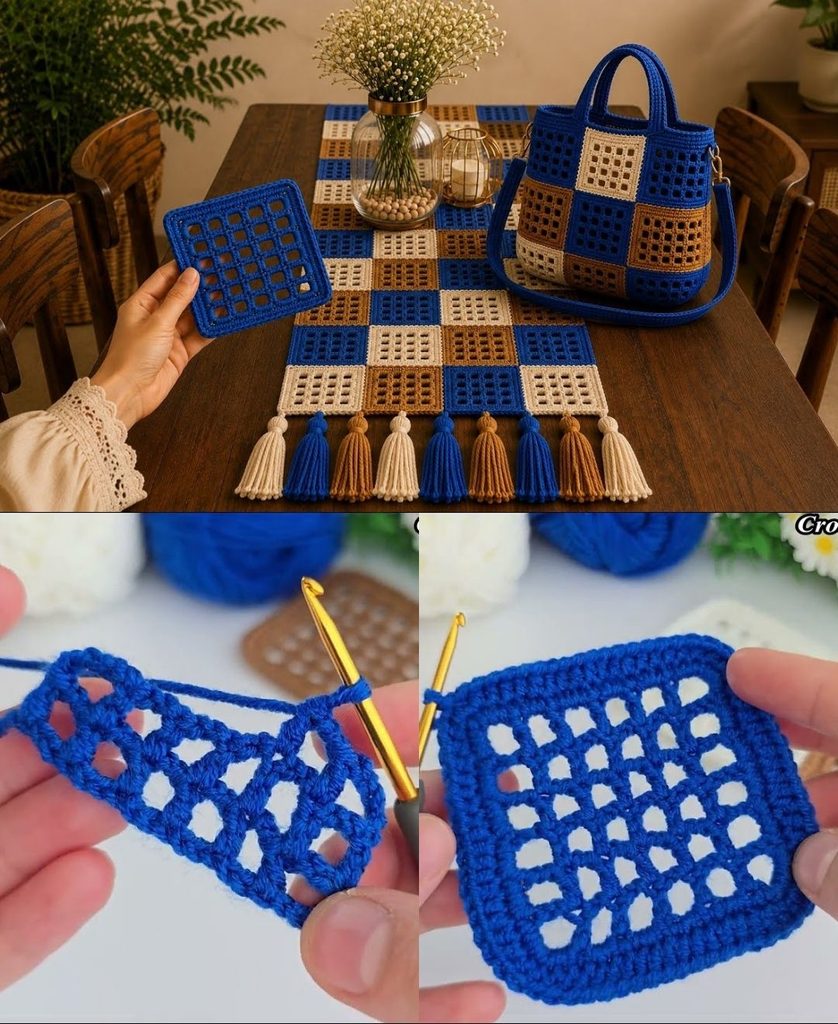
✨ Pro-Tips for a Boutique Finish
- Block Before Assembly: Before you sew your lace panel to any fabric lining or frame, pin it flat to blocking boards, spray it heavily with water or fabric stiffener, and let it dry completely. This opens up the lace loops and aligns the geometry perfectly.
- Monochrome Elegance: Lace clutches look most expensive when crafted in classic, solid colors—such as optic white, champagne, jet black, or deep navy—paired with a contrasting satin lining (like a gold lining behind black lace).
Video tutorial: