 by
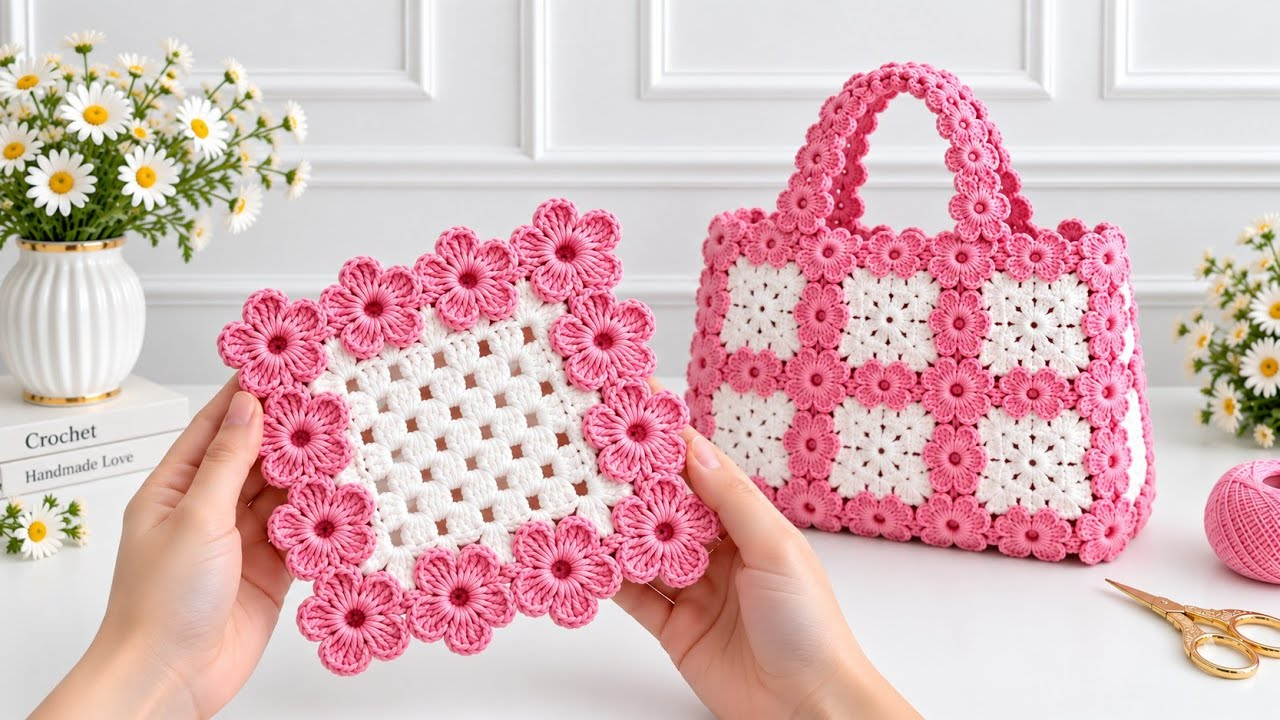
by Creating a matching set of a Coaster and a Supla (table charger/placemat) is one of the most satisfying, quick, and practical home decor projects you can undertake. By using a super easy, repetitive stitch pattern, you can craft a cohesive tablescape that looks like it came straight out of a high-end home boutique.
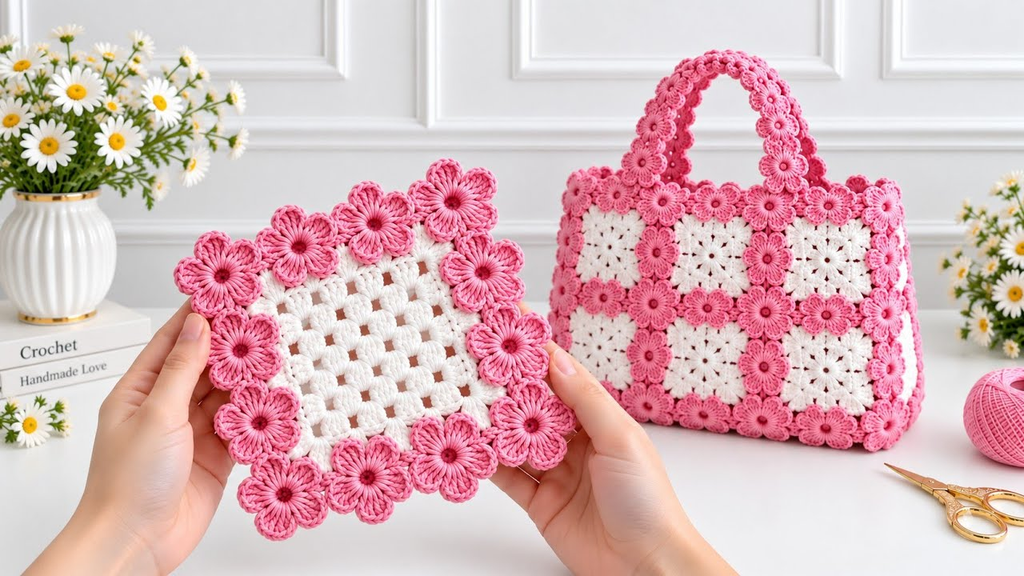
Here is your detailed, step-by-step masterclass on how to crochet a beautiful coaster and matching supla from scratch, designed to be completely beginner-friendly.
🧶 The Toolkit for Coasters & Suplas
- Yarn: 100% Cotton Yarn (Worsted weight or Aran). Cotton is mandatory for coasters and suplas because it is heat-resistant, absorbent, and can withstand warm mugs and dinner plates without melting or stretching.
- Hook: 4.5 mm or 5.0 mm. A slightly firm hook size ensures your stitches are even and the fabric lies completely flat.
- Stitch Key (US Terms):
- ch: Chain
- sl st: Slip Stitch
- sc: Single Crochet
- hdc: Half Double Crochet
- dc: Double Crochet
☕ Part 1: The Super Easy Coaster (approx. 4 inches wide)
Coasters are essentially miniature circles. We will use a foolproof, flat-circle pattern that works up in just a few rounds.
- Round 1 (The Center):
ch 4, join with asl stto form a ring.ch 2(counts as first hdc), and work 11 hdc directly into the ring. Join with asl stto the top of the initial chain. (12 stitches total). - Round 2 (The First Expansion):
ch 2. Work 2 hdc in every stitch all the way around. Join with asl st. (24 stitches total). - Round 3 (The Shaping Round):
ch 2. Work 1 hdc in the first stitch, then work 2 hdc in the next stitch. Repeat this pattern(1 hdc, then 2 hdc)all the way around. Join with asl st. (36 stitches total). - Round 4 (The Decorative Border): To give it a polished, boutique finish, switch to a contrasting color (or keep the same). Work a Crab Stitch (Reverse Single Crochet) or a simple Slip Stitch loosely in every stitch around the outer edge. Fasten off and weave in your ends.

🍽 Part 2: The Matching Supla / Placemat (approx. 12–14 inches wide)
A supla (table charger) uses the exact same mathematical circle expansion as your coaster, just scaled up to fit a dinner plate.
- Round 1:
ch 4, join to form a ring.ch 2, work 11 hdc in the ring. Join. (12 sts) - Round 2:
ch 2, work 2 hdc in every stitch around. Join. (24 sts) - Round 3:
ch 2, 1 hdc in next st, 2 hdc in next st around. Join. (36 sts) - Round 4:
ch 2, 1 hdc in next 2 sts, 2 hdc in next st around. Join. (48 sts) - Round 5:
ch 2, 1 hdc in next 3 sts, 2 hdc in next st around. Join. (60 sts) - Rounds 6 through 10 (Continuing the Expansion):
- Round 6: 1 hdc in next 4 sts, 2 hdc in next st around. (72 sts)
- Round 7: 1 hdc in next 5 sts, 2 hdc in next st around. (84 sts)
- Round 8: 1 hdc in next 6 sts, 2 hdc in next st around. (96 sts)
- Round 9: 1 hdc in next 7 sts, 2 hdc in next st around. (108 sts)
- Round 10: 1 hdc in next 8 sts, 2 hdc in next st around. (120 sts)
- The Supla Border: Finish your supla with the exact same decorative border you used on your coaster (e.g., a contrasting slip-stitch edge or a textured picot border) to tie the set together.

✨ Pro-Tips for a Flawless Finish
- The Flatness Test (Crucial!): Lay your supla or coaster flat on a table every two rounds. If the edges begin to curl upward into a bowl shape (cupping), you are increasing too slowly. If the edges ruffle and wave like a skirt, you are increasing too fast. Adjust your tension or add/subtract an increase if needed.
- Steam Blocking (The Secret Weapon): Because cotton yarn can sometimes pucker slightly after crocheting, pin your finished coasters and suplas to a flat surface, spray or steam them heavily, and let them dry completely. This locks the stitches into a crisp, perfectly flat circle that sits neatly under dinnerware.
- Matching Sets: Make a set of 4 or 6 coasters and matching suplas using a neutral base color (like cream, jute, or beige) with a delicate seasonal accent color on the borders for an effortlessly elegant dining table setup.
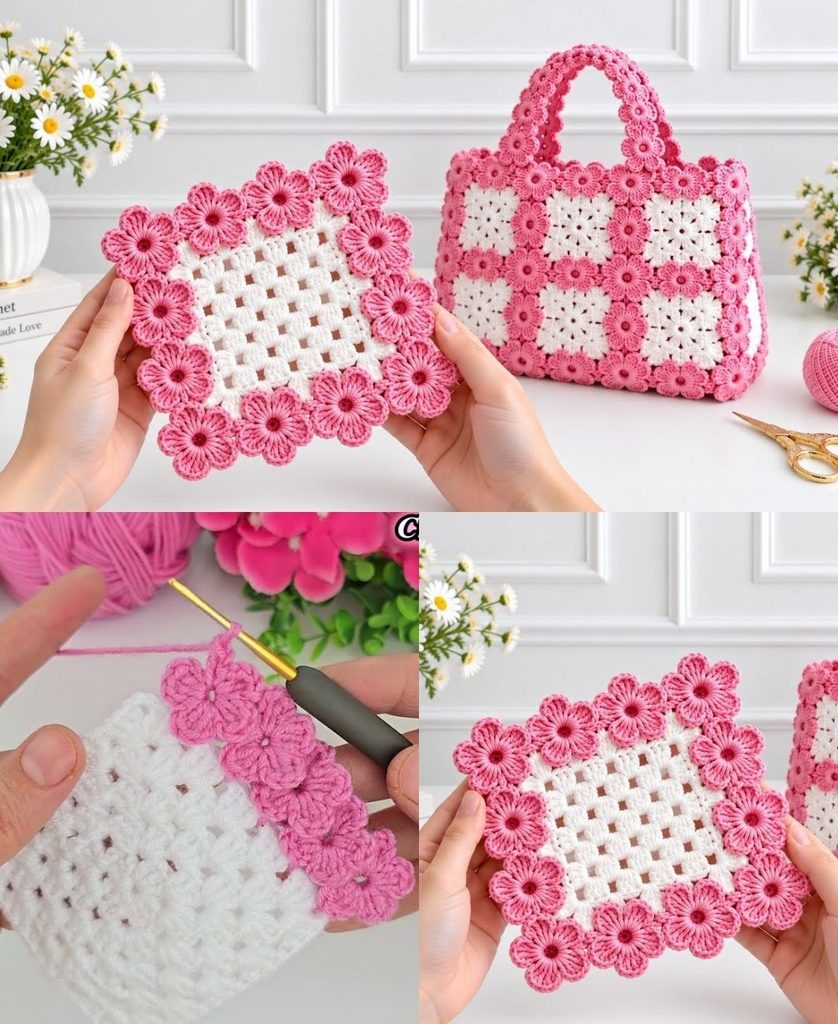
Video tutorial: