 by
by Creating a Crochet Daisy Keychain That Turns Into a Bouquet is one of the most clever, charming, and viral craft projects in the fiber arts world. The concept is simple yet brilliant: you crochet several miniature daisy keychains that individually serve as adorable bag charms or key accessories, but when gathered together, wrapped in a mini crochet paper cone, and bundled with a ribbon, they transform into a whimsical, portable mini flower bouquet!
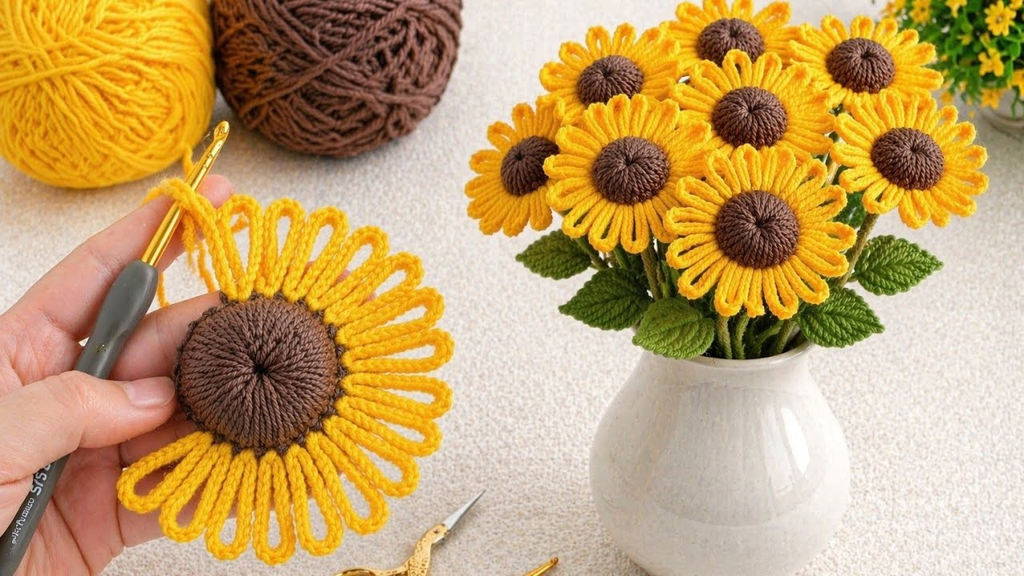
Here is your detailed, step-by-step masterclass on how to crochet, assemble, and package this delightful transforming daisy keychain bouquet from scratch.
🧶 The Transforming Daisy Bouquet Toolkit
- Yarn:100% Mercerized Cotton Yarn (Sport weight, DK, or Crochet Thread Size 3/10). Cotton yarn is essential for keychains because it resists pilling, prevents fuzzing from keys rubbing against it, and keeps the tiny daisy petals crisp and rigid.
- Palette:
- Daisy Centers: Sunny yellow.
- Daisy Petals: Crisp white.
- Stems & Leaves: Botanical leaf green.
- Wrapping Cone: Kraft brown, soft pink, or pastel mint cotton.
- Palette:
- Hook: 2.0 mm, 2.5 mm, or 3.0 mm. A smaller hook creates a tight, dense gauge, ensuring your mini daisies hold their shape under daily use.
- Hardware & Extra Supplies:
- Mini keyrings with small lobster claw clasps (one for each daisy).
- 28-gauge floral wire (optional, for making poseable stems if you want them to stand stiffly in the bouquet).
- Tapestry needle, sharp scissors, and a hot glue gun (or fabric glue).
- A tiny length of satin ribbon or twine for the final bouquet bow.

🌼 Step 1: Crocheting the Mini Daisy Keychain
You will need to make 3 to 5 mini daisies to form your bouquet. Each individual daisy functions as a standalone keychain!
- The Center Core:
- With your yellow yarn, make a Magic Ring (or
ch 3and join with asl st). ch 1, and work 8 single crochets (sc) into the ring. Pull tight to close and join with asl st. Fasten off yellow.
- With your yellow yarn, make a Magic Ring (or
- The White Petals:
- Attach your white yarn into any stitch of the yellow center.
ch 3, work1 dcin that same stitch,ch 2, and work1 sl stback into that same stitch. (This forms your first petal).- Slip stitch (
sl st) into the next stitch. Repeat the petal sequence (ch 3, 1 dc, ch 2, 1 sl st) in every stitch around. - You will end up with 8 plump, delicate white petals framing the yellow center. Join with a slip stitch, fasten off, and weave in ends.
- Attaching the Keychain Hardware:
- Securely attach a small jump ring or lobster claw keychain clasp directly through the top edge of one of the white petals. Now you have a fully functional daisy keychain!
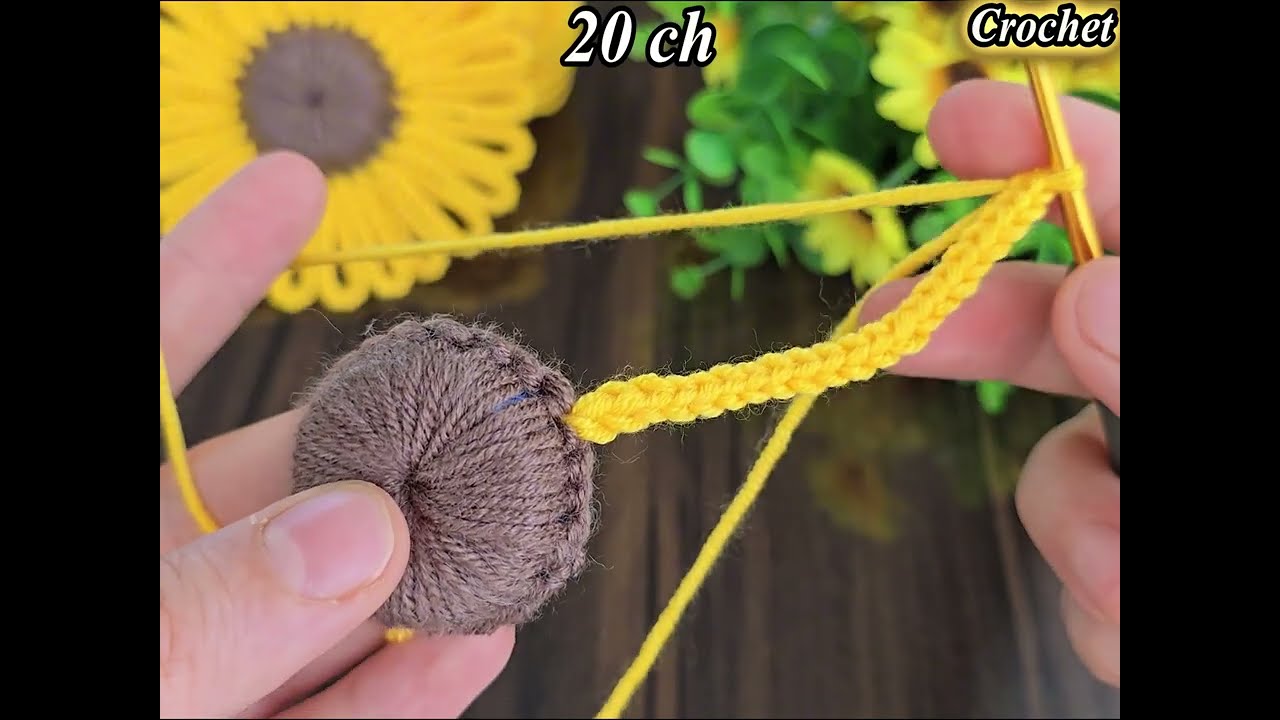
🌿 Step 2: Crafting the Miniature Stems and Leaves
To make your keychains double as bouquet stems, you can crochet a set of slender green stem tubes or use wired floral stems wrapped in green yarn.
- The Cord Stem:
- With your botanical green yarn, leave a 6-inch starting tail and chain (
ch) 25 to 35 stitches (depending on how long you want your bouquet stems to be). - Starting from the 2nd chain from the hook, work slip stitches (
sl st) all the way back down the chain. This creates a sturdy, rigid little green cord that acts as a stem. Fasten off, leaving a long tail.
- With your botanical green yarn, leave a 6-inch starting tail and chain (
- Mounting the Stem to the Daisy:
- Using your tapestry needle, securely sew the top tail of the green stem directly to the back center of your finished daisy. Make 3 to 5 stemmed daisies.
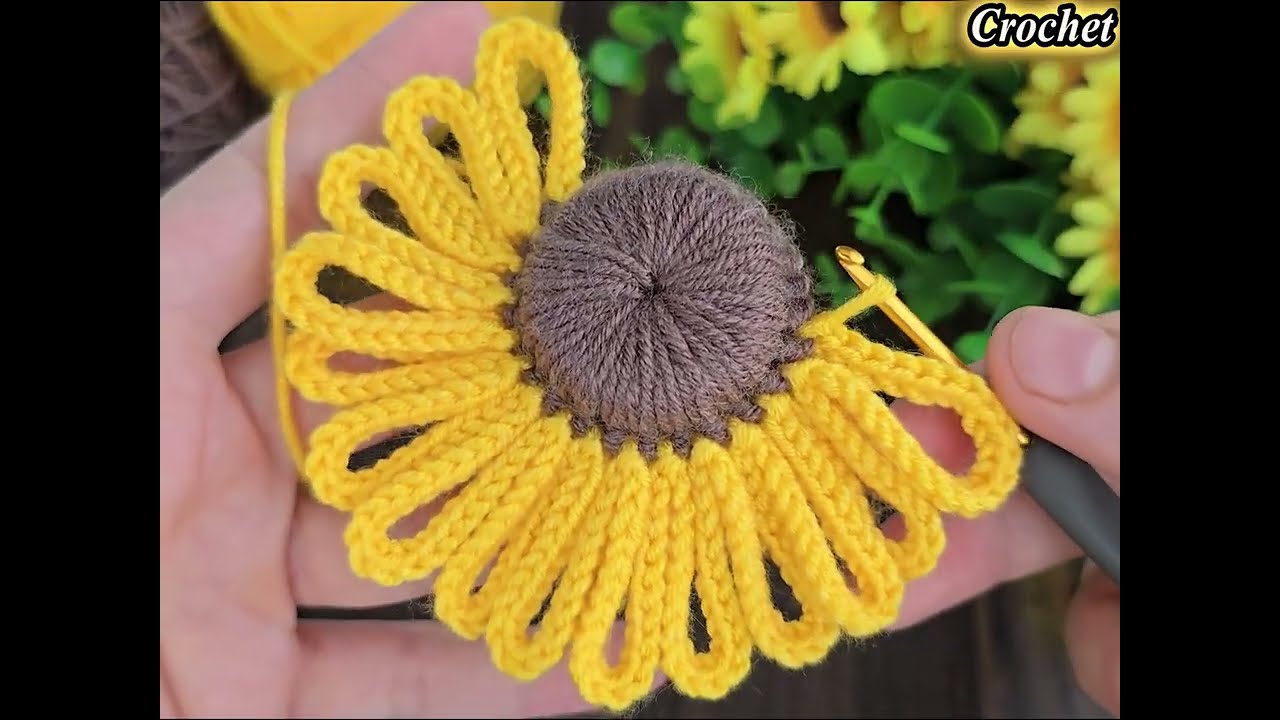
🗞️ Step 3: Crocheting the Mini Bouquet Cone (Wrapper)
Instead of using real paper, we crochet a miniature cone wrapper so the entire set remains a cohesive fiber art piece!
- With your wrapping color (e.g., kraft brown or pink), start at the pointed bottom tip:
ch 4, join to form a ring. - Work rows of half-double crochet or extended single crochet, increasing evenly every row on the sides to form a flat, triangular wedge or a small open cone pocket.
- Fasten off when the cone is roughly 3 to 4 inches tall—just wide enough to cradle the lower stems of your bundled daisies.
🎁 Step 4: Transforming from Keychain to Bouquet (and Back!)
The real magic happens in how you package and display your creation:
- Assembling the Bouquet:
- Gather your 3 to 5 daisy keychains by their green stems, staggering their heights slightly so the flowers fan out in a natural dome shape.
- Slip the bottom stems down into your crocheted mini bouquet cone wrapper.
- Securing & Gifting:
- Wrap a dainty satin ribbon or piece of rustic twine around the cone and stems, tying it into a neat little bow.
- The Transformation: When your recipient wants to use their gift, they simply untie the ribbon, pull the individual daisies out of the cone wrapper, unclip the lobster clasps, and clip the daisies onto their keys, purse, or backpack! When not in use, they slide right back into the mini cone display on a desk or shelf.
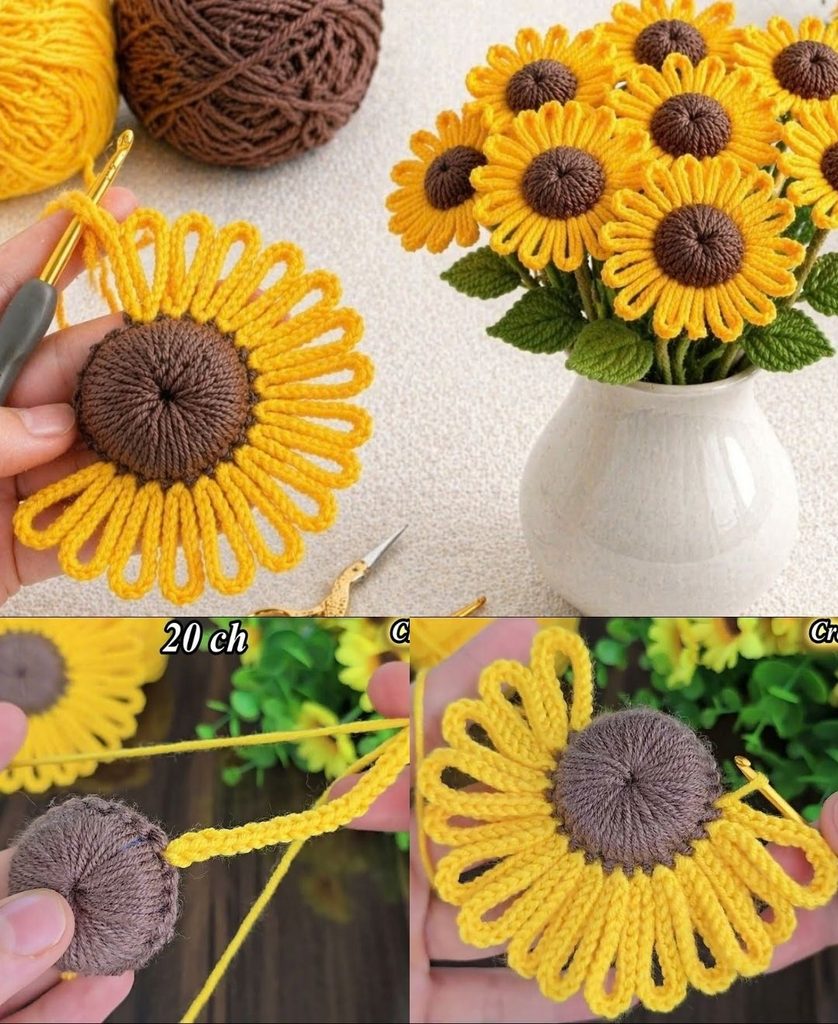
✨ Pro-Tips for Maximum Charm
- Stiffen the Cone: Lightly apply fabric stiffener or spray starch to the crocheted cone wrapper so it holds its crisp, triangular florist shape without collapsing.
- Include a Mini Tag: Attach a tiny card that reads “You’re my favorite bunch” or “Unclip and Bloom” to complete the ultimate boutique gift experience!