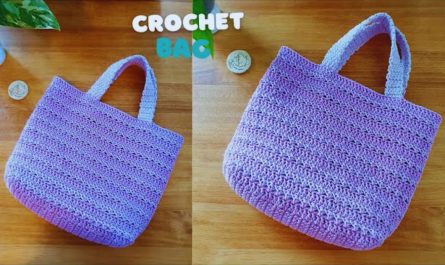
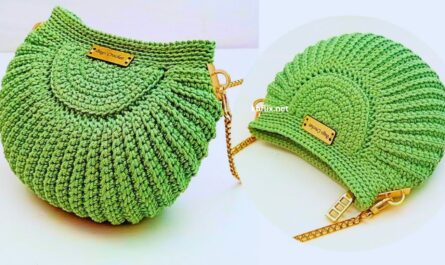
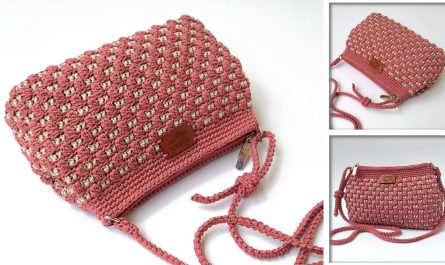
Get ready to turn those colorful yarn scraps into a fabulous and functional summer tote bag! This project is a fantastic way to use up your leftover bits of yarn, creating a unique, eco-friendly accessory that’s perfect for sunny days, beach trips, or farmers’ market hauls. It’s surprisingly easy, making it ideal for crocheters of all levels.
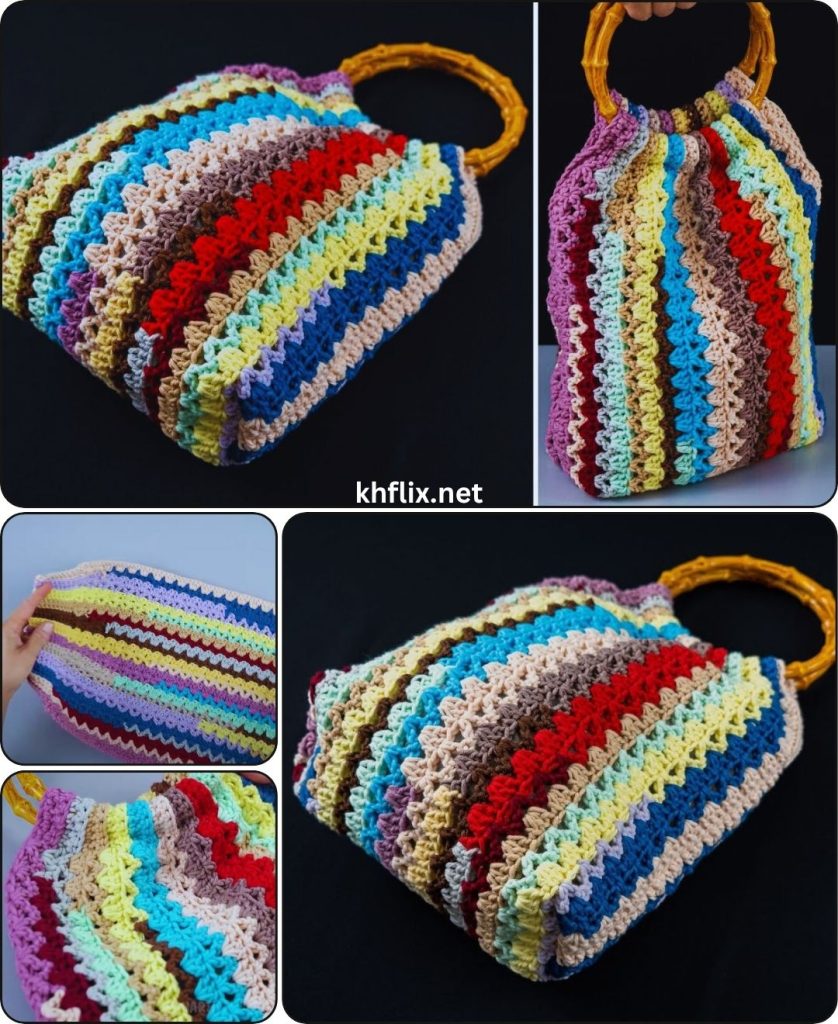
How to Crochet a Summer Tote Bag from Yarn Scraps Easily
This detailed tutorial will guide you step-by-step through crocheting a charming and practical bag that celebrates the vibrant variety of your yarn stash. We’ll focus on a simple design that highlights the varied colors, making each bag truly one-of-a-kind.
Skill Level: Beginner
This project is perfect if you’re comfortable with (or ready to learn!):
- Chain (ch): The basic foundation of crochet.
- Slip Stitch (sl st): For joining rounds.
- Single Crochet (sc): A dense, sturdy stitch, great for bag bases and handles.
- Half Double Crochet (hdc): A slightly taller stitch that works up quickly and creates a lovely fabric for the bag’s body.
- Working in rounds: Crocheting in a circular fashion.
- Changing colors: This is where your scraps really shine! We’ll cover how to switch yarn colors neatly.
- Fastening off: Securing your yarn so your work doesn’t unravel.
- Weaving in ends: The essential finishing touch for a neat project.
Finished Bag Dimensions (Approximate):
The size will vary depending on your yarn scraps and how many rows you crochet, but a typical summer tote following this pattern might be around:
- Base: 12 inches (30 cm) wide by 4 inches (10 cm) deep oval
- Height: 12-14 inches (30-35 cm) (excluding handles)
- Handles: 8-10 inches (20-25 cm) tall loop
You can easily adjust the size by changing the starting chain length for the base or the number of rows for the body.
Materials You’ll Need:
Gathering your materials beforehand will ensure a smooth and enjoyable crocheting session.
- Yarn Scraps! This is the star of the show. Gather any worsted weight (medium #4) or DK/light worsted (light #3) yarn scraps you have.
- Tip for scraps: Try to use scraps of similar thickness/weight. Mixing vastly different weights (e.g., super bulky with fingering weight) can make your fabric uneven. Cotton and cotton blends are ideal for summer bags as they’re breathable and hold shape well, but acrylic scraps work wonderfully too!
- Quantity: You’ll likely need a total of about 450-600 yards (410-550 meters), but don’t worry about having full skeins of each color. Just use what you have! Embrace the eclectic nature of a scrap yarn project.
- Crochet Hook: Size H/5.0mm for worsted weight, or G/4.0mm for DK/light worsted. Choose a hook that creates a firm, dense fabric with your chosen yarns, so the bag holds its shape.
- Yarn Needle (Tapestry Needle): Essential for seamlessly weaving in all your loose yarn tails – and with scrap yarn, you’ll have quite a few! It has a blunt tip and a large eye.
- Scissors: Any sharp pair of scissors.
- Stitch Marker (Optional but Recommended): Very helpful for marking the first stitch of each round when working the base in a spiral.
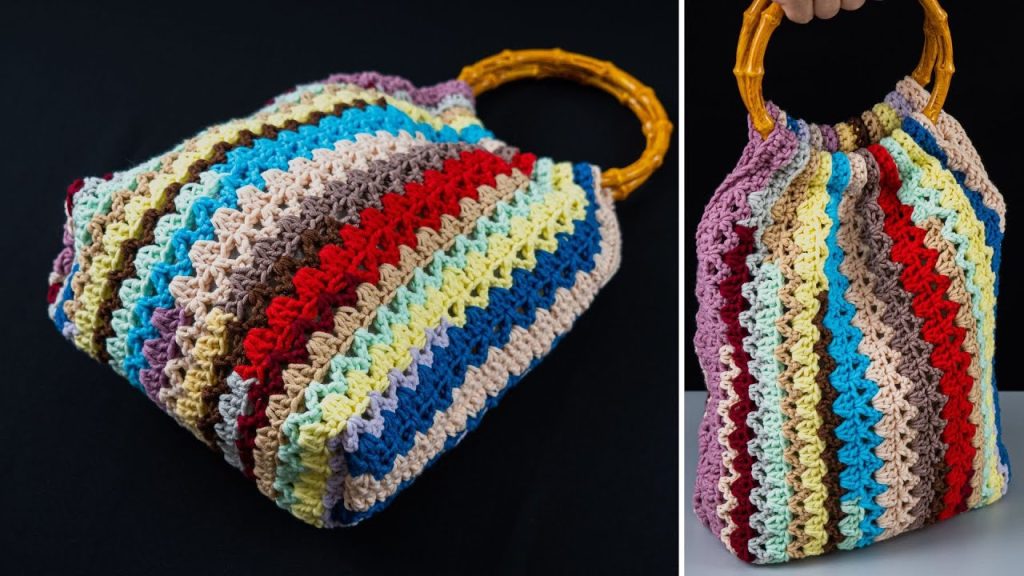
Let’s Crochet Your Multicolor Summer Tote Bag!
We’ll build this bag from the bottom up: starting with a strong oval base, then working the body of the bag upwards with your vibrant yarn scrap stripes, and finally adding comfortable, integrated handles.
Part 1: The Oval Base
You’ll create a flat, sturdy oval shape that forms the bottom of your tote bag. We’ll achieve this by working around a starting chain. You can use one solid color for the base, or jump right into your scraps if you have a longer piece.
- Starting Chain:
- Make a slip knot with your first yarn scrap color and place it onto your hook.
- Chain (ch) 25. (This length determines the initial width of your bag. If you want a wider or narrower bag, adjust this chain length. It should always be an odd number.)
- Round 1 (Working around the chain):
- Work 2 single crochet (sc) stitches into the 2nd chain from your hook.
- (Optional: Place a stitch marker in the first sc you just made. This will be the first stitch of your round for tracking.)
- Work 1 sc into each of the next 22 chains.
- In the last chain (the 25th chain from your hook): Work 4 sc into this single chain. This neatly turns the corner.
- Now, work back down the other side of your starting chain, into the bottom loops.
- Work 1 sc into each of the next 22 stitches.
- In the last stitch (the same chain where you placed your first 2 sc): Work 2 sc into this chain. This turns the other corner.
- You should now have a total of 52 sc stitches (2+22+4+22+2). Do NOT join with a slip stitch yet. For the base, you’ll work in continuous rounds (spirals) to avoid a visible seam.
- Round 2 (Continuing the Oval Shape):
- Work 2 sc into the first stitch of the round (where your stitch marker is).
- (If using, move your stitch marker to this new first sc of the round.)
- Work 1 sc into the next stitch.
- Work 1 sc into each of the next 22 stitches.
- Work 2 sc into each of the next 3 stitches.
- Work 1 sc into each of the next 22 stitches.
- Work 2 sc into each of the next 2 stitches.
- You should now have 58 sc stitches. Continue working in continuous rounds.
- Round 3 (Final Base Round):
- Work 2 sc into the first stitch of the round (where your stitch marker is).
- (If using, move your stitch marker to this new first sc of the round.)
- Work 1 sc into the next 2 stitches.
- Work 1 sc into each of the next 22 stitches.
- Work 2 sc into each of the next 3 stitches.
- Work 1 sc into each of the next 2 stitches.
- Work 1 sc into each of the next 22 stitches.
- Work 2 sc into each of the next 2 stitches.
- You should now have 64 sc stitches.
- Stop here! When you finish the last sc of this round, remove your stitch marker.
- Slip stitch (sl st) into the first sc of this round to join. This flattens the end of the round and prepares for working straight up the sides of the bag.
- Fasten off your current yarn color, leaving a 4-inch (10 cm) tail for weaving in.
Part 2: Building the Body of the Bag (Multicolor Scraps)
Now, you’ll work straight up the sides of the bag, using your yarn scraps to create a vibrant striped pattern. You’ll work in joined rounds to maintain a neat seam. This is where the fun begins with your colors!
- Round 4 (First Side Round – with your next scrap color):
- Choose your next yarn scrap color. Join it with a slip stitch (sl st) into the same stitch where you just fastened off the previous color.
- Chain 2 (ch 2 – counts as your first half double crochet (hdc)).
- Work 1 hdc into the back loop only (BLO) of each stitch around the entire round. (64 hdc)
- Why BLO? Working into the back loop creates a nice, defined edge that helps the bag sides stand up straight from the base, giving a crisp corner.
- Crucial Step: Color Change! When you make the very last half double crochet of this round (the 64th hdc), stop when you have two loops left on your hook.
- Drop your current yarn color. Pick up your next yarn scrap color.
- With the new color, yarn over and pull through both loops on your hook to complete the stitch. The new color is now active on your hook.
- Now, complete the round by doing a slip stitch (sl st) with your new color into the top of the beginning ch 2 you made at the beginning of this round.
- Fasten off the previous color, leaving a 4-inch (10 cm) tail for weaving in.
- Rounds 5 and Onwards (Body Height with Scraps):
- Chain 2 (ch 2 – counts as your first hdc).
- Work 1 hdc into each stitch around the round. (64 hdc)
- Color Change! When you make the very last half double crochet of this round, stop when you have two loops left on your hook.
- Drop your current color. Pick up your next yarn scrap color.
- With the new color, yarn over and pull through both loops on your hook to complete the stitch. Your new color is now active on your hook.
- Now, complete the round by doing a slip stitch (sl st) with your new color into the top of the beginning ch 2 you made at the beginning of this round.
- Fasten off the previous color, leaving a 4-inch (10 cm) tail for weaving in.
- Continue with your scraps!
- Repeat the process from Step 2, changing to a new scrap color for each new round, every two rounds, or whenever your current scrap runs out!
- Keep going until your bag reaches your desired height (approximately 25-30 rows total for the body, after the base).
- Embrace the randomness! The beauty of a scrap yarn bag is its unique, eclectic mix of colors and varying stripe thicknesses.
- End with a color that you have enough of for the handles, or a sturdy neutral.
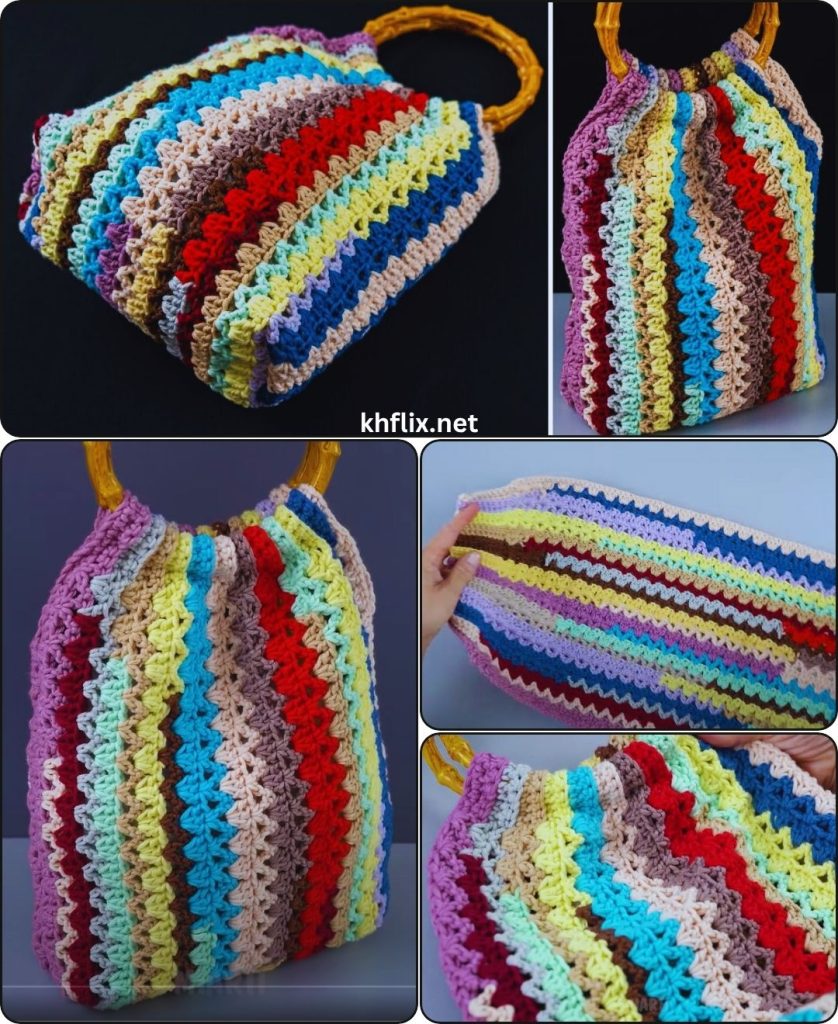
Part 3: Creating the Handles
The handles will extend directly from the top of your bag, using single crochet stitches for a consistent and sturdy look.
- Round for Handle Placement:
- After your last body round (with your chosen handle color active on your hook), chain 1 (does not count as a stitch).
- Work 10 single crochet (sc) stitches. (This positions the stitches for the first handle’s attachment point on the front of the bag).
- Chain 35 (ch 35 – this creates the length of your first handle. Adjust this number to make the handle longer or shorter for shoulder or hand carrying).
- Skip the next 12 stitches. (This creates the open space for the bag’s opening).
- Work 20 sc stitches. (This will take you across the back/front to the other side for the second handle).
- Chain 35 (ch 35 – this creates the length of your second handle).
- Skip the next 12 stitches.
- Work 10 sc stitches. (This should bring you back to the start of the round).
- Slip stitch (sl st) into the first sc of this round to join.
- Round for Handle Finishing (Strengthening):
- Chain 1.
- Work 1 sc into each of the 10 sc stitches from the previous round.
- Now, work 35 sc stitches around your chain-35 handle loop. Make sure to work into the chain itself and not just the top. This reinforces the handle and makes it sturdy.
- Work 1 sc into each of the 20 sc stitches between the handles.
- Work 35 sc stitches around the second chain-35 handle loop.
- Work 1 sc into each of the remaining 10 sc stitches.
- Slip stitch (sl st) into the first sc of the round to join.
- Fasten Off:
- Cut your yarn, leaving a 6-inch (15 cm) tail.
- Yarn over with your hook, pull the cut tail completely through the loop left on your hook, and gently tug to secure the knot.
Part 4: Final Finishing Touches
- Weave in All Ends:
- This is the most crucial step for a neat and professional-looking bag, especially with so many color changes! You’ll have tails from your starting chain, from every single color change, and the final fasten-off from the handle.
- Use your yarn needle to meticulously weave in every loose yarn tail.
- How to Weave Neatly: Thread the yarn tail onto your yarn needle. Weave the tail into the stitches of the same color as the tail. Go in one direction for at least 1-2 inches (2.5-5 cm). To truly secure it, subtly change direction (e.g., weave along a stitch, then turn and weave back through some of the same stitches diagonally or perpendicularly) to “lock” the tail in place and prevent it from unraveling. Trim any excess yarn close to the fabric, being careful not to cut any of your actual stitches.
- Blocking (Optional):
- Blocking can significantly improve the shape, even out any tension inconsistencies, and give your bag a more polished, professional look. It helps the bag stand up nicely.
- Method: Gently mist the bag evenly with cool water using a spray bottle until it’s damp but not soaking wet. Stuff the bag lightly with tissue paper, old t-shirts, or a small towel to help it hold its intended shape (especially the corners and handles). Allow the bag to air dry completely and thoroughly in a well-ventilated area. This might take a day or two.
- Optional: Bag Lining:
- For extra durability and to prevent small items from slipping through the stitches, consider adding a fabric lining. This is a separate sewing step. Measure the finished dimensions of your crocheted bag. Cut fabric pieces slightly larger, sew them into a matching pouch, and then hand-stitch or machine-stitch it inside your crocheted bag.
Congratulations! You’ve successfully crocheted a beautiful, unique, and eco-friendly Multicolor Summer Tote Bag from Yarn Scraps! You’ve transformed those little bits of yarn into a functional work of art.
How will you enjoy your vibrant new summer tote?


