 by
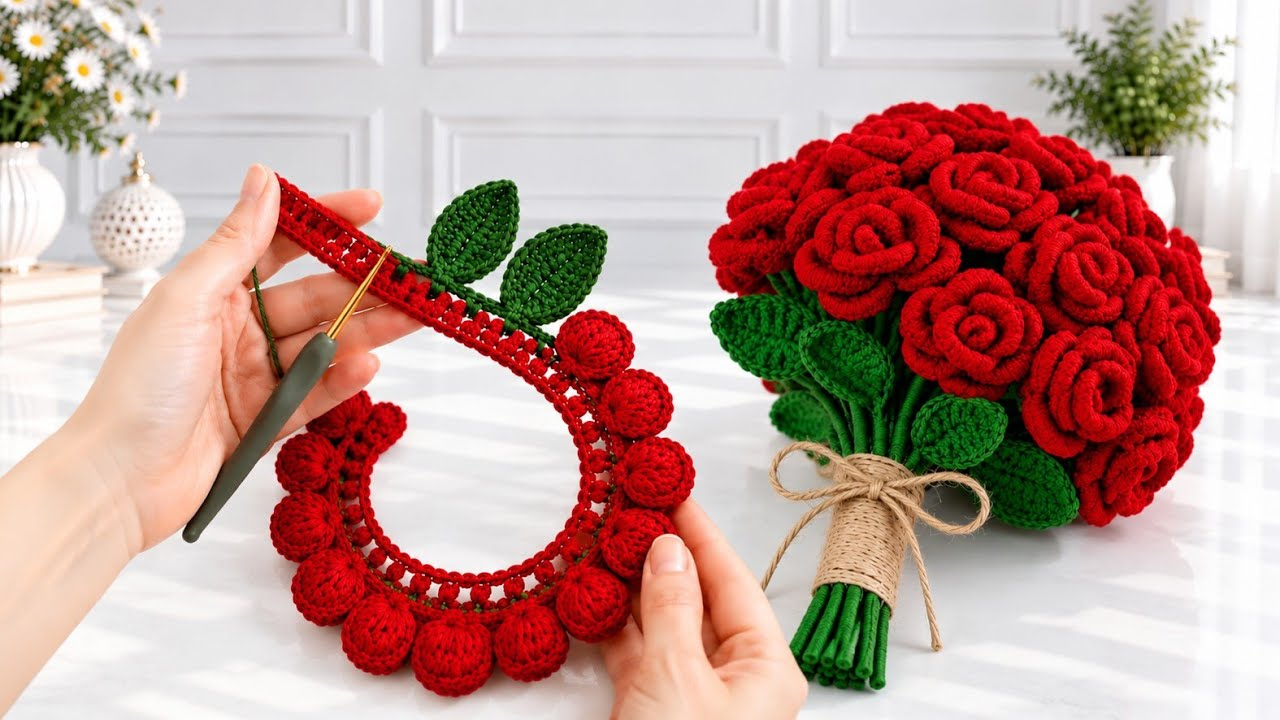
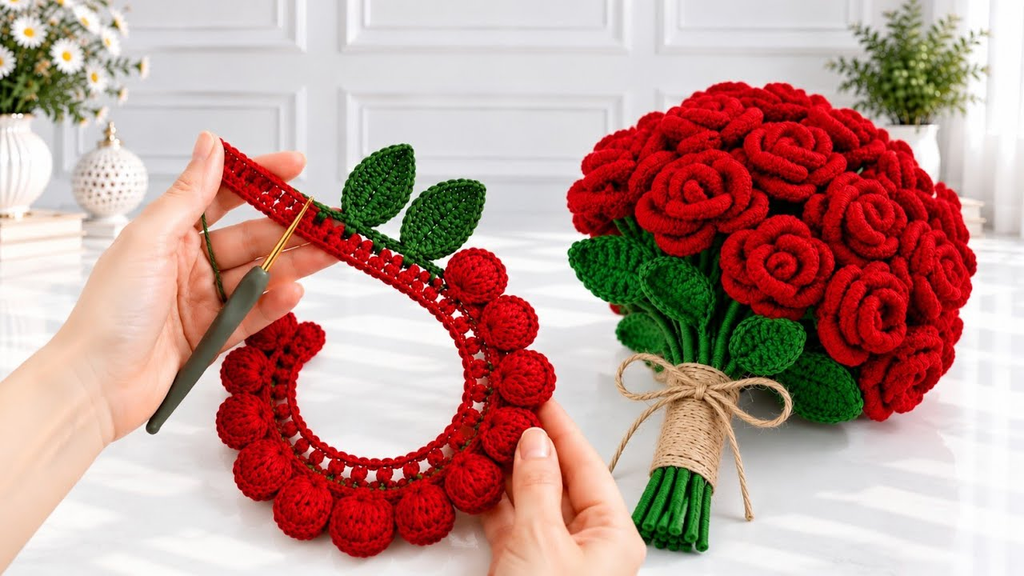
by Creating a stunning crochet rose flower bouquet is one of the most rewarding and enduring projects you can undertake. Unlike fresh blooms that fade in a week, a handmade crochet bouquet lasts forever, offering a timeless piece of decor or a deeply meaningful, sentimental gift.
To achieve a professional, hyper-realistic, and high-end look, the secret lies in fine-grain yarn, structured shaping, and proper wire support. Here is your complete masterclass on how to craft a breathtaking crochet rose bouquet from scratch.
🧶 The Professional Bouquet Toolkit
- Yarn:Sport weight or DK 100% cotton yarn. Avoid heavy acrylic yarns, as they tend to look fuzzy and lack the crisp definition needed for realistic petals.
- Colors: A rich rose hue (deep red, dusty pink, peach, or ivory) and a rich foliage green.
- Hook: 2.5 mm or 3.0 mm. Using a hook smaller than the yarn weight recommends is crucial; it creates tight, compact stitches that prevent the petals from flopping over.
- Realism Supplies:
- 18-gauge floral wire (for the main stems) and 28 or 30-gauge floral wire (for individual leaf shaping).
- Green floral tape (for binding and covering stems).
- Hot glue gun (or fabric glue) for secure anchoring.
- Fabric stiffener spray (optional, for holding crisp petal shapes).
🛠 Part 1: Crocheting the Rose Petals (The Continuous Strip Method)
The easiest and most effective way to create a multi-layered, naturally curling rose is the continuous strip method.
- The Foundation:
ch 60using your rose-colored yarn. - Row 1 (The Petal Base): Work
2 dc(double crochet) in the 4th chain from the hook. Then, work3 dcinto every single chain across to the end.- The Magic Trick: As you work 3 double crochets into every stitch, you will notice the fabric naturally twists and curls into a tight, organic spiral. This is exactly what you want!
- Row 2 (For Extra Voluminous Roses): Fasten off, re-attach your yarn to the beginning of the chain edge, and work
3 dcinto each stitch across once more to double the fullness. - Finish: Fasten off, leaving a long 10-inch yarn tail for sewing later.

🛠 Part 2: Assembling the Rose
- Preparing the Stem: Take a piece of 18-gauge floral wire. Create a tiny loop at the very top using pliers so the wire doesn’t poke through the top of the flower.
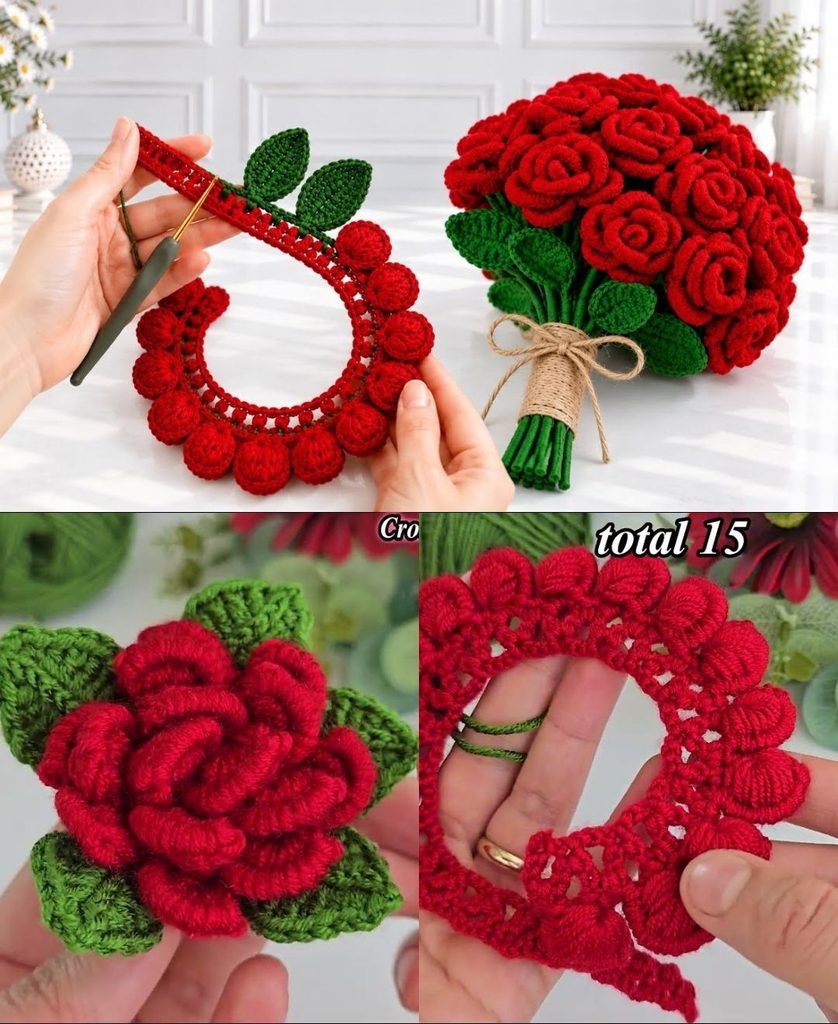
- Rolling the Spiral: Take one end of your crocheted petal strip and begin rolling it tightly around the top of the wire stem. Keep the bottom edge (the straight foundation chain) aligned and flat, while letting the top ruffled edge flare outward.
- Securing: Once fully rolled, take your tapestry needle and the long yarn tail. Sew horizontally and diagonally through the dense bottom base of the rose multiple times, anchoring the layers firmly to each other and to the wire stem.
🛠 Part 3: The Calyx & Foliage
Real roses have a small, star-shaped green structure right beneath the bloom (the calyx) and realistic leaves down the stem.
1. The Calyx
- Using green yarn,
ch 6and join with asl stto form a ring. ch 4, work 1 sc in 2nd ch from hook, 1 dc in next, 1 dc in last. Sl st into the ring.- Repeat from * to * 5 times to create five pointed green sepals. Fasten off and glue or sew this cup-like piece directly to the bottom base of your rose.
2. The Wire-Edged Leaves
ch 10. Lay a piece of thin 30-gauge floral wire along the chain.- Work
1 sc, 1 hdc, 4 dc, 1 hdc, 1 scdirectly over the wire. - Why wire? Because the wire is enclosed in the stitches, you can bend, crease, and angle the leaves so they look naturally windswept and botanical. Wrap the wire tail of the leaf directly around your main stem wire.

✨ Part 4: Bringing the Bouquet Together
1. Wrapping with Floral Tape
Do not leave your stems bare! Start your green floral tape right beneath the calyx base. Wrap it firmly and tightly downward at a $45^\circ$ angle, pulling slightly on the tape to activate its self-adhesive wax. As you travel down the stem, introduce your leaf wires into the wrap, binding them securely to the main stem.

2. Building Depth and Variation
A beginner bouquet looks flat because all the flowers are the same size and height. To make yours look high-end:
- Vary the Sizes: Create large roses (using a 60-chain foundation) and small, tight rosebuds (using a 30-chain foundation).
- Vary the Heights: Cut your floral wire stems to different lengths (e.g., 8 inches, 10 inches, 12 inches) so the bouquet has a cascading, multidimensional dome shape.
3. Adding Filler Flowers
Roses look best when accompanied by delicate background texture. Craft tiny white or pastel filler flowers (using a simple 10-chain mini spiral or small daisy pattern) and tuck them into the gaps between your major roses.
💡 Pro-Tips for a Boutique Finish
- The Scent Secret: Because these are crochet, they lack a natural perfume. Add a single drop of rose or lavender essential oil to the hidden underside of each rose base. The cotton yarn will diffuse a subtle, beautiful fragrance for weeks.
- Steam Fluffing: Hold your finished roses over the steam of a kettle for 3–5 seconds, then use your fingers to gently roll the outer petals outward. The heat softens the cotton fibers, allowing you to “open” the bloom to your desired look permanently.
- The Presentation: Wrap the lower stems in rustic brown kraft paper or burlap, tied off with a wide satin or lace ribbon, just like a high-end florist delivery.
Video tutorial: