 by
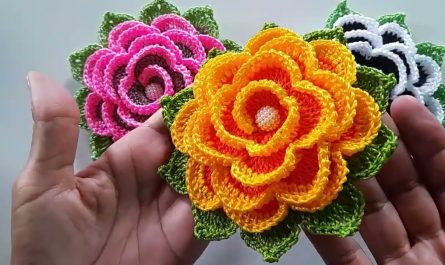
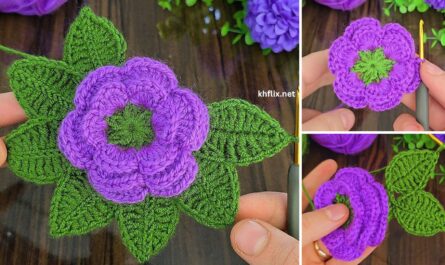
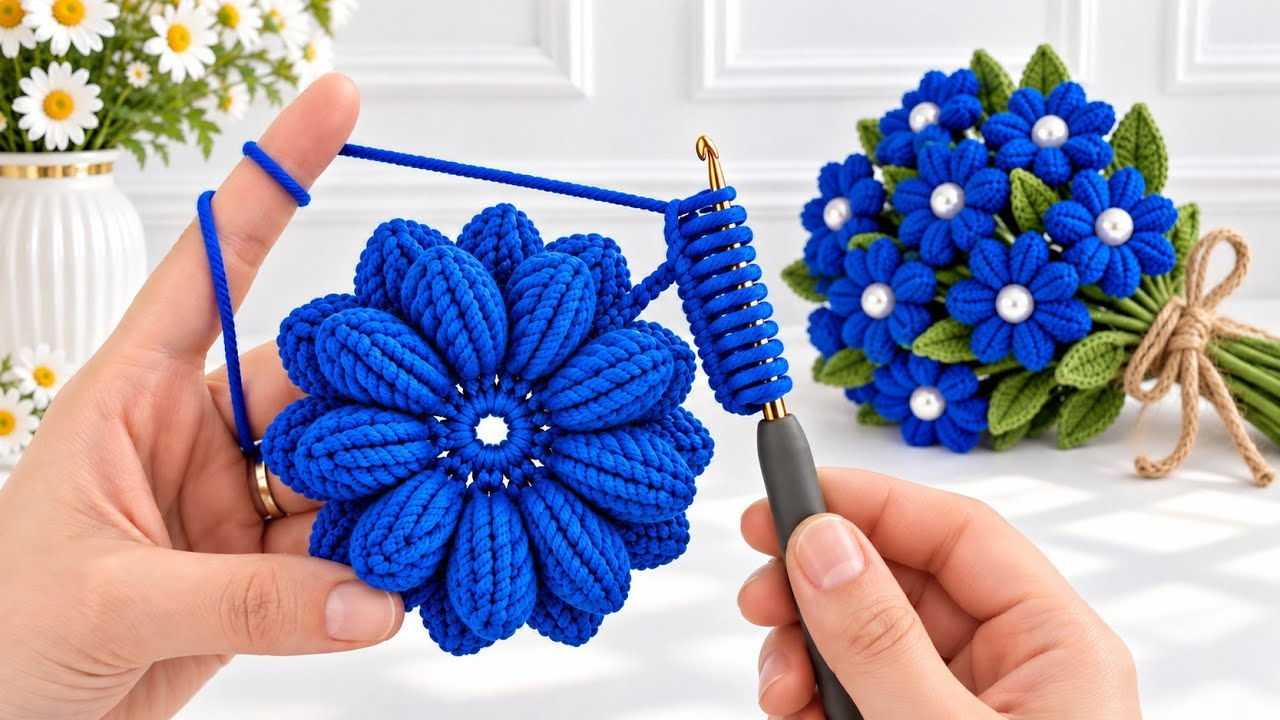
by Creating a Stunning Tunisian Flower is one of the most rewarding ways to incorporate the plush, architectural texture of Tunisian crochet into your blankets and bags. Because Tunisian crochet uses a specialized hook to keep multiple loops active at once, it produces a thick, dense fabric with incredible stability and 3D relief. Unlike flat motifs that can feel limp or flimsy, a Tunisian flower maintains its sculptural shape permanently—making it durable enough for everyday bags and squishy, tactile enough for heirloom blankets.
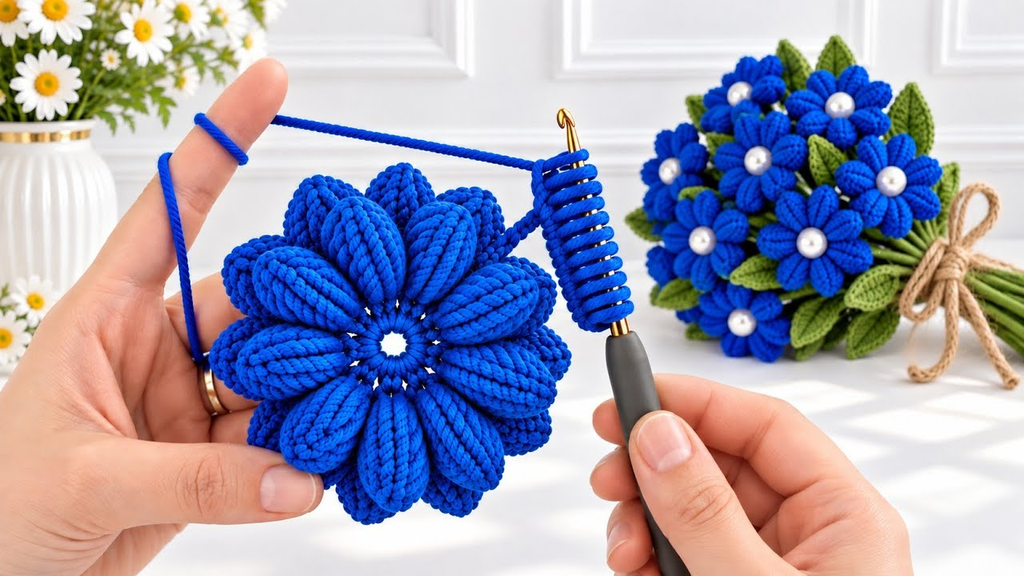
Here is your detailed, step-by-step masterclass on how to crochet a breathtaking Tunisian flower specifically engineered for blankets and bags.
🧶 The Tunisian Flower Toolkit
- Yarn:
- For Blankets: 100% Cotton or Premium Acrylic Blend (DK or Worsted weight) for a soft, washable, squishy drape.
- For Bags: 100% Mercerized Cotton Yarn (Sport weight or DK) for crisp stitch definition, zero stretch, and rigid durability.
- Hook: 4.0 mm to 4.5 mm Tunisian Crochet Hook (a short, standard hook or a double-ended hook works perfectly, as individual petals are worked in short rows).
- Extra Supplies: Tapestry needle for weaving ends and blocking pins.

🌸 Step 1: Crafting the Center Core (Pistil)
Before starting the Tunisian petals, we create a small, textured center ring to anchor our flower.
- With your center color (e.g., sunshine yellow),
ch 4and join with asl stto form a tiny ring. ch 1, and work 10 sc (single crochet) directly into the ring.- Join with a
sl stto the first sc. Fasten off yellow.
🌿 Step 2: The Tunisian Petal Construction (Individual Petals)
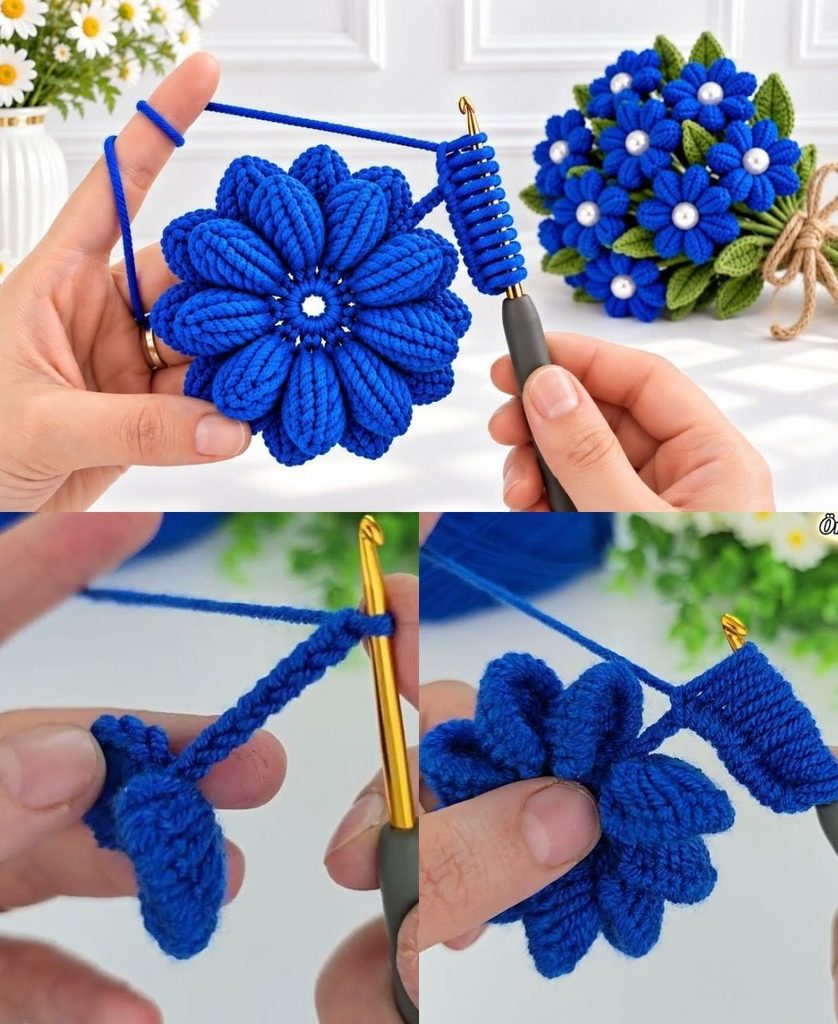
Unlike traditional crochet where petals are worked in continuous rounds, Tunisian flower petals are typically built individually or in joined modular panels to give them their thick, cupped dimension. We will make 5 to 6 identical petals.
- Foundation for a Single Petal:
- Attach your petal color (e.g., blush pink, lavender, or cream) into any back loop of the center ring.
ch 4.- Forward Pass: Pull up a loop in the 2nd chain from the hook and in each chain across (4 loops on your Tunisian hook).
- Return Pass:
yo(yarn over) and pull through 1 loop, thenyoand pull through 2 loops across until 1 loop remains.
- Shaping and Widening (Rows 2–3):
- Row 2: Tunisian Simple Stitch (TSS) across, picking up the vertical bars. Work an increase by pulling up an extra loop in the side bar to widen the middle of the petal.
- Row 3: TSS across, working a smooth edge.
- Tapering and Binding Off (Rows 4–5):
- Row 4: Work a Tunisian simple decrease (TSS2tog) at the beginning and end of the row to taper the petal tip into a graceful curve.
- Row 5: Bind off by slip-stitching across the top loops. Fasten off, leaving a 6-inch tail for assembly. Repeat this process until you have 5 to 6 identical petals.

🌺 Step 3: Assembling the 3D Tunisian Bloom
- Arranging the Petals:
- Overlap the bottom edges of your Tunisian petals slightly in a circular arrangement around your yellow center core.
- Because Tunisian fabric naturally curls inward, the petals will automatically cup forward, creating an organic, architectural 3D bowl shape.
- Securing the Base:
- Thread your yarn tails onto a tapestry needle and whip-stitch firmly through the bottom bases of all the petals on the back side. Because Tunisian crochet is dense, anchoring it securely ensures the flower will never pull apart—even when subjected to the stress of a daily handbag or blanket washing.
🏡 Step 4: Adapting Your Tunisian Flower for Blankets & Bags
How you finish and attach your Tunisian flower depends entirely on your project:
1. For Heirloom Blankets
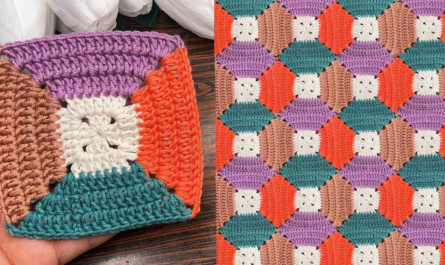
- The Square Integration: To make your Tunisian flower easy to join into a blanket, work a final round of background-colored yarn (e.g., cream) around the back base of the flower, squaring it off into a classic geometric motif (using corners of
(3 dc, ch 2, 3 dc)and side groups of3 hdc). - Blanket Assembly: Join your floral squares using a Flat Slip Stitch Join. The thick, plush texture of the Tunisian flower paired with a flat background creates a stunning, multi-textural heirloom blanket that feels incredible to the touch.
2. For Boutique Bags
- Direct Appliqué: Stitch your completed 3D Tunisian flower directly onto the center of a pre-assembled crochet bag panel (such as a canvas-lined tote or a round bag).
- Why It Works for Bags: Standard crochet flowers can flatten or warp when a bag is packed with items. The thick, rigid structure of Tunisian crochet petals resists crushing, ensuring your floral embellishment retains its high-end, 3D boutique look permanently.
✨ Pro-Tips for Success
- Preventing Curl: Tunisian crochet naturally curls at the edges. For these flower petals, the natural curl is actually an advantage because it mimics the natural inward-folding curve of real petals. However, if you want a flatter look, pin the petals to a blocking board and apply steam before final assembly.
- Contrast is Key: Use a slightly darker shade for the inner base of your Tunisian petals and a lighter shade for the tips, or vice versa, to give your 3D blanket and bag motifs striking depth and professional dimension!