 by
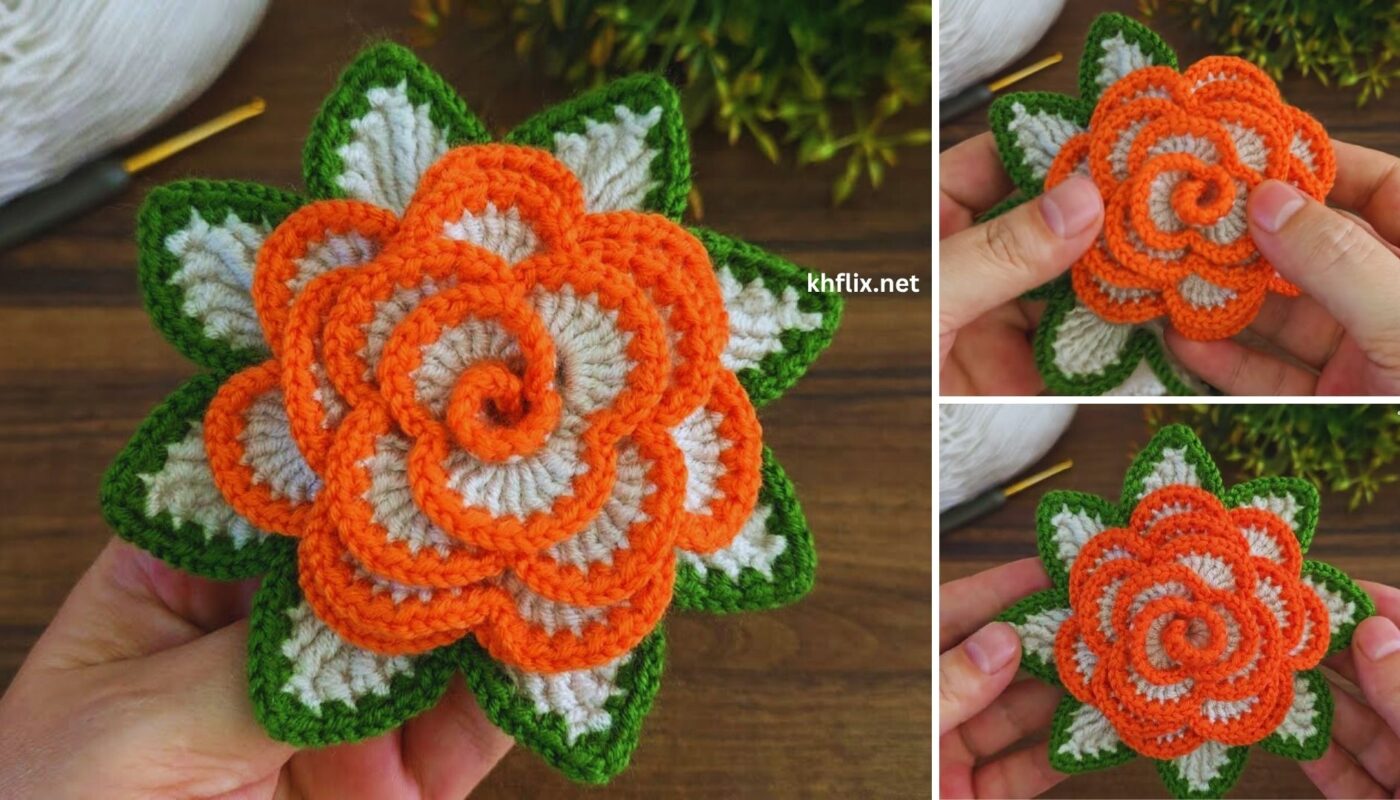
by Creating a beautiful, big crochet rose is a fantastic way to make a lasting floral decoration, add a touch of elegance to accessories, or create a unique gift topper. This tutorial will guide you through making a multi-layered rose that naturally curls into a stunning blossom, complete with optional sepals (the green part at the base of the flower) and leaves.
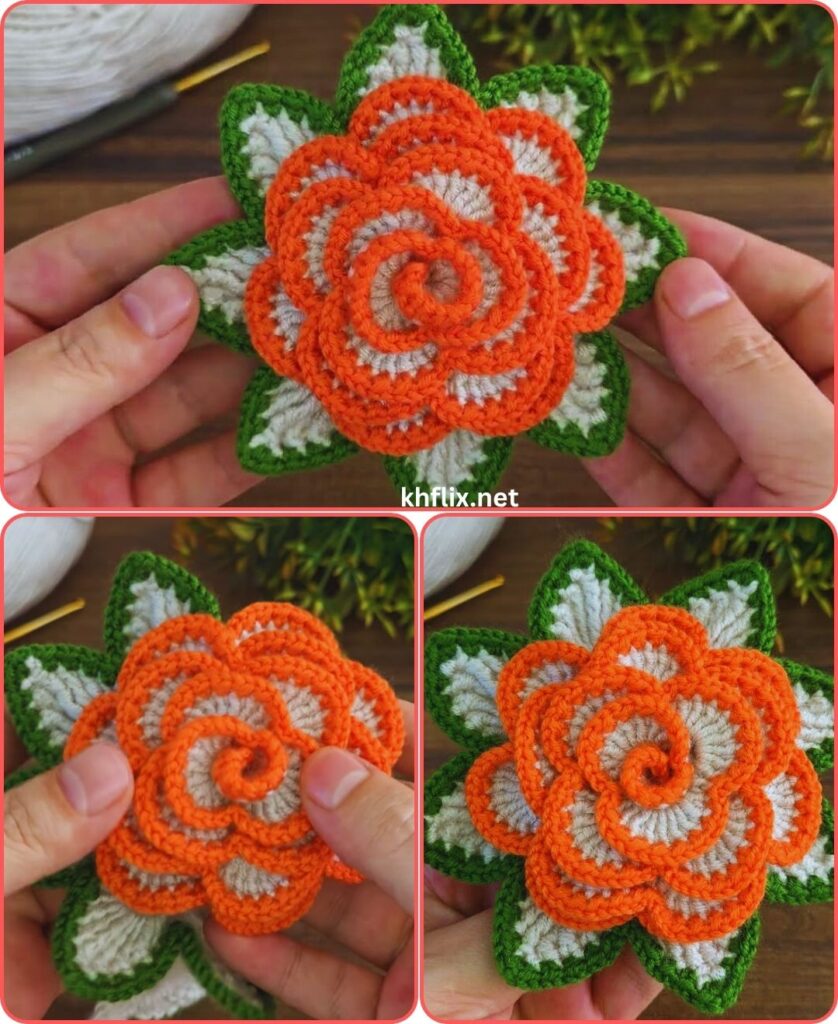
How to Make a Beautiful Big Rose Crochet Flower
Project Overview: This pattern creates a full, multi-layered rose head by crocheting a single long strip that, when rolled, forms varying sizes of petals. The technique relies on changing stitch heights within specific sections to create the natural curling and petal formation.
Skill Level: Intermediate (Requires familiarity with basic stitches, including single, half double, double, and treble crochet, and attention to stitch placement for shaping).
Finished Rose Dimensions (Approximate):
- Diameter: 3.5 – 4.5 inches (9 – 11.5 cm), depending on yarn weight and tension.
Materials You’ll Need:
- Yarn:
- Worsted Weight (Medium #4) Yarn:
- Main Rose Color: Approximately 50-70 yards (45-64 meters). Choose a classic rose color like red, pink, white, yellow, or even a deep burgundy.
- Optional Secondary Rose Color: A slightly lighter or darker shade of your main color (e.g., light pink with dark pink) to create a variegated effect. (Approx. 10-20 yards).
- Green Yarn: Approximately 10-15 yards for sepals and leaves.
- Why Worsted Weight? It creates a substantial “big” rose. Acrylic or cotton blends work well; acrylic often holds shape nicely.
- Worsted Weight (Medium #4) Yarn:
- Crochet Hook:
- Size H/5.0mm (or the hook size that gives you a nice, firm fabric without being too stiff, allowing for good curling).
- Yarn Needle (Tapestry Needle): Essential for weaving in ends and sewing parts together.
- Scissors
- Stitch Markers (Optional): Can be helpful for marking rows or specific sections, especially when changing colors.
- Optional:
- Hot Glue Gun & Sticks: For extra secure assembly of the rose layers (use carefully!).
- Floral Wire (Gauge 18-24): If you plan to make a stem or add structure to leaves.
- Stiffening Spray (e.g., fabric stiffener or spray starch): To help the rose hold its shape even better.
Abbreviations Used:
- ch: chain
- sl st: slip stitch
- sc: single crochet
- hdc: half double crochet
- dc: double crochet
- tr: treble crochet (yarn over twice, insert hook, yo and pull up loop, [yo and draw through 2 loops] 3 times)
- st(s): stitch(es)
- sk: skip
- FO: fasten off
- RS: Right Side
- WS: Wrong Side
Understanding Rose Construction: The Curled Strip Method
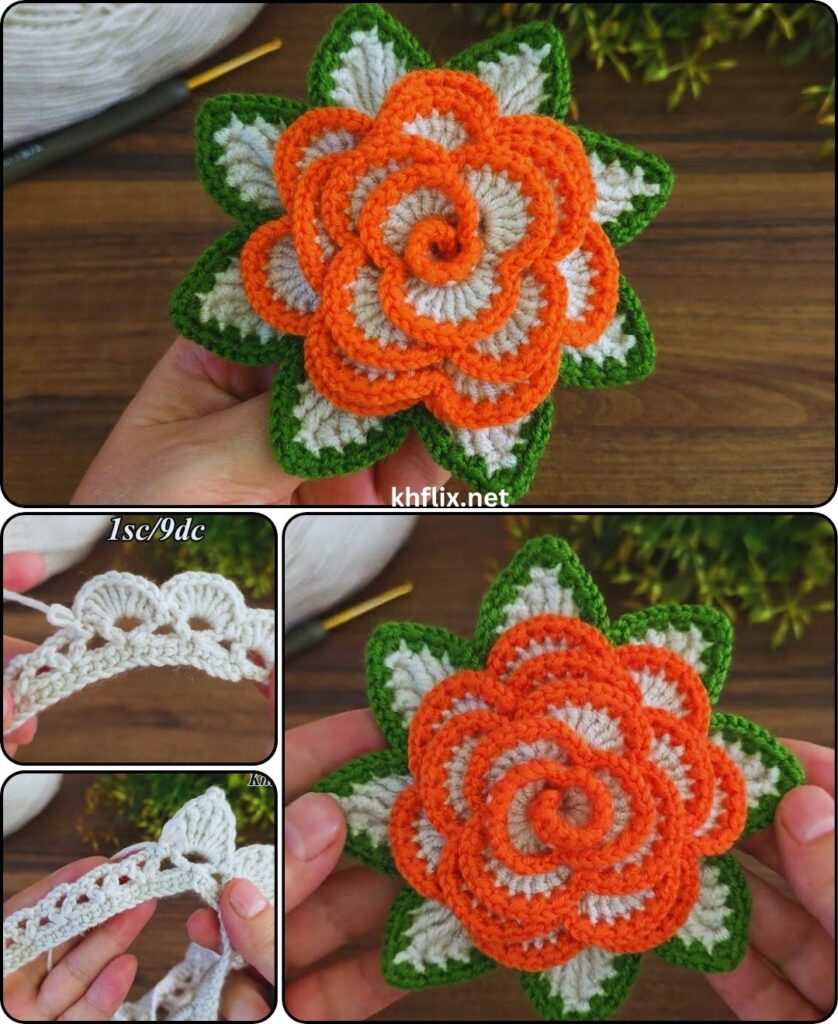
This method involves crocheting a long, straight strip where different stitch heights are worked into the same chain space or stitch. This causes the strip to naturally ripple and curl. When you roll this strip up, the shorter stitches form the tight inner bud, and the taller stitches with more repetitions create the larger, outer petals.
The basic pattern for a petal section will be: (sc, hdc, dc, tr, dc, hdc, sc) all in one space, or similar combinations to create a curved ‘petal’ edge.
Let’s Start Crocheting Your Beautiful Big Rose!
We’ll start with the Rose Petal Strip. You can use one color or two colors for a variegated effect.
Part 1: The Rose Petal Strip (Main Rose Color)
This strip determines the size and fullness of your rose. We’ll be working into the back loops of the initial chain and then in rows.
- Foundation Chain: With your Main Rose Color, Ch 50. (This will make a medium-large rose. For a bigger rose, chain 60-70; for smaller, chain 40-45).
- Row 1 (Working into the Back Bumps of the chain):
- Inner Petals Section (Smaller):
- Sc in 2nd ch from hook.
- Sc in next ch, hdc in next ch, sc in next ch. Repeat from * to * 3 more times. (This creates 4 small petal sections. You’ve worked into 12 chain stitches here.)
- Mid Petals Section (Medium):
- Hdc in next ch, dc in next ch, hdc in next ch. Repeat from * to * 4 more times. (This creates 5 medium petal sections. You’ve worked into 15 chain stitches here.)
- Outer Petals Section (Larger):
- (Dc in next ch, tr in next ch, dc in next ch). Repeat from * to * 5 more times. (This creates 6 large petal sections. You’ve worked into 18 chain stitches here.)
- Sc in the very last ch. (This acts as a secure anchor for the end of the strip.)
- (Total: You should have used almost all of your initial chain stitches.)
- Ch 1, turn.
- Inner Petals Section (Smaller):
- Row 2 (Working along the top edge of Row 1, into the previous stitches):
- Important: This row adds the ‘curls’ for the petals. You’ll be working multiple stitches into single stitches of the previous row.
- Sl st in the first sc.
- Inner Petals Section:
- (Sc, hdc, sc) all in the next stitch. Sl st in the next stitch. Repeat from * to * 3 more times. (This creates the rippled edge for the small petals.)
- Mid Petals Section:
- (Sc, hdc, dc, hdc, sc) all in the next stitch. Sl st in the next stitch. Repeat from * to * 4 more times. (This forms the larger ripple for the medium petals.)
- Outer Petals Section:
- (Sc, hdc, dc, tr, dc, hdc, sc) all in the next stitch. Sl st in the next stitch. Repeat from * to * 5 more times. (This creates the largest, most defined ripples for the outer petals.)
- Sl st in the last stitch.
- FO, leaving a very long tail (at least 20-30 inches / 50-75 cm) for sewing the rose together. This is crucial!
- If you are using a Secondary Rose Color: You could switch colors at the beginning of Row 2, or partway through (e.g., after the mid petal section) for a gradient effect. Just remember to change yarn neatly.
Part 2: Forming the Rose
This is where your crocheted strip transforms into a beautiful flower!
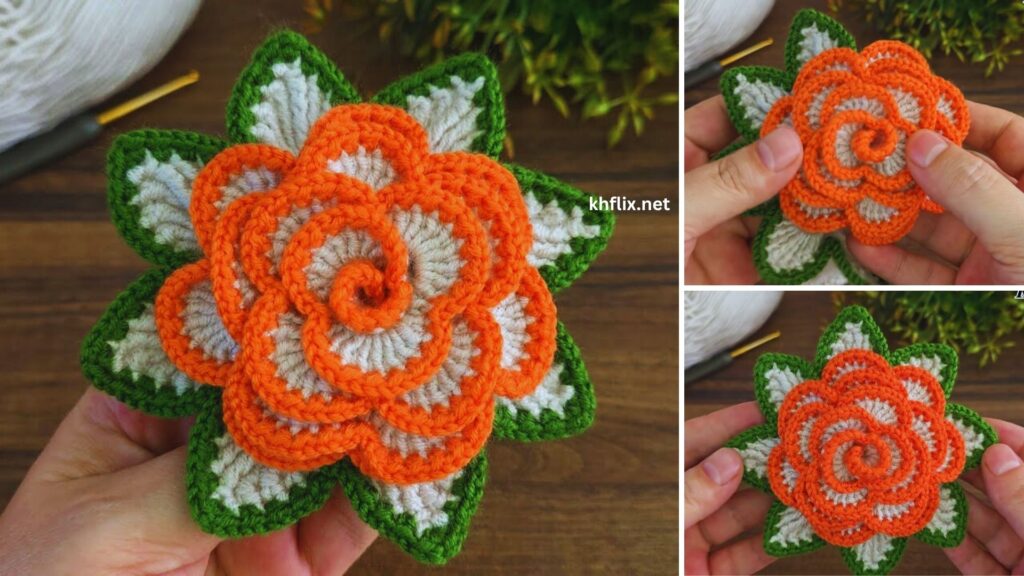
- Preparation: Lay your crocheted strip flat. You’ll notice it naturally wants to curl. The end with the smaller petals (where you started your chain) will be the center of your rose. The side with the multiple stitches worked into one will be the ‘petal’ side.
- Rolling the Bud: Take the very end of the strip (the small petal end). Starting tightly, begin to roll it inwards, forming the central bud of the rose. Keep it snug and neat.
- Continue Rolling: As you continue to roll, the strip will naturally spiral. Allow the larger petal sections to layer slightly more loosely around the central bud, giving the rose a more open and natural appearance. Guide the base of the strip with one hand while gently shaping the petals with the other.
- Securing the Base: Once you’ve rolled the entire strip into your desired rose shape, hold the base firmly. Thread the long yarn tail you left earlier onto your yarn needle.
- Sewing the Rose: Begin stitching through all layers of the rose’s base, back and forth, from one side to the other. Make sure your stitches go through every layer to secure the spiral shape. Work your way around the entire base of the rose until it feels very sturdy and no longer wants to unravel. This can take several passes.
- Finishing Base Stitch: When you’re satisfied with the security, weave in any remaining tail on the back of the rose.
Part 3: Optional Calyx (Green Base)
This adds a realistic finishing touch to the bottom of your rose.
- With Green Yarn, make a Magic Ring (MR).
- Round 1: Ch 1. Work 8 sc into the MR. Pull tail tight to close. Sl st to first sc to join. (Total: 8 sc).
- Round 2 (Sepals): Ch 1. (Sc in next st, ch 3, sl st in 2nd ch from hook (to make a picot), sl st in next ch, sc in next st). Repeat from * to * 3 more times (for a total of 4 sepals). Sl st to the first sc to join.
- FO, leaving a long tail for sewing.
- Attach Calyx: Position the calyx on the very bottom center of your rose. Use the tail and your yarn needle to sew it securely to the base of the rose, covering the stitches from where you secured the main flower. Weave in ends.
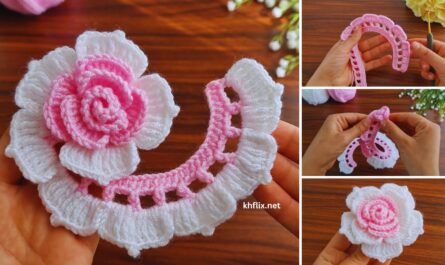
Part 4: Optional Leaves (Make 1-3)
Simple leaves enhance the look of your rose.
- With Green Yarn, Ch 10.
- Row 1: Sl st in 2nd ch from hook. Sc in next ch. Hdc in next ch. Dc in next 4 chs. Hdc in next ch. Sc in next ch. Sl st in last ch. (You are now at the tip of your leaf).
- Turn to work down the other side of the chain: Ch 1. Sl st in the same last ch (which is now the first ch on this side). Sc in next ch. Hdc in next ch. Dc in next 4 chs. Hdc in next ch. Sc in next ch. Sl st in the final sl st from the first side.
- FO, leaving a long tail for sewing.
- Attach Leaves: Position the leaves around the base of your rose, or near the calyx, in a way that looks natural. Use your yarn needle to sew them securely. Weave in ends.
Finishing Touches & Tips for a Beautiful Rose:
- Weave in All Ends: Double-check that all yarn tails are securely woven in and hidden.
- Steam Blocking (Optional but Recommended): For a truly professional finish, gently steam your finished rose. Hold a steam iron (or a clothes steamer) a few inches above the rose, allowing the steam to gently relax the fibers. Do NOT touch the iron directly to the crochet. While damp and warm, gently shape the petals with your fingers to open them up or adjust their curl. Let it cool and dry completely. This helps the rose hold its shape beautifully.
- Stiffening (Optional): If you want an extremely rigid rose, after blocking and drying, you can apply a fabric stiffener or spray starch (follow product instructions).
- Customizing Size: To make a bigger or smaller rose, adjust your initial chain length. Longer chain = bigger rose. Also, adjust the number of repeat sections for smaller/medium/larger petals to fit your desired length.
- Color Blending: Experiment with different color combinations for your rose petals. You can even try carrying two strands of slightly different colors together for a subtle variegated effect.
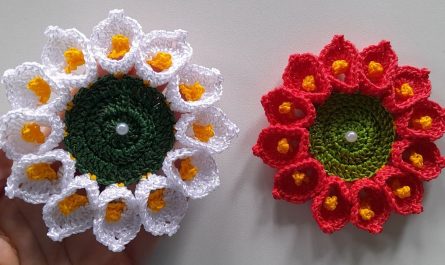
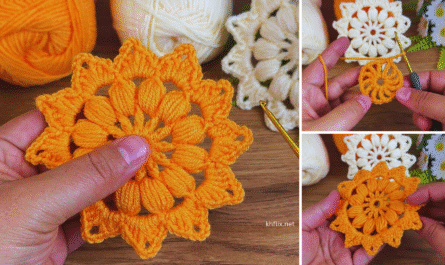
- Using for Decor: These roses are perfect for decorating hats, bags, headbands, garlands, gift wrapping, or as standalone decor.
Enjoy the process of creating your own beautiful big crochet rose!