 by
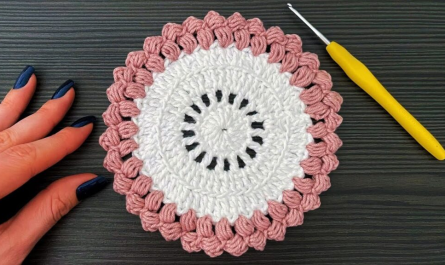
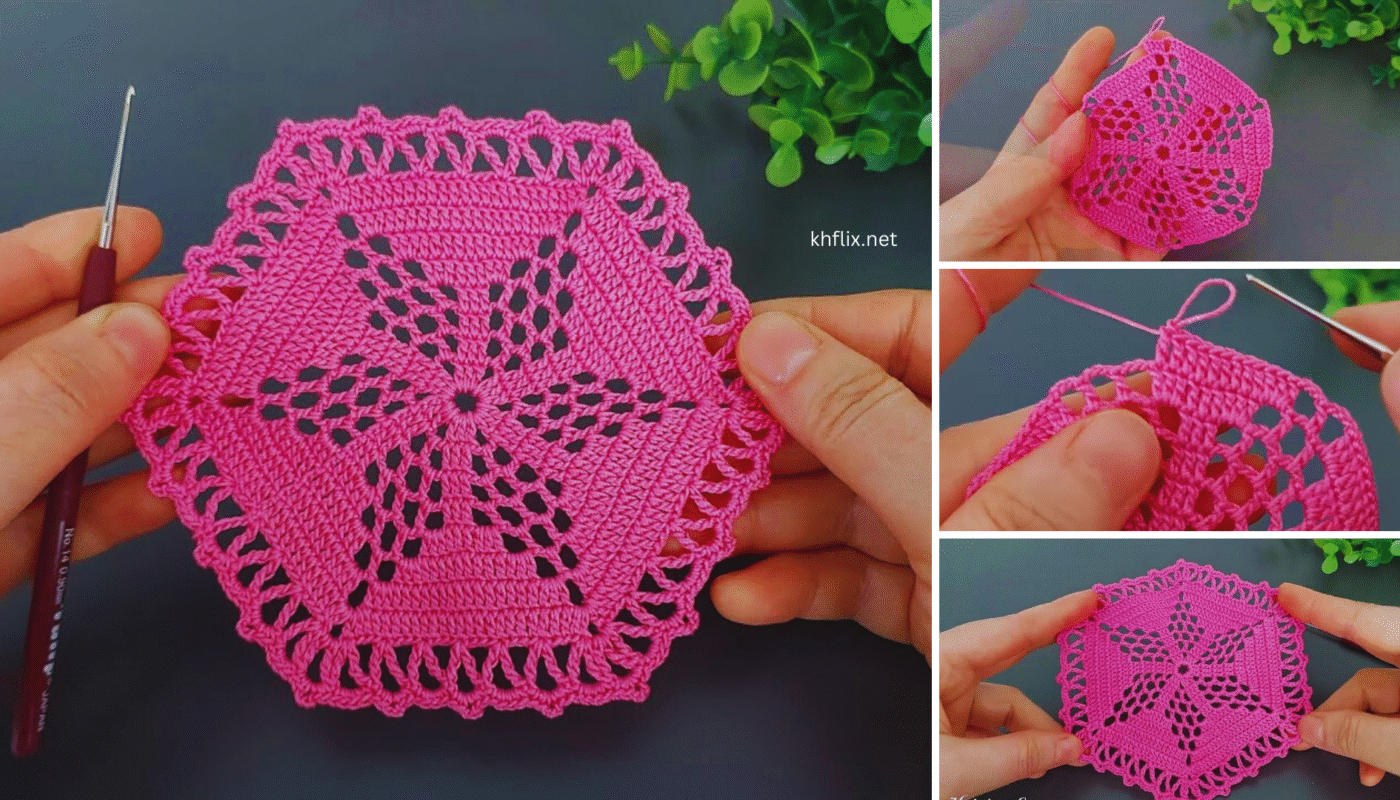
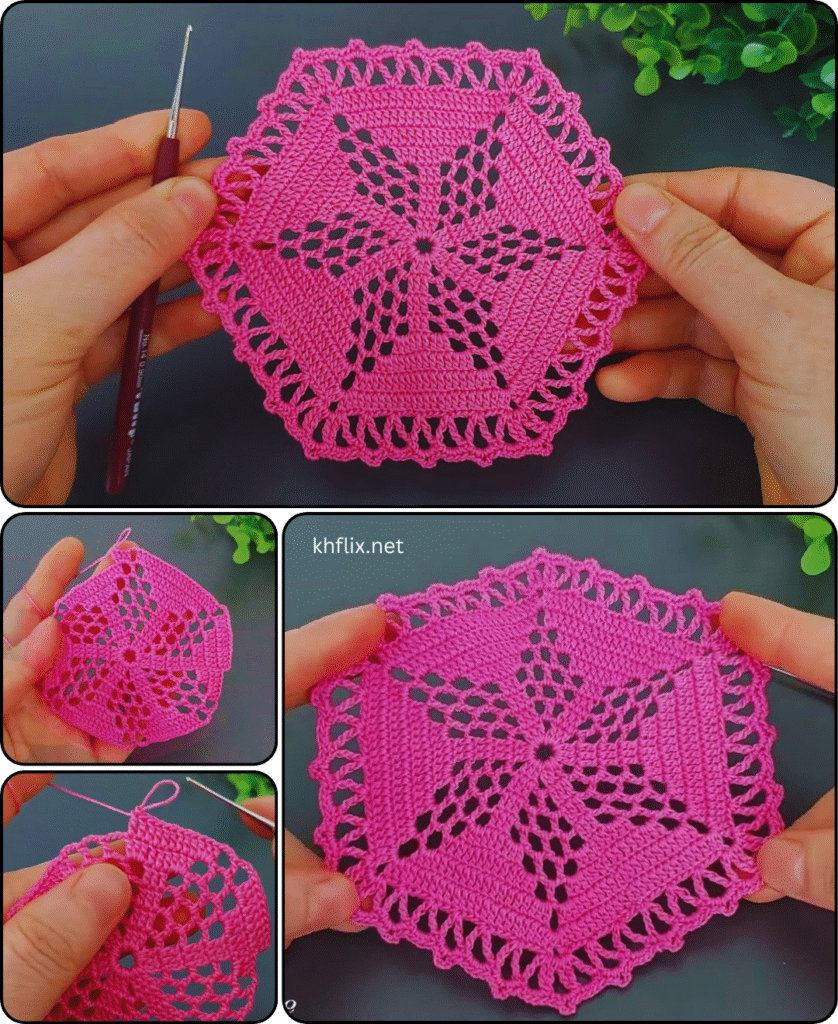
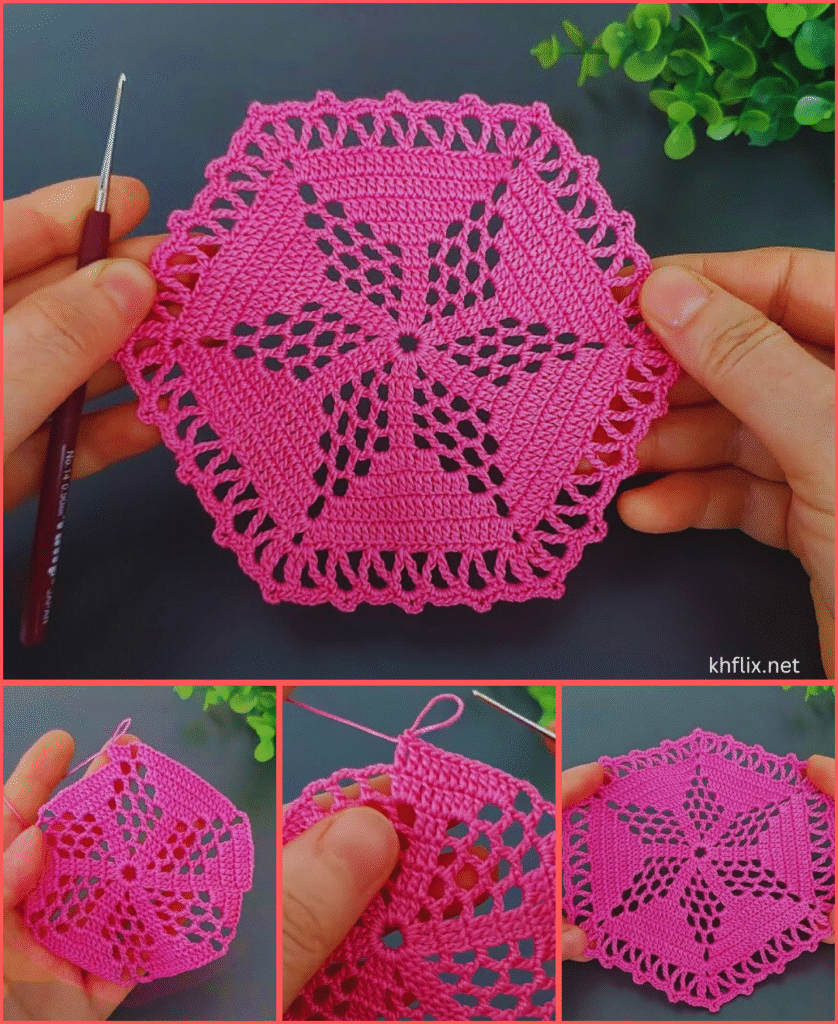
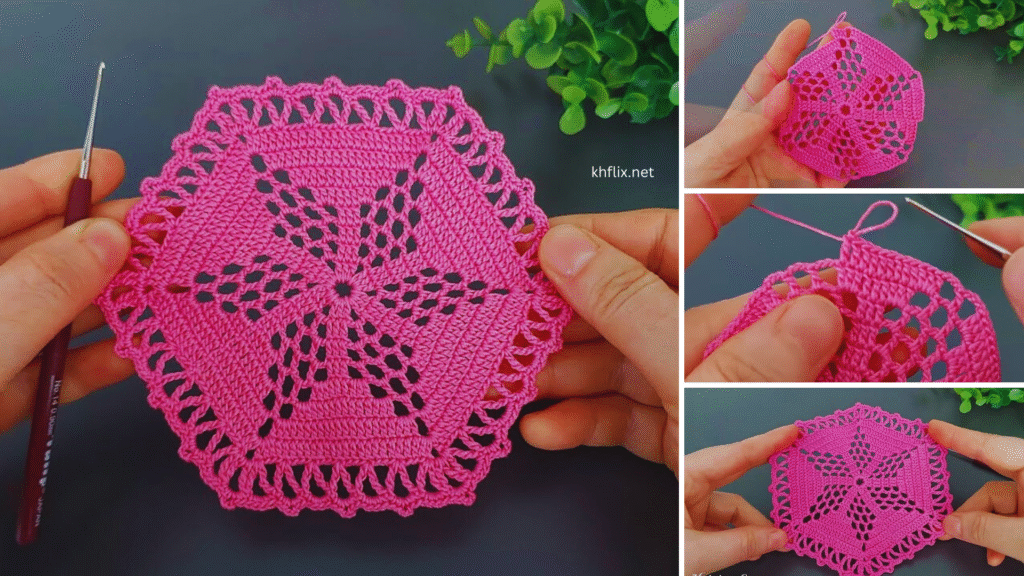
by Certainly! Here’s a detailed, step-by-step guide on How to Make a Wonderful Crochet Doily Pattern — perfect for both decoration and gift-giving. Whether you’re a beginner with basic crochet skills or an experienced crocheter looking for a quick and beautiful project, this pattern will walk you through the essentials.

🧶 Materials Needed
- Thread: Cotton crochet thread (#10 is common for doilies)
- Crochet hook: 1.5 mm to 2.0 mm steel hook (size 7 or 8)
- Scissors
- Tapestry needle (for weaving in ends)
- Starch and iron (optional) – for shaping and stiffening
📘 Abbreviations (U.S. Crochet Terms)
- ch – chain
- sl st – slip stitch
- sc – single crochet
- dc – double crochet
- tr – treble crochet
- sp – space
- st – stitch
- rep – repeat
🌸 Step-by-Step Crochet Doily Pattern (Beginner to Intermediate Level)
🔸 Round 1:
- Begin with a magic ring (or ch 6 and sl st to form a ring).
- Ch 3 (counts as 1 dc), work 15 dc into the ring. (16 dc total)
- Sl st to the top of the ch-3 to join.
🔸 Round 2:
- Ch 3, dc in the same st.
- Work 2 dc in each st around. (32 dc)
- Sl st to join.
🔸 Round 3:
- Ch 4 (counts as dc + ch 1), dc in next st, ch 1 – rep around.
- You should have 32 dc with ch-1 spaces.
- Sl st to 3rd ch of beginning ch-4.
🔸 Round 4:
- Sl st into ch-1 space.
- Ch 3 (counts as dc), 2 dc in same sp, ch 2, 3 dc in next ch-1 sp.
- 3 dc, ch 2, 3 dc in each ch-1 space around.
- Join with sl st.
📝 Now you begin to see the floral or lace-like pattern develop. You can increase spaces or petal-style stitches from this base.
🔸 Round 5 (Shell Pattern):
- Sl st into the space between 3-dc groups.
- Ch 3, 4 dc in the same sp (5-dc shell), skip next group, 5 dc in next sp – repeat around.
- Sl st to join.
🔸 Round 6 (Picot Edge – Optional Finishing):
- Sc in middle dc of 5-dc shell, ch 3, sl st in first ch (picot made), sc in same st – continue in each shell.
- Fasten off and weave in ends.
🪡 Finishing the Doily
- Weave in all ends using your tapestry needle.
- Gently wash or dampen the doily in warm water.
- Lay it flat on a towel, shape it into a perfect circle or pattern.
- Optional: Starch the doily for stiffness, and press with a warm iron under a pressing cloth.
🌟 Tips for Success
- Use light-colored thread (like white, ecru, or pastel) to show off the lace detail.
- Block your doily properly for professional results.
- Use stitch markers for large or complex rounds to mark the start.
🧶 Design Variations
You can adjust the design by:
- Adding more rounds for a larger doily
- Using different stitch combinations like:
- Fans
- Pineapples
- Cluster stitches
- V-stitches
- Working from a chart diagram or vintage pattern
📝 Crochet Doily Project Summary
| Feature | Description |
|---|---|
| Skill Level | Beginner to Intermediate |
| Time to Complete | 2–4 hours |
| Yarn/Thread | Cotton crochet thread (#10) |
| Hook Size | 1.5 mm to 2.0 mm |
| Finished Size | 6–12 inches depending on rounds |
| Best Use | Table decor, gift, coaster, wall art |
Would you like me to create a PDF printable version, provide a pattern chart, or recommend video tutorials that match this style?