 by
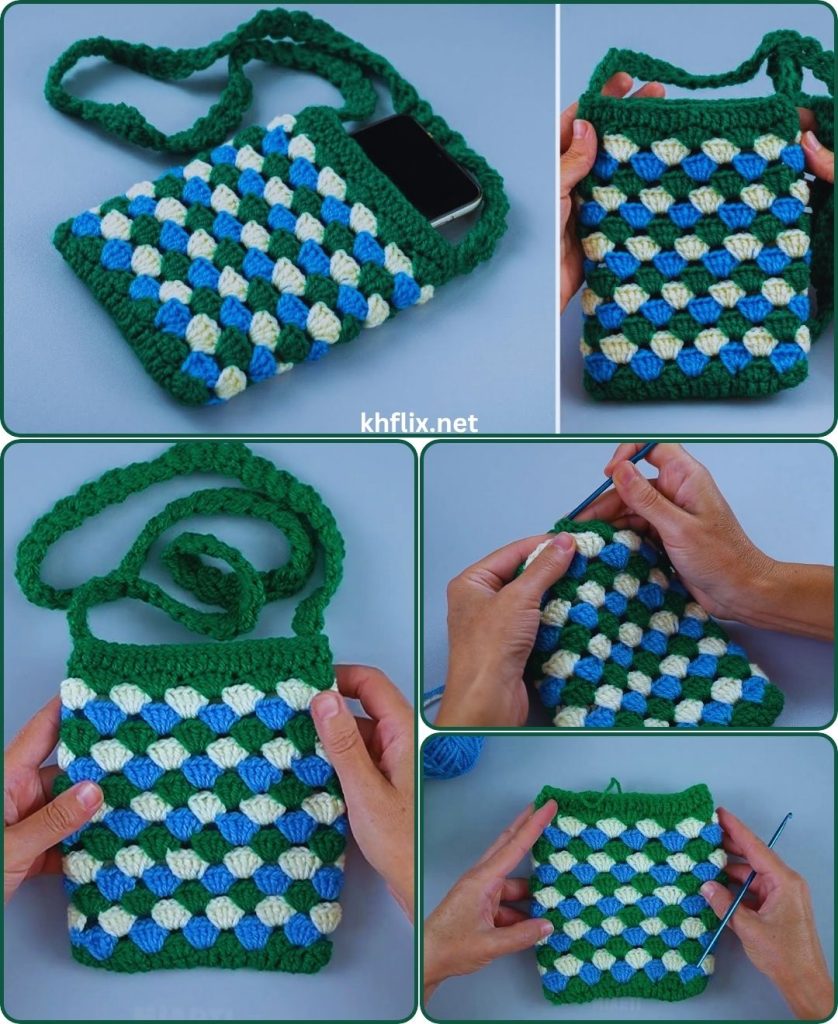
by Welcome! Here is a detailed guide on how to crochet a simple and stylish phone bag. This pattern is designed to be beginner-friendly, using basic stitches to create a functional and beautiful accessory.
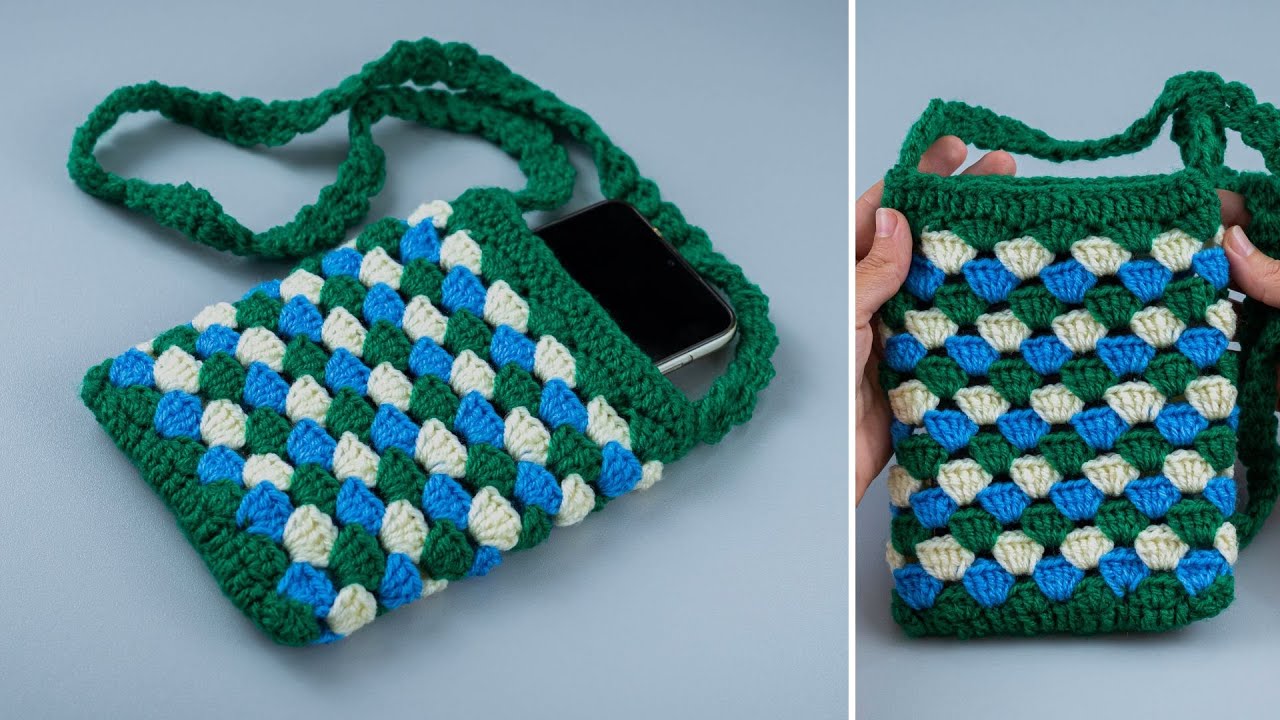
In a world where our phones are always with us, a handmade crochet pouch is the perfect accessory. It’s practical, protecting your device from scratches, and it’s a wonderful way to express your personal style. This project is perfect for beginners as it uses one of the most basic and sturdy stitches: the single crochet.
This pattern will guide you through creating a seamless bag by working in the round, resulting in a clean, professional finish. We will also cover how to create a sturdy strap and add a simple button closure. Let’s gather our materials and begin this rewarding project!
Before You Begin
Skill Level
Beginner. This pattern is suitable for those who are new to crochet but have learned the basic stitches.
Materials & Tools
- Yarn: Worsted weight (Category 4) 100% cotton yarn is highly recommended. Cotton is durable, doesn’t stretch as much as acrylic, and provides great protection for your phone. You’ll need approximately 60-80 yards.
- Crochet Hook: A size 4.0mm (US G-6) or 4.5mm (US G-7) hook. Using a slightly smaller hook than recommended for the yarn will create a tighter, denser fabric, which is ideal for a bag.
- Tapestry Needle (or Yarn Needle): For weaving in ends and sewing on the button.
- Scissors: For cutting yarn.
- Stitch Marker: Highly recommended for keeping track of the beginning of your rounds. A safety pin or a scrap piece of contrasting yarn will also work.
- Button: One small button, about 1/2 to 3/4 inch (1−2 cm) in diameter.
- Measuring Tape: To ensure your bag fits your specific phone.
Abbreviations (US Crochet Terms)
- ch: chain
- st(s): stitch(es)
- sl st: slip stitch
- sc: single crochet
- inc: increase (work 2 sc in the same stitch)
- FO: fasten off
Gauge & Sizing (Important!)
- Gauge: Approximately 5 sc stitches and 5 rows per 1 inch (2.5 cm).
- Why Sizing Matters: This project needs to fit your phone! The pattern provided is for a standard smartphone (approx. 3 inches wide x 6 inches tall). I will show you exactly how to customize it.
How to Customize the Size:
- Width: Take your phone and lay it down. Make a starting chain that is the same length as the width of your phone. Your final bag will be slightly wider than this chain.
- Height: You will simply continue crocheting the body of the bag until it is tall enough to cover your phone, plus about half an inch for clearance.
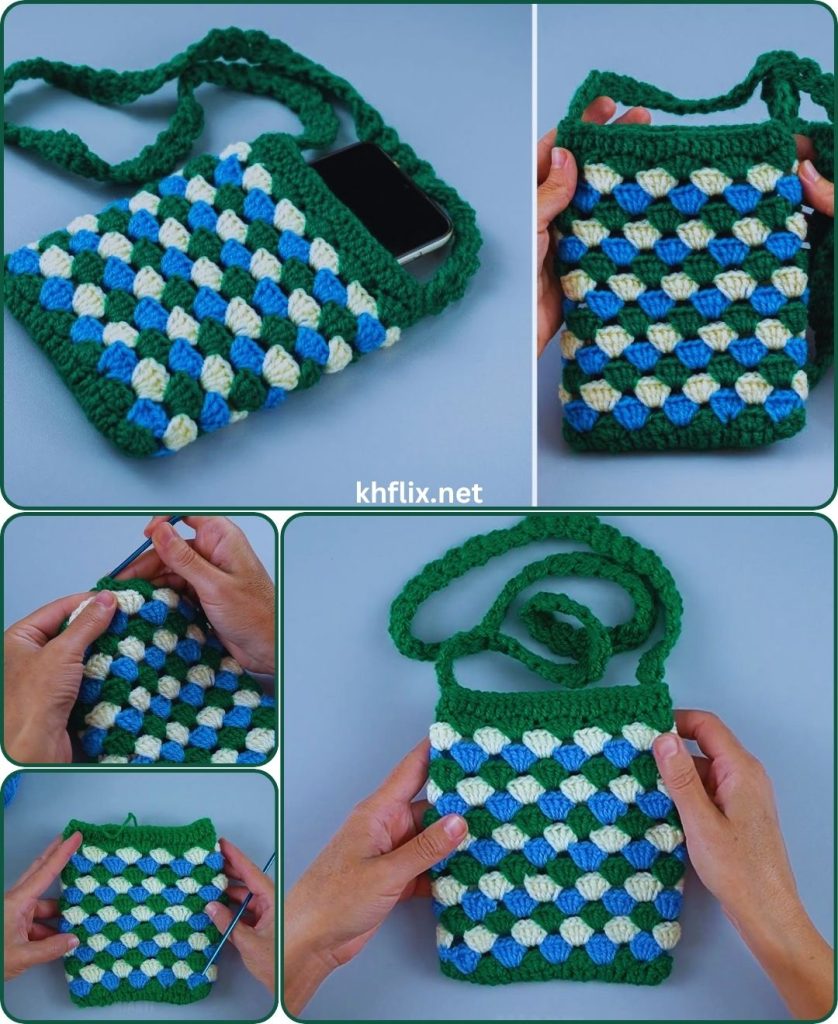
The Step-by-Step Pattern
We will construct this bag from the bottom up, starting with an oval base and then working up the sides in seamless rounds.
Part 1: Creating the Base
The base is created by crocheting around a foundation chain. This creates a smooth, rounded rectangle shape perfect for the bottom of the bag.
(This example uses a starting chain of 11, which creates a bag approximately 3.25 inches wide. Adjust your starting chain number based on your phone’s width.)
- Foundation Chain: Ch 11.
- Round 1:
- Work 2 sc in the 2nd ch from the hook (this is your first increase and helps form the curved end).
- Work 1 sc in each of the next 8 chains.
- In the very last chain, work 4 sc. (This is a large increase that allows you to smoothly turn the corner and begin working down the other side).
- Now, working along the opposite side of the foundation chain, work 1 sc in each of the next 8 chains.
- In the final unworked space (the same space where you put your first 2 sc), work 2 more sc.
- Join with a sl st to the very first sc of the round. You should have a total of 24 stitches.
Your flat, oval base is now complete!
Part 2: Building the Body of the Bag
Now we will begin working in a continuous spiral to build up the height of the bag. This technique creates a totally seamless look.
- Round 2 (Start of the Body):
- Ch 1 (this does not count as a stitch).
- Work 1 sc in the back loop only of every stitch around. (Total of 24 sts).
- Working in the back loop for this one round creates a defined line or “crease” that helps the bag stand up straight from the base.
- Do not join the round. From now on, we will work in a continuous spiral.
- Round 3 and Onwards:
- Place your stitch marker in the first stitch of this new round. This marks the beginning of your rounds.
- Work 1 sc in both loops of every stitch around.
- When you get back to your stitch marker, you have completed a round. Simply remove the marker, work the first stitch of the next round, and place the marker back in that new stitch.
- Continue working rounds of sc in this manner. The tube of the bag will start to grow.
Keep Going! Continue crocheting rounds until the bag is the desired height. It should be tall enough so that your phone can sit inside with about a half-inch of space at the top. For a standard 6-inch phone, this will be approximately 30-32 rounds.
Once your bag reaches the desired height, finish the last round by making a sl st into the next stitch. This evens out the top edge. FO and weave in the end on the inside of the bag.
Part 3: Creating the Strap
A sturdy strap is important. We will create it by working back and forth in short rows of single crochet.
- Foundation: Ch 5.
- Row 1: Sc in the 2nd ch from the hook and in each of the next 3 chains. (4 sts).
- Row 2: Ch 1, turn your work. Sc in each of the 4 stitches across.
- Repeat Row 2 until your strap is the desired length. A good length for a crossbody strap is 40-45 inches (100−115 cm). For a wristlet, make it about 12-14 inches long.
Once the strap is long enough, FO, leaving a very long tail (about 12 inches) for sewing.
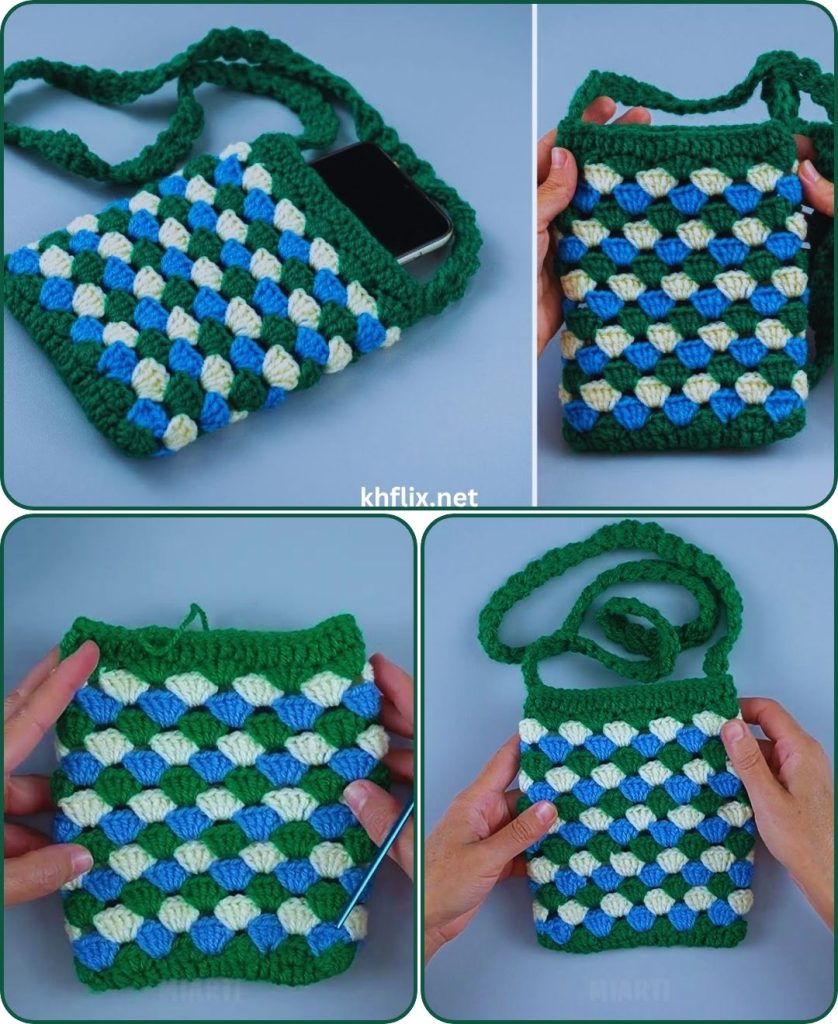
Part 4: Assembly and Finishing Touches
Now we put it all together!
- Attaching the Strap:
- Using your tapestry needle and the long tail you left, position one end of the strap on the inside of the bag, right along the side seam.
- Sew it securely in place using a running stitch or a whip stitch. Make several passes to ensure it’s very strong.
- Repeat the process on the other side of the bag with the other end of the strap. Make sure the strap isn’t twisted!
- Weave in the final ends securely.
- Creating the Button Loop:
- Cut a new piece of yarn about 10 inches long.
- Find the center of one side of the bag’s opening (this will be the back).
- Attach the yarn with a sl st to the center top edge.
- Chain a length that will fit snugly around your button. (For a 1/2 inch button, this is usually about 8-10 chains).
- Attach the end of the chain back to the same spot on the bag with a sl st.
- FO and use the tails to tie a secure knot on the inside of the bag, then weave in the ends.
- Attaching the Button:
- On the opposite side of the bag (the front), determine where your button should go so the loop holds it securely. This is usually about an inch below the top edge.
- Using a new piece of yarn (or sewing thread for a flatter look), sew your button firmly in place.
- Final Weave: Do one last check and weave in any remaining yarn ends on the inside of your project for a clean, professional finish.
Customization Ideas
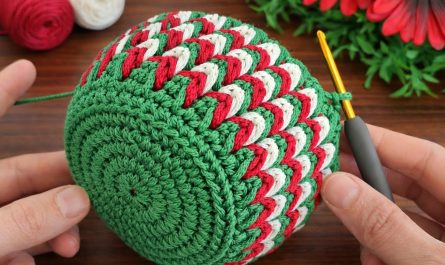
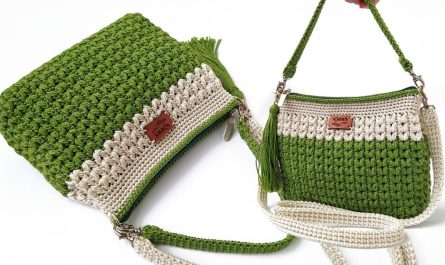
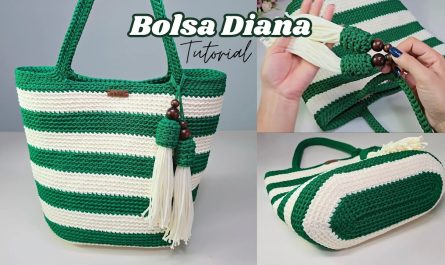
- Stripes: Simply change yarn colors every few rounds to create a fun striped pattern.
- Texture: Alternate between rounds of single crochet and half double crochet for a subtle texture. Or, try the moss stitch (sc, ch 1, skip a stitch) for a beautiful woven look.
- Add a Tassel: Create a simple yarn tassel and attach it to the side of the bag for a bohemian flair.
- Phone Flap: Instead of a button loop, you can crochet a small rectangular flap on the back panel that folds over the front and secures with a button.
Congratulations! You’ve just crocheted a beautiful, durable, and completely custom phone bag. It’s a quick and satisfying project that makes a wonderful gift for friends, family, or yourself. Enjoy showing off your new handmade creation!