 by
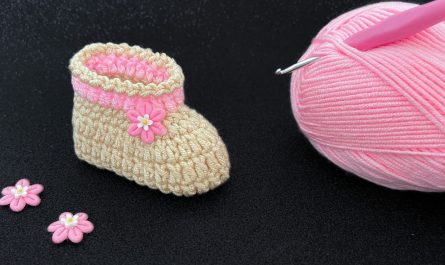
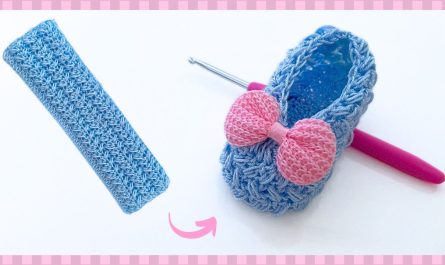
by crocheters have passed down a delightful “secret”—a magical bit of yarn origami that transforms a simple, flat square into an adorable, three-dimensional baby bootie. It’s a pattern that looks far more complex than it is, and the moment of the final fold feels like performing a magic trick.
This tutorial will not just give you the pattern; it will unveil the secret. You’ll see exactly how two simple seams on a single square can create a perfectly formed sole, toe, and cuff. This is the ultimate beginner-friendly project, perfect for a quick, impressive, and heartfelt baby shower gift.
Materials You’ll Need
- Yarn: Approximately 50-80 grams of a soft DK (8-ply) or Worsted Weight (aran/10-ply) yarn. A soft baby-specific acrylic, cotton, or merino wool is ideal as it’s gentle and washable.
- Crochet Hook: A size appropriate for your yarn. For DK, a 4.0mm (G/6) hook is common. For worsted, a 5.0mm (H/8) hook works well.
- Yarn Needle (Tapestry Needle): This is essential for the “secret” assembly.
- Scissors
- Optional: Ribbon or a crocheted chain for a tie.
Key Stitches and Abbreviations (US Terms)
- ch: Chain
- sl st: Slip Stitch
- dc: Double Crochet
- sp: Space (refers to the chain-space)
- MR: Magic Ring
- Cluster: A group of 3 dc worked into the same space.
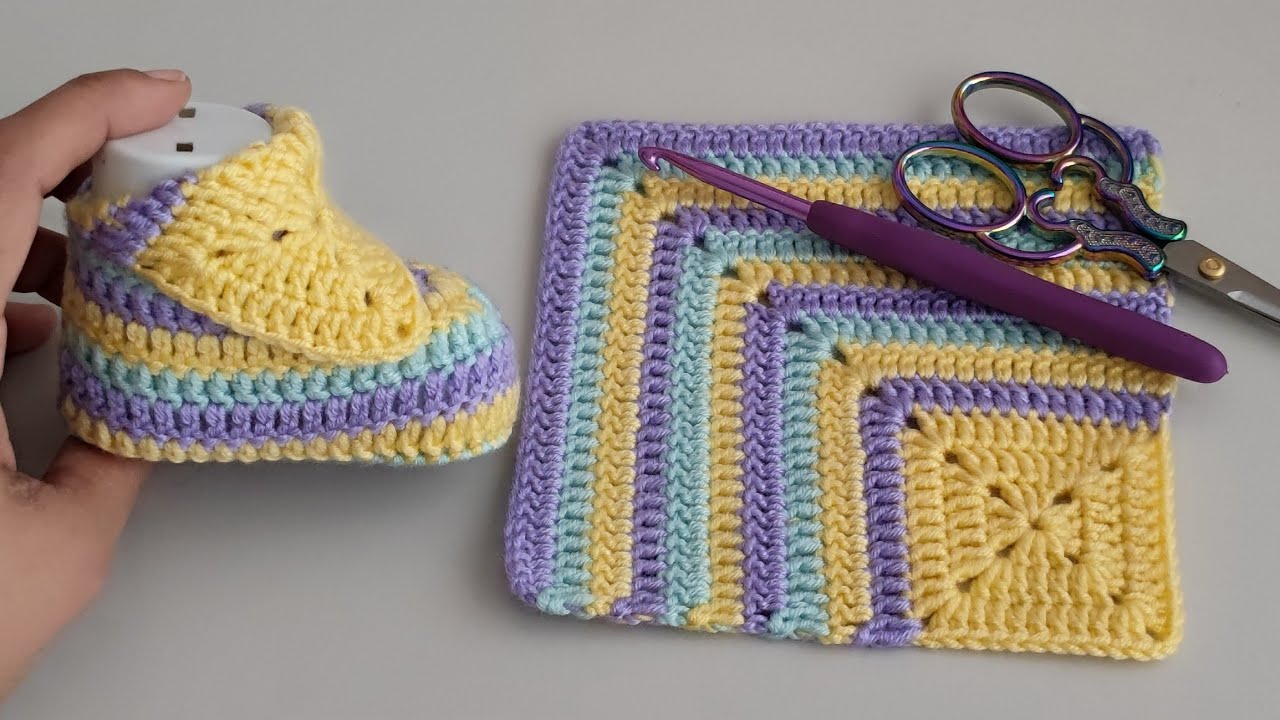
Part 1: The Key — Crocheting the Magic Square
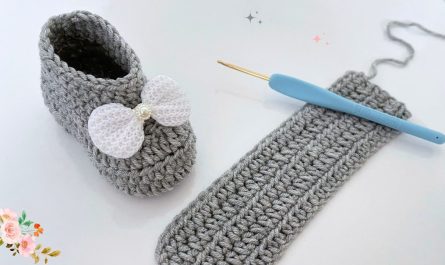
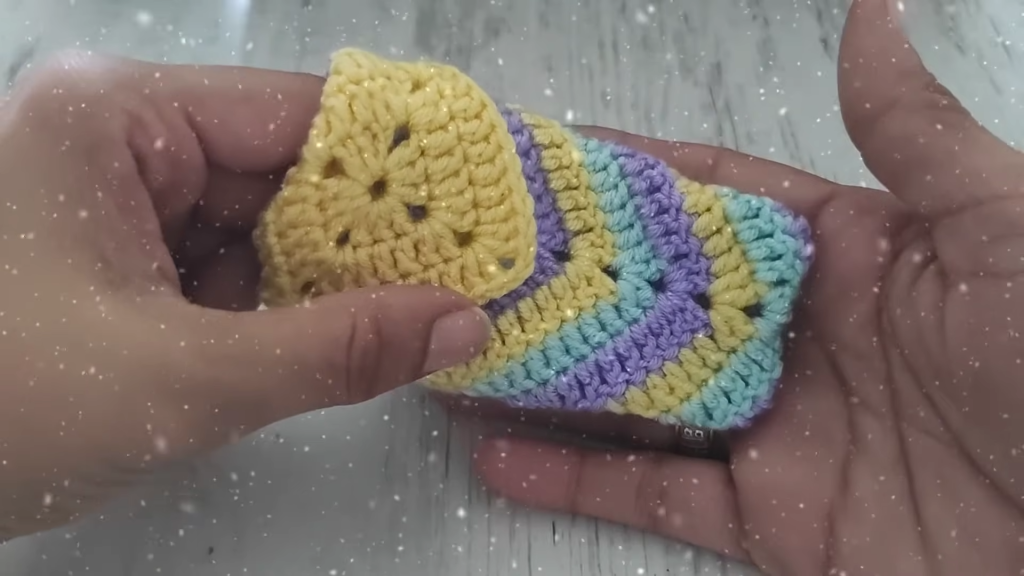
The first step is to crochet two identical granny squares—one for each bootie. The size of your square determines the size of the bootie. This 5-round pattern is perfect for a 0-6 month old baby.
Note: In the final round, do not fasten off immediately. Instead, finish the round and cut your yarn, leaving a very long tail (at least 20 inches/50 cm). You will use this tail for the entire assembly.
The 5-Round Granny Square Pattern (Make 2)
- Start: Create a Magic Ring.
- Round 1: Ch 3 (counts as your first dc). Work 2 dc into the MR. Ch 2. Work 3 dc into the MR. Ch 2. Work 3 dc into the MR. Ch 2. Work 3 dc into the MR. Ch 2. Join with a sl st to the top of your starting ch-3. (You have 4 clusters and 4 ch-2 corner spaces).
- Round 2: Sl st in the next two stitches to move into the corner space. Ch 3. In the same corner space, work (2 dc, ch 2, 3 dc). *Ch 1. In the next corner space, work (3 dc, ch 2, 3 dc).* Repeat from * to * two more times. Ch 1. Join with a sl st to the top of the starting ch-3. (You now have 8 clusters, one ch-1 space on each side, and 4 corner spaces).
- Round 3: Sl st to move into the corner space. Ch 3. In the same corner space, work (2 dc, ch 2, 3 dc). *Ch 1. Work 3 dc in the next ch-1 space. Ch 1. In the next corner space, work (3 dc, ch 2, 3 dc).* Repeat from * to * two more times. Ch 1. Work 3 dc in the last ch-1 space. Ch 1. Join with a sl st. (You have 12 clusters, two ch-1 spaces on each side).
- Round 4: Repeat the logic of Round 3. Work (3 dc, ch 2, 3 dc) in each corner. Work (3 dc, ch 1) in each ch-1 space along the sides. Join with a sl st.
- Round 5: Repeat the logic of Round 4. Work (3 dc, ch 2, 3 dc) in each corner. Work (3 dc, ch 1) in each ch-1 space along the sides. Join with a sl st.
Stop! At the end of Round 5, fasten off by pulling the long 20-inch tail through the last loop. Weave in all other ends (like your starting tail and any color-change tails).
You should now have two identical flat granny squares, each with one very long tail.
Part 2: Unveiling the Secret — The ‘L’ Fold & Seam
This is the magic. Grab one of your squares and your yarn needle. Thread the long tail onto the needle.
- The Fold:
- Place your square on a flat surface, wrong side (the back) facing up.
- Fold the square perfectly in half to form a rectangle. The long tail you left should be at one of the open corners.
- The ‘L’ Seam:
- You will now sew an “L” shape. We’ll use a simple whipstitch (looping the needle over and through both layers) for a sturdy seam.
- Seam 1 (The Heel): Start where your tail is. Sew the two edges of the short side of the rectangle together, from the top opening down to the folded corner. This seam creates the back of the heel.
- Seam 2 (The Sole & Toe): Do not cut your yarn. When you reach the folded corner, turn 90 degrees. Continue sewing along the long, open edge. This edge forms the sole of the bootie.
- Stop! Only sew about halfway across this long edge (or just slightly past halfway). This is the most crucial step. Sewing halfway closes the sole and creates the toe.
- Secure your yarn by making a small knot and weaving the remaining tail back through the seam.
Part 3: The Final Reveal — Turning and Cuffing
This is the best part. You should have a strange, “L”-seamed shape.
- Turn Right-Side Out: Reach inside the unsewn part of the bootie and push the seamed corner (the toe) out. Turn the entire piece right-side out.
- Shape the Bootie: You will magically see a bootie shape appear!
- The “L” seam forms a perfect, rounded toe box and a closed sole.
- The seam you made on the short side is the back of the heel.
- The unsewn half of the long edge is now the foot opening.
- Form the Cuff: The top of the bootie (the original edge of the granny square) will be wide. Simply fold this edge down to form a cozy, decorative cuff.
Part 4: Finishing Touches
Your bootie is complete, but a small tie is highly recommended to keep it securely on a baby’s active foot.
- Make the Tie (Optional):
- With your yarn and hook, make a simple chain (ch) about 12-15 inches (30-38 cm) long.
- Fasten off and tie a small knot at each end.
- Weave the Tie:
- Using your yarn needle, weave the chain through the holes (the ch-1 spaces) of the granny square just above the toe, around the ankle area.
- Tie in a gentle bow at the front.
Finally, repeat Part 1 through 4 for your second square to make a matching pair.
Congratulations! You have officially “unveiled the secret” and transformed a flat square into an adorable pair of baby booties.