 by
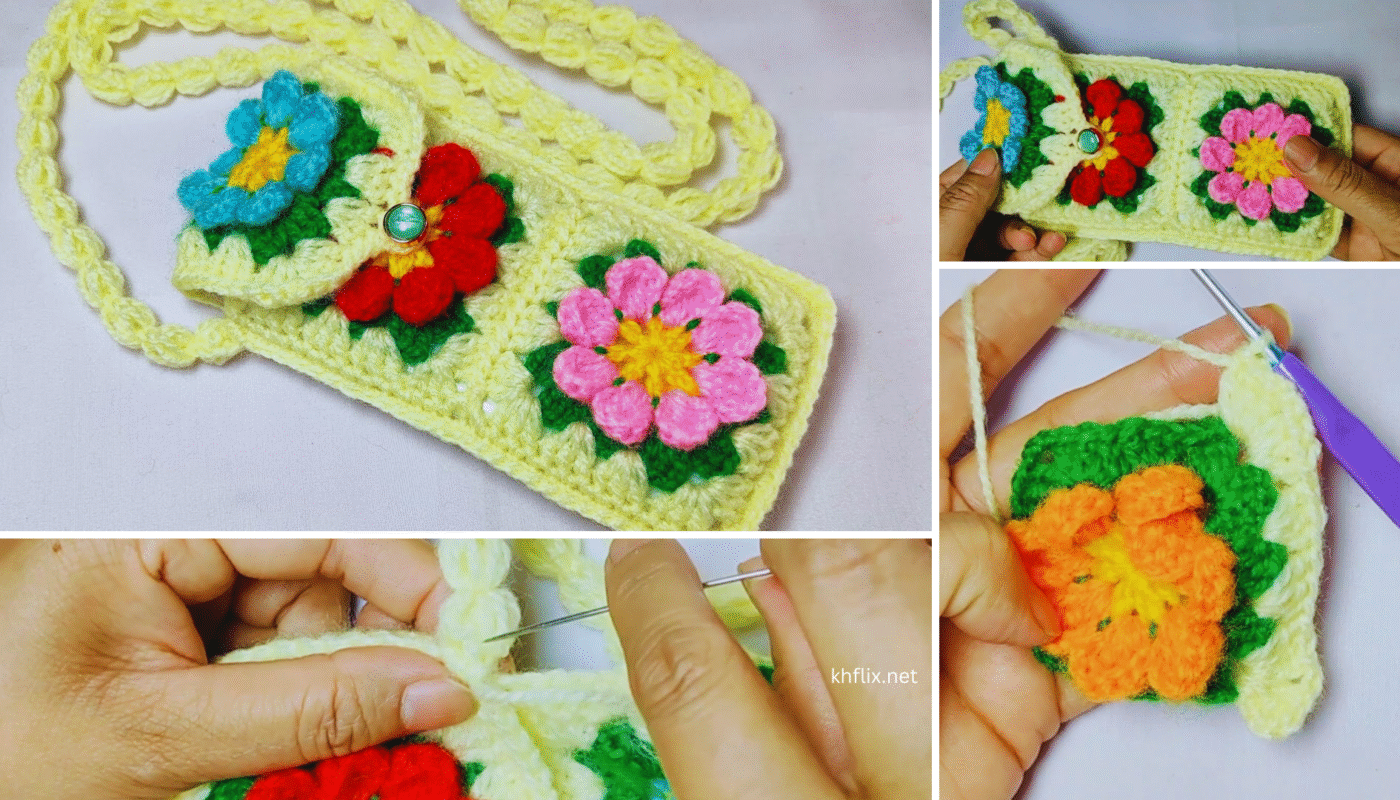
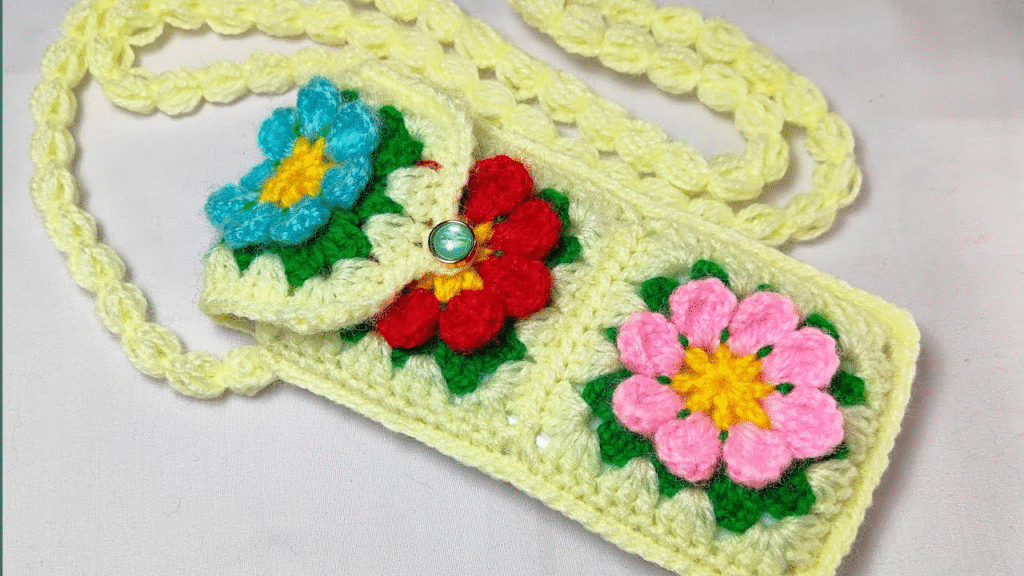
by Certainly! Here’s a detailed, beginner-friendly tutorial on how to crochet an easy phone bag — step by step. This simple project is great for learning basic stitches and making something practical and stylish!
📱 Easy Crochet Phone Bag Tutorial for Beginners (Step-by-Step)
Crocheting your own phone bag is fun, quick, and beginner-friendly! This tutorial uses basic stitches, no shaping, and a simple strap, making it perfect for those just learning to crochet.
🧶 What You’ll Need
| Item | Description |
|---|---|
| Yarn | Medium weight yarn (Worsted #4) – cotton or acrylic |
| Hook | 4.0 mm or 4.5 mm crochet hook |
| Scissors | To cut yarn |
| Yarn needle | For weaving in ends |
| Stitch marker | Optional, to keep track of rounds or rows |
📝 Optional:
- Button or snap for closure
- Beads or appliqué for decoration
✨ Basic Stitches Used
- ch – chain
- sl st – slip stitch
- sc – single crochet
- dc – double crochet (optional variation)
📏 Size Guide
- Finished size: Approx. 4″ wide x 6.5″ tall
- Fits most smartphones. Easily adjustable by adding more chains (width) or rows (height).
🧵 Step-by-Step Crochet Phone Bag Instructions
🟣 Step 1: Make the Base Chain (Width of the Bag)
- Ch 16 (or chain the width of your phone + 1 inch for seam/room).
- Add 1 more chain for turning. (Total = 17 ch)
🟣 Step 2: Crochet the Body (Height)
We’ll use single crochet (sc) for a sturdy texture.
- Row 1: In the 2nd ch from hook, sc across. (16 sc)
- Ch 1, turn.
- Row 2 to Row 35 (or desired height): Sc in each st across, ch 1, turn.
✅ This creates a rectangle roughly twice the height of your phone.
🟣 Step 3: Fold & Sew
- Fold the rectangle in half (width-wise) so the short ends meet.
- Use slip stitch or whip stitch to:
- Sew one side closed
- Sew the bottom closed
(Leave the top open for your phone!)
✂️ Fasten off and weave in all ends with a yarn needle.
🟣 Step 4: Add the Strap
Option 1: Simple Chain Strap
- Join yarn at the top side of the bag.
- Ch 90–120 (adjust for length: shoulder or crossbody).
- Attach to the opposite top corner with sl st.
- Fasten off and weave in ends.
Option 2: Thicker Strap
- Ch 5.
- Sc in 2nd ch from hook and across (4 sc).
- Ch 1, turn. Repeat rows until desired length.
- Sew ends of the strap to the top sides of the bag.
🟣 Step 5: Add Optional Closure
- Sew a button on the front, and chain a small loop to close.
- Or, add a snap for extra security.
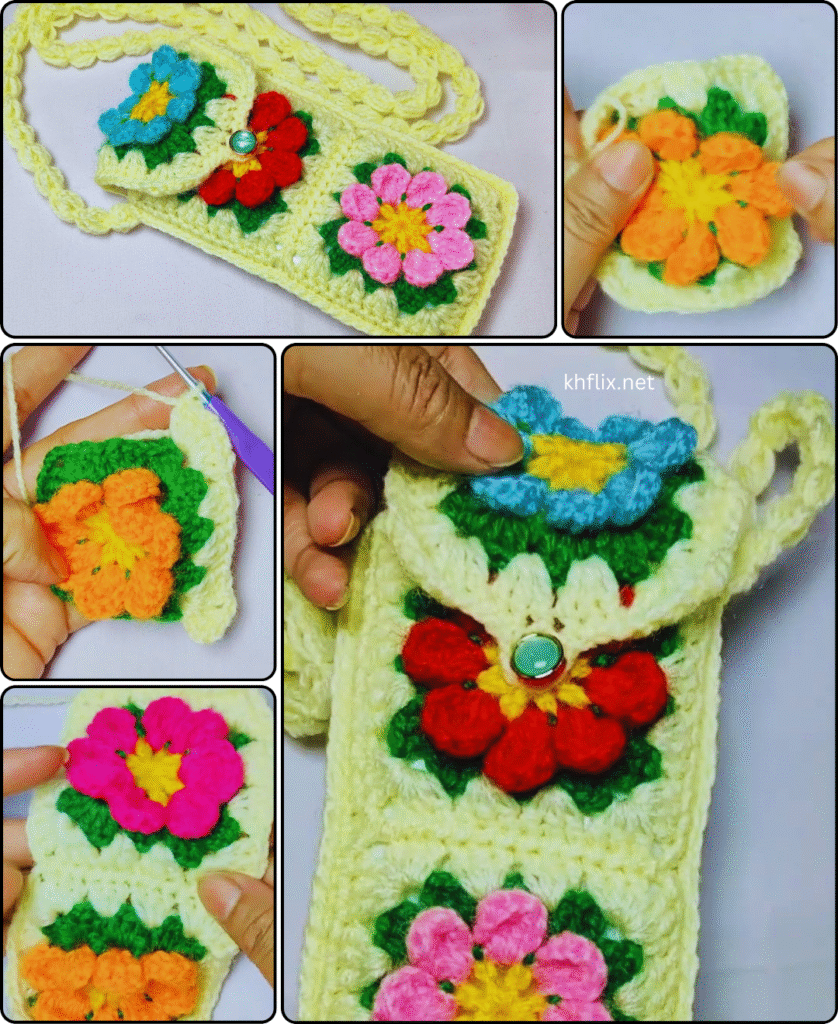
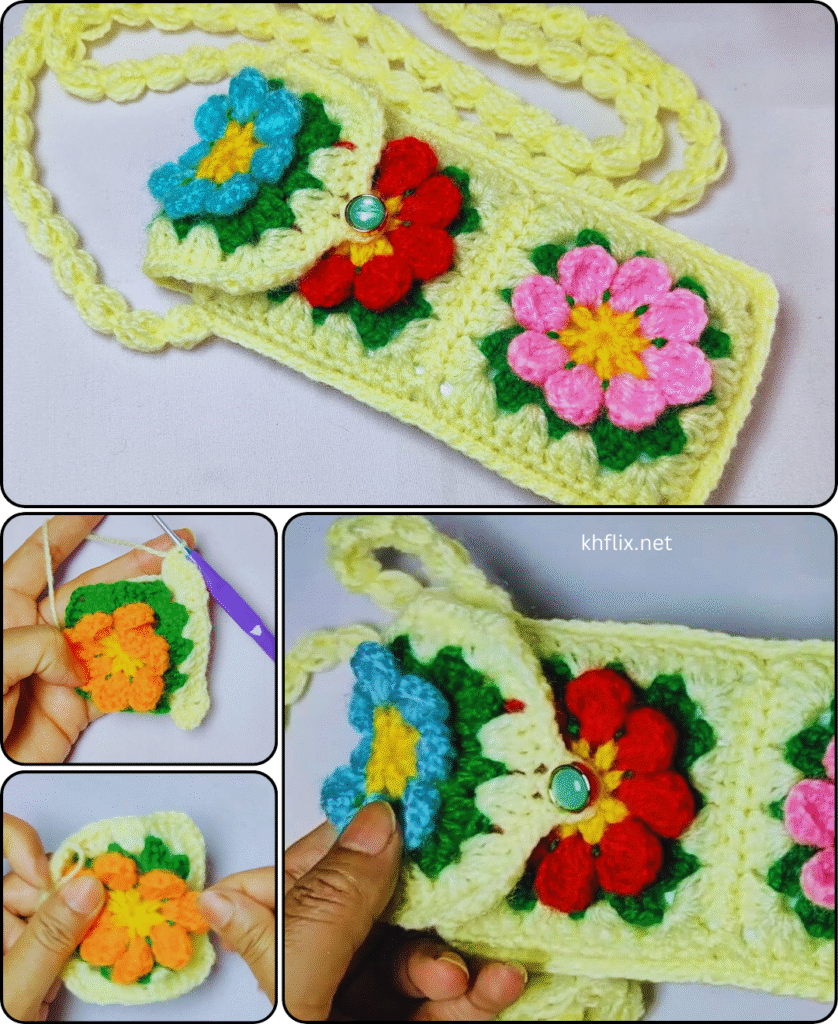
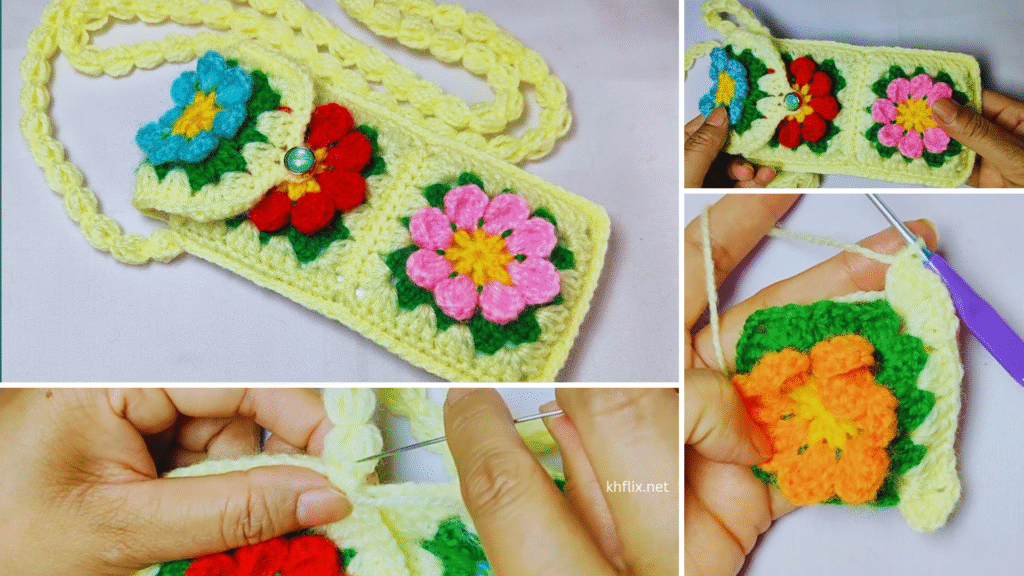
🎨 Customization Ideas
- Use striped yarn or alternate colors every few rows.
- Add decorative buttons, patches, or embroidery.
- Add a pocket on the front using a small rectangle.
🧼 Washing Instructions
- If using acrylic: Machine wash cold, lay flat to dry.
- If using cotton: Washable and durable – great for daily use.
✅ Summary
| Step | What to Do |
|---|---|
| 1 | Chain the base (width) |
| 2 | Crochet rows (height) |
| 3 | Fold in half, sew sides |
| 4 | Add strap (chain or flat) |
| 5 | Add optional closure or decorate |
Would you like:
- A printable PDF version of this pattern?
- A photo guide or diagram?
- A video tutorial recommendation to follow along visually?
Let me know!