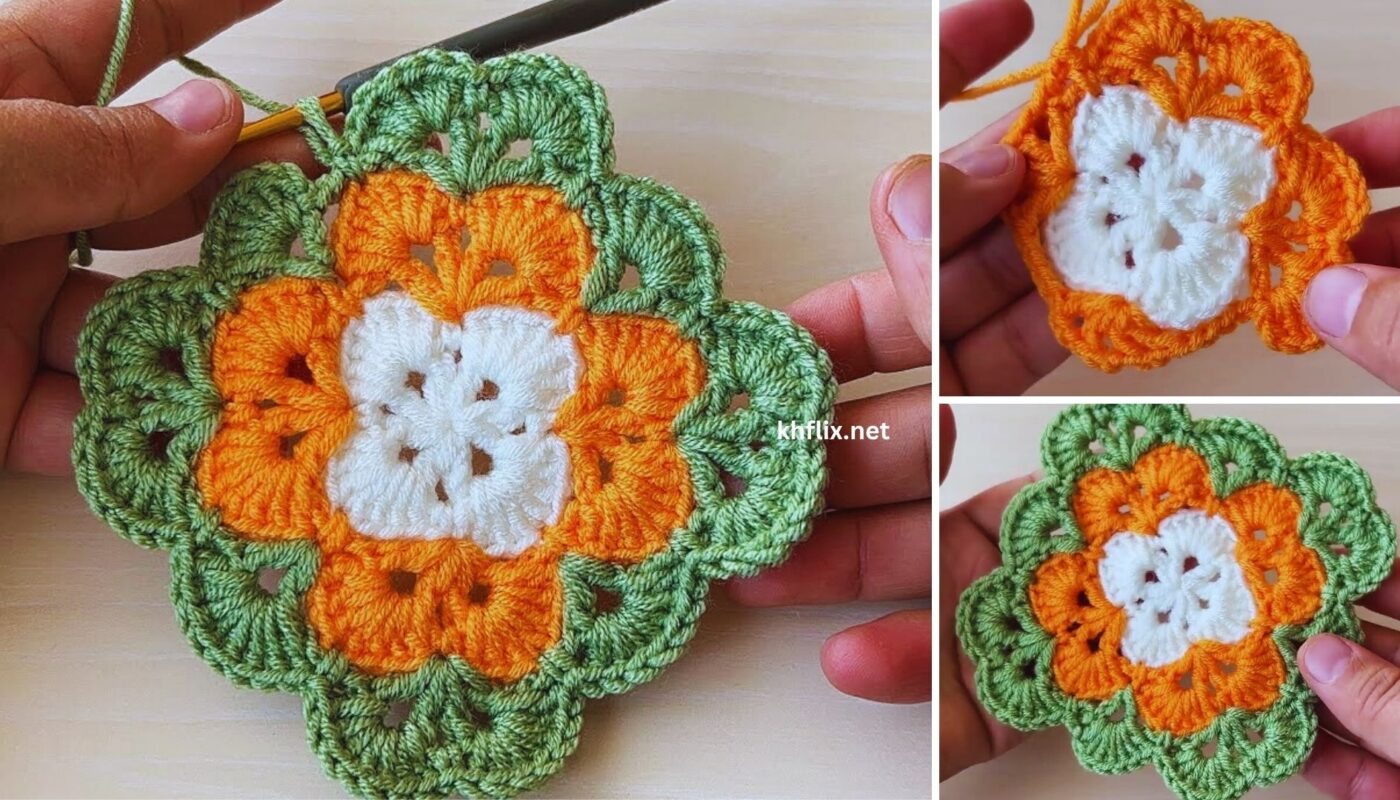
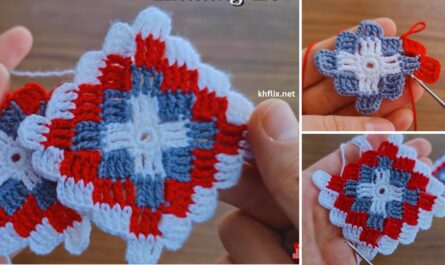
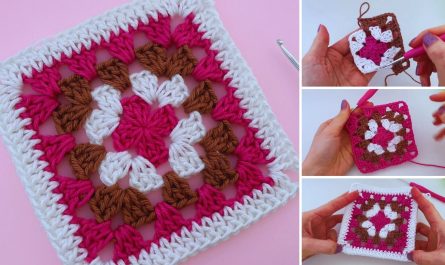
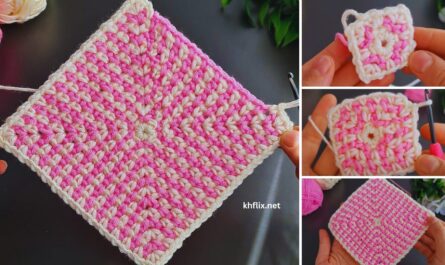
Creating a beautiful crochet square for a baby blanket is a rewarding project that allows for endless creativity in color and design. We’ll focus on a “Solid Granny Square” style, which offers a denser fabric than a traditional granny square (fewer holes, making it warmer and safer for little fingers and toes), while still retaining the classic square shape and versatility for joining.
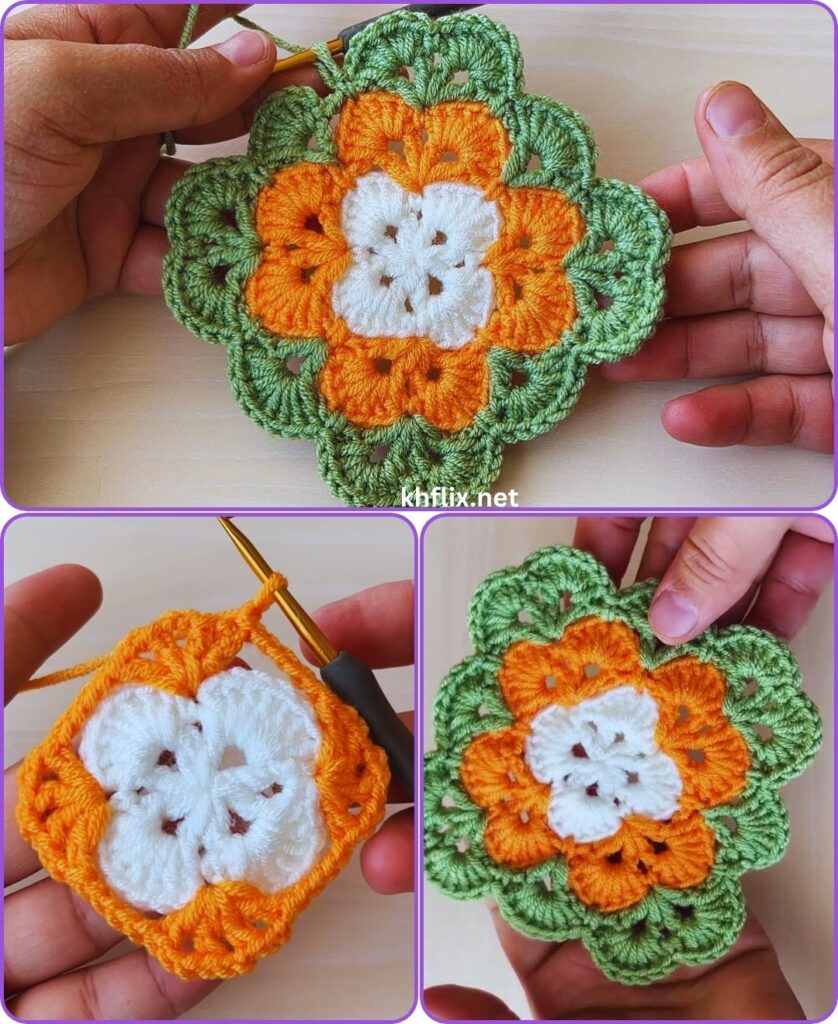
How to Make a Beautiful Crochet Baby Blanket Square
Project Overview: This tutorial will guide you through crocheting a charming and soft square motif, perfect for assembling into a cozy baby blanket. The “solid granny square” technique starts from the center and builds outwards, creating a dense yet pliable fabric suitable for a baby. You can make a blanket entirely of these squares in one color, or mix and match colors for a vibrant design.
Skill Level: Beginner-Intermediate (Requires comfortable knowledge of chain, slip stitch, double crochet, working in rounds, and shaping a square).
Finished Square Dimensions (Approximate):
- Size: 6 x 6 inches (15 x 15 cm) – This is a common size for blanket squares; you can adjust by adding/removing rounds.
Materials You’ll Need:
- Yarn:
- DK Weight (Light #3) or Worsted Weight (Medium #4) Baby-Friendly Yarn: Approximately 30-40 yards (27-37 meters) per 6×6 inch square.
- Recommended: Soft acrylic, mercerized cotton, or a cotton/acrylic blend. Look for yarns labeled “baby yarn” for extra softness and easy washability.
- Choose one color for a classic look, or multiple colors to create a striped or color-block effect for each square.
- Crochet Hook:
- Size G/4.0mm (for DK weight yarn) OR H/5.0mm (for Worsted weight yarn). Choose the hook size that gives you a soft, yet not too open, fabric for your chosen yarn.
- Yarn Needle (Tapestry Needle): Essential for weaving in loose ends.
- Scissors
- Stitch Marker (Optional but Recommended): To mark the beginning of each round or corner spaces.
Gauge (Crucial for Consistent Square Size!):
If you plan to make multiple squares to join into a blanket, achieving consistent gauge is essential. It ensures all your squares are the same size and will connect neatly without distortion.
- With your chosen yarn and hook, after Round 4, your square should measure approximately 4 inches (10 cm) from side to side.
- The final 6×6 inch square should have a flat, even tension.
Abbreviations Used:
- ch: chain
- sl st: slip stitch
- dc: double crochet
- st(s): stitch(es)
- ch-sp: chain space
- MR: Magic Ring (also known as Magic Circle or Adjustable Ring)
- FO: fasten off
Understanding Solid Granny Square Construction:
The solid granny square starts with a central ring and builds outwards in rounds. The “solid” aspect comes from working double crochet stitches into the top of previous stitches (as well as into chain spaces for corners), filling in the gaps that are typical of traditional granny squares. This creates a cozy, dense fabric perfect for a baby blanket.
Each round will follow a pattern of working stitches along the sides and then creating corner spaces (usually a (dc, ch 2, dc) or (2 dc, ch 2, 2 dc) sequence, depending on density) that allow the square to expand.
Let’s Start Crocheting Your Beautiful Baby Blanket Square!
Part 1: Starting the Square (Center)
Option A: Magic Ring (Recommended for a tight center)
- With your chosen yarn, make a Magic Ring (MR).
- Round 1: Ch 3 (counts as first dc). Work 2 dc into the MR. (Ch 2, 3 dc into the MR). Repeat from * to * 2 more times. Ch 2. Pull the tail tight to close the ring. Sl st to the top of the initial ch-3 to join. (Total: 12 dc, 4 ch-2 sps).
Option B: Chain 4 Method (Alternative)
- With your chosen yarn, Ch 4. Sl st into the 1st ch to form a ring.
- Round 1: Ch 3 (counts as first dc). Work 2 dc into the ring. (Ch 2, 3 dc into the ring). Repeat from * to * 2 more times. Ch 2. Sl st to the top of the initial ch-3 to join. (Total: 12 dc, 4 ch-2 sps).
Part 2: Building the Square Body (Solid Rounds)
We will now work into the stitches and chain spaces of the previous round to create the solid fabric.
Round 2:
- Ch 3 (counts as first dc). Dc in each of the next 2 dc.
- First Corner: (2 dc, ch 2, 2 dc) into the first ch-2 sp from Round 1.
- Dc in each of the next 3 dc (these are the dc stitches from Round 1).
- Repeat steps 2 & 3 for the next 2 sides and corners.
- After the 3rd corner, dc in the remaining 3 dc.
- Last Corner: (2 dc, ch 2, 2 dc) into the starting ch-2 sp from Round 1 (where you made your initial ch-3).
- Sl st to the top of the initial ch-3 to join. (Total: 28 dc, 4 ch-2 sps).
- You can place stitch markers in the corner ch-2 spaces to easily identify them.
Round 3:
- Ch 3 (counts as first dc). Dc in each dc along the side until you reach the next ch-2 corner sp.
- Corner: (2 dc, ch 2, 2 dc) into the next ch-2 corner sp.
- Dc in each dc along the next side until you reach the next ch-2 corner sp.
- Repeat steps 2 & 3 for the remaining 2 sides and corners.
- After the last corner, dc in the remaining dc stitches until you reach the beginning ch-3.
- Sl st to the top of the initial ch-3 to join. (Total: 44 dc, 4 ch-2 sps).
Round 4:
- Ch 3 (counts as first dc). Dc in each dc along the side until you reach the next ch-2 corner sp.
- Corner: (2 dc, ch 2, 2 dc) into the next ch-2 corner sp.
- Dc in each dc along the next side until you reach the next ch-2 corner sp.
- Repeat steps 2 & 3 for the remaining 2 sides and corners.
- After the last corner, dc in the remaining dc stitches until you reach the beginning ch-3.
- Sl st to the top of the initial ch-3 to join. (Total: 60 dc, 4 ch-2 sps).
Your square should now be approximately 4 inches (10 cm). Continue adding rounds following the pattern of Round 4 until your square reaches the desired 6×6 inch size. Each round will add 16 dc stitches (4 new dc per side).
To reach 6×6 inches (approximate):
Round 5:
- Ch 3. Dc in each dc along the side to corner.
- (2 dc, ch 2, 2 dc) in corner ch-2 sp.
- Dc in each dc along the next side to corner.
- Repeat steps 2 & 3 for remaining corners/sides.
- Sl st to top of ch-3 to join. (Total: 76 dc, 4 ch-2 sps).
Round 6:
- Ch 3. Dc in each dc along the side to corner.
- (2 dc, ch 2, 2 dc) in corner ch-2 sp.
- Dc in each dc along the next side to corner.
- Repeat steps 2 & 3 for remaining corners/sides.
- Sl st to top of ch-3 to join. (Total: 92 dc, 4 ch-2 sps).
Your square should now be approximately 6 inches (15 cm) from side to side.

Part 3: Final Round (Optional Border for Joining)
This final round creates a neat edge perfect for joining squares.
Round 7 (Single Crochet Border):
- Ch 1 (does NOT count as a stitch). Sc in the same st where you joined.
- Sc in each dc along the side until you reach the corner ch-2 sp.
- Corner: (Sc, ch 2, sc) into the ch-2 corner sp.
- Sc in each dc along the next side.
- Repeat steps 3 and 4 for the remaining corners and sides.
- Sl st to the first sc to join.
- FO, leaving a 6-inch tail for weaving in.
Part 4: Finishing & Blocking (Essential for Square Uniformity!)
- Weave in All Ends: Thread each yarn tail onto your yarn needle. Carefully weave it through several stitches on the back side of your square, securing it invisibly. If you changed colors, ensure those tails are also woven in neatly.
- Blocking (Highly Recommended!): This step is crucial for creating perfectly square motifs that will lie flat and be easy to join into a blanket.
- Method: Gently wet your square (either by misting with water or a quick dip and gentle squeeze – do not wring). Lay it perfectly flat on a clean blocking mat or a thick towel. Gently stretch and pin the square to the exact 6×6 inch dimensions, ensuring the corners are sharp 90-degree angles and the sides are straight. Allow it to air dry completely.
Your beautiful crochet baby blanket square is now complete! Make many more in various colors to create a truly unique and cherished blanket. When you have enough squares, you can join them using a simple slip stitch, single crochet, or a decorative joining method to complete your project. Enjoy!

