 by
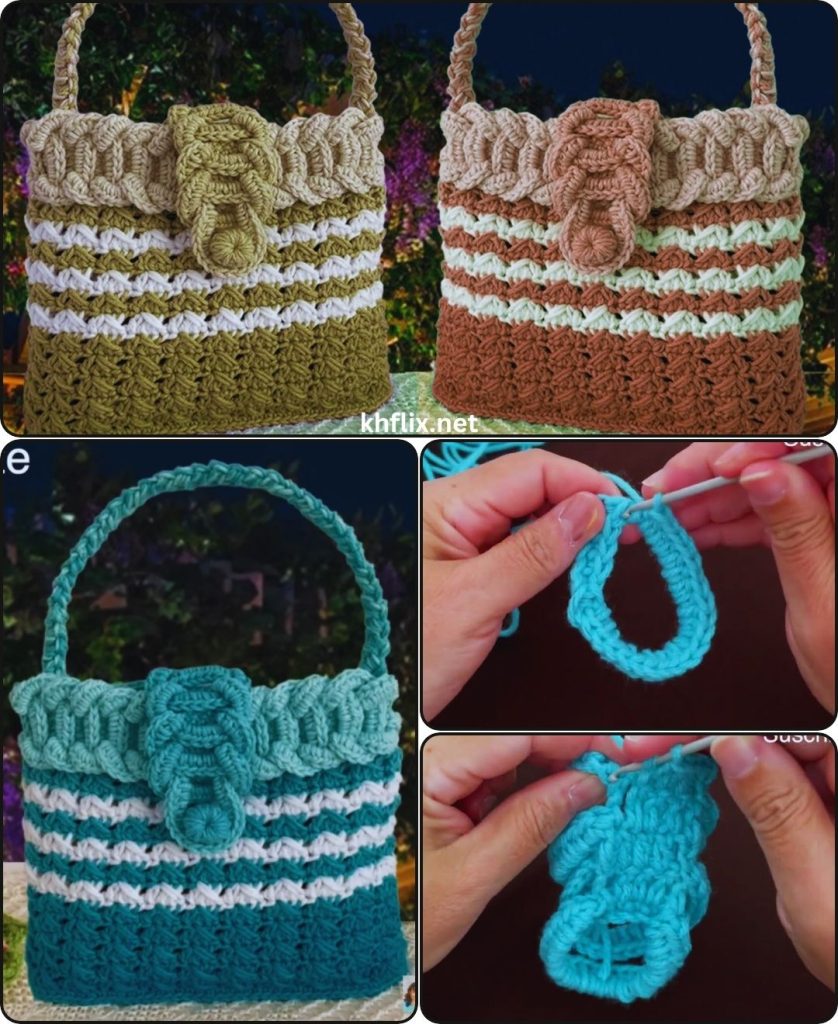
by Learning to crochet a bag can seem daunting, but a one-piece construction makes it incredibly accessible for beginners. You’ll work in continuous rounds, building the bag from the bottom up with minimal seaming. This tutorial focuses on simple stitches and a straightforward process, perfect for your first wearable crochet project!
Materials You’ll Need 🧶
Before you start, gather your supplies:
- Yarn: Approximately 150-250 grams (about 300-500 yards) of worsted weight (aran) cotton or cotton blend yarn. Cotton is recommended for bags as it holds its shape better than acrylic and is durable. Choose a color you love!
- Tip: If you’re unsure, check the yarn label; it will often suggest a hook size.
- Crochet Hook: A hook size appropriate for your yarn. For worsted weight, a 5.0mm (H) or 5.5mm (I) hook is usually a good starting point.
- Scissors: For cutting yarn.
- Yarn Needle (Tapestry Needle): Essential for weaving in ends.
- Stitch Marker: Very helpful for keeping track of the beginning of your rounds, especially when working in a spiral.
Understanding the Basic Stitches 🧵
This project primarily uses just two fundamental crochet stitches:
- Ch (Chain): The most basic stitch, forming your starting foundation.
- Sc (Single Crochet): A compact and sturdy stitch, perfect for building a strong bag fabric.
Getting Started: Creating the Base of Your Bag 📏
We’ll start by creating an oval-shaped base for your bag, which will then seamlessly transition into the sides.
- Chain 21: This will be the length of your bag’s base. (You can adjust this number for a longer or shorter bag – just remember that the first round will be worked into this chain).
- Round 1:
- Sc 2 into the 2nd chain from your hook.
- Sc 1 into each of the next 18 chains.
- Sc 3 into the last chain (this helps turn the corner smoothly).
- Now, you’ll be working down the other side of your initial chain. Sc 1 into each of the next 18 chains.
- Sc 1 into the very last chain (this completes the “turn” on the other side).
- You should now have 42 single crochet stitches. Do NOT join with a slip stitch. Place your stitch marker in the first stitch of this round. We will be working in continuous rounds (a spiral).

Building the Sides of Your Bag ⬆️
Now that you have your base, you’ll continue to work in rounds, building up the height of your bag.
- Round 2:
- Sc 2 into the first stitch (where your stitch marker is). Move your stitch marker up to this first new stitch.
- Sc 1 into the next 19 stitches.
- Sc 2 into each of the next 3 stitches (these are the stitches that formed the turn on the end).
- Sc 1 into the next 19 stitches.
- Sc 2 into the last 2 stitches.
- You should have 50 single crochet stitches. Move your stitch marker up to the first stitch of this new round.
- This round gently expands the base slightly to ensure a flat foundation.
- Rounds 3 – 25 (or until desired height):
- Sc 1 into each stitch around. Do not increase or decrease.
- Simply keep moving your stitch marker up to the first stitch of each new round to track your progress.
- Continue working these rounds until your bag reaches the height you desire. For a small tote or project bag, 20-25 rounds will likely be sufficient. For a deeper bag, continue for more rounds.
- You’ll notice the sides of the bag start to form, curving upwards from the flat base.
Creating the Handles (Option 1: Integrated Handles) 👐
Integrating the handles directly into the bag’s top edge is very beginner-friendly as it avoids extra seaming.
- Round 26 (Handle Round – adjust round number based on your bag’s height):
- Sc 1 into the first 10 stitches.
- Chain 20 (this creates the first handle opening). Skip the next 5 stitches.
- Sc 1 into the next 20 stitches.
- Chain 20 (this creates the second handle opening). Skip the next 5 stitches.
- Sc 1 into the last 10 stitches.
- Make sure your chains are loose enough so the handles aren’t too tight.
- Round 27:
- Sc 1 into each of the 10 single crochet stitches.
- Now, you’ll sc into the chain stitches: Sc 1 into each of the 20 chain stitches of the first handle.
- Sc 1 into each of the 20 single crochet stitches on the top.
- Sc 1 into each of the 20 chain stitches of the second handle.
- Sc 1 into each of the last 10 single crochet stitches.
- You should have the same total number of stitches as before you started the handles (in our example, 50 stitches), as you replaced skipped stitches with chain stitches.
- Round 28:
- Sc 1 into each stitch around. This final round will firm up the handle openings.
- When you reach the end of the round, join with a sl st to the first sc of the round.
- Fasten off your yarn, leaving a tail about 6 inches long.
Finishing Your Easy Bag ✨
- Weave in Ends: Using your yarn needle, carefully weave in the starting tail and the ending tail into the stitches of your bag. Try to hide them securely within the fabric to prevent unraveling.
- Steam Block (Optional but Recommended): If your bag looks a little wonky or uneven, you can gently steam block it. Hover a steam iron over the bag (do not touch it directly) and gently shape it with your hands. Allow it to cool and dry completely. This helps to even out stitches and give your bag a more polished look.
Congratulations! 🎉
You’ve just crocheted your very own one-piece bag! This simple design is perfect for carrying small projects, groceries, or just as a cute accessory.
Tips for Beginners & Customization Ideas 💡
- Practice Swatches: If you’re very new, practice your chain and single crochet stitches on a small swatch before starting your bag. This helps you get a feel for your yarn and hook.
- Counting Stitches: Count your stitches at the end of each round, especially in the beginning. This helps ensure your bag remains symmetrical and the correct size.
- Stitch Marker is Your Friend: Seriously, don’t skip the stitch marker when working in continuous rounds. It’s a lifesaver!
- Adjusting Size:
- Wider/Narrower Base: Adjust the number of initial chain stitches in Round 1.
- Taller/Shorter Bag: Adjust the number of plain single crochet rounds (Rounds 3-25).
- Handle Size: Change the number of chains in the handle round (e.g., Chain 15 for smaller handles, Chain 25 for larger).
- Yarn Colors: Experiment with different colors! You could use a contrasting color for the last few rounds or even create stripes by changing colors every few rounds.
- Adding a Liner: For extra durability and to prevent small items from falling through stitches, you can sew a fabric lining inside your bag after it’s finished.
- Different Stitches: Once you’re comfortable, you could try using half double crochet (Hdc) or double crochet (Dc) for a lacier or quicker-to-grow fabric, but remember they create a less dense and potentially stretchier bag. For a first bag, single crochet is ideal.
Happy crocheting! What will you put in your new bag?